Replace the Side Belt
Glowforge Basic/Plus/Pro
When you make a print, two side belts inside your Glowforge move the laser arm forward and back.
If either belt is damaged, your print might not turn out as expected, or you may be unable to print at all. Replacing the belt (or belts) should get you back to printing.
Replacement side belts can be purchased in our shop here. Once you have your new belt, follow these instructions to install it.
Before you begin
- You’ll need your new side belt and a 3mm L-shaped hex key.
- Please read through the instructions before you begin.
Removing the old belt
- First, turn off your Glowforge.
- Lift the lid.
- To remove the old belt, slide the laser arm to the back, then open the front door and carefully remove the crumb tray. Be careful not to tilt it or bump it into other parts within the Glowforge.
- Underneath the right side of the laser arm, you will see two small screws. Using your 3mm hex key, remove both screws to free the belt clamp hidden behind this metal plate.
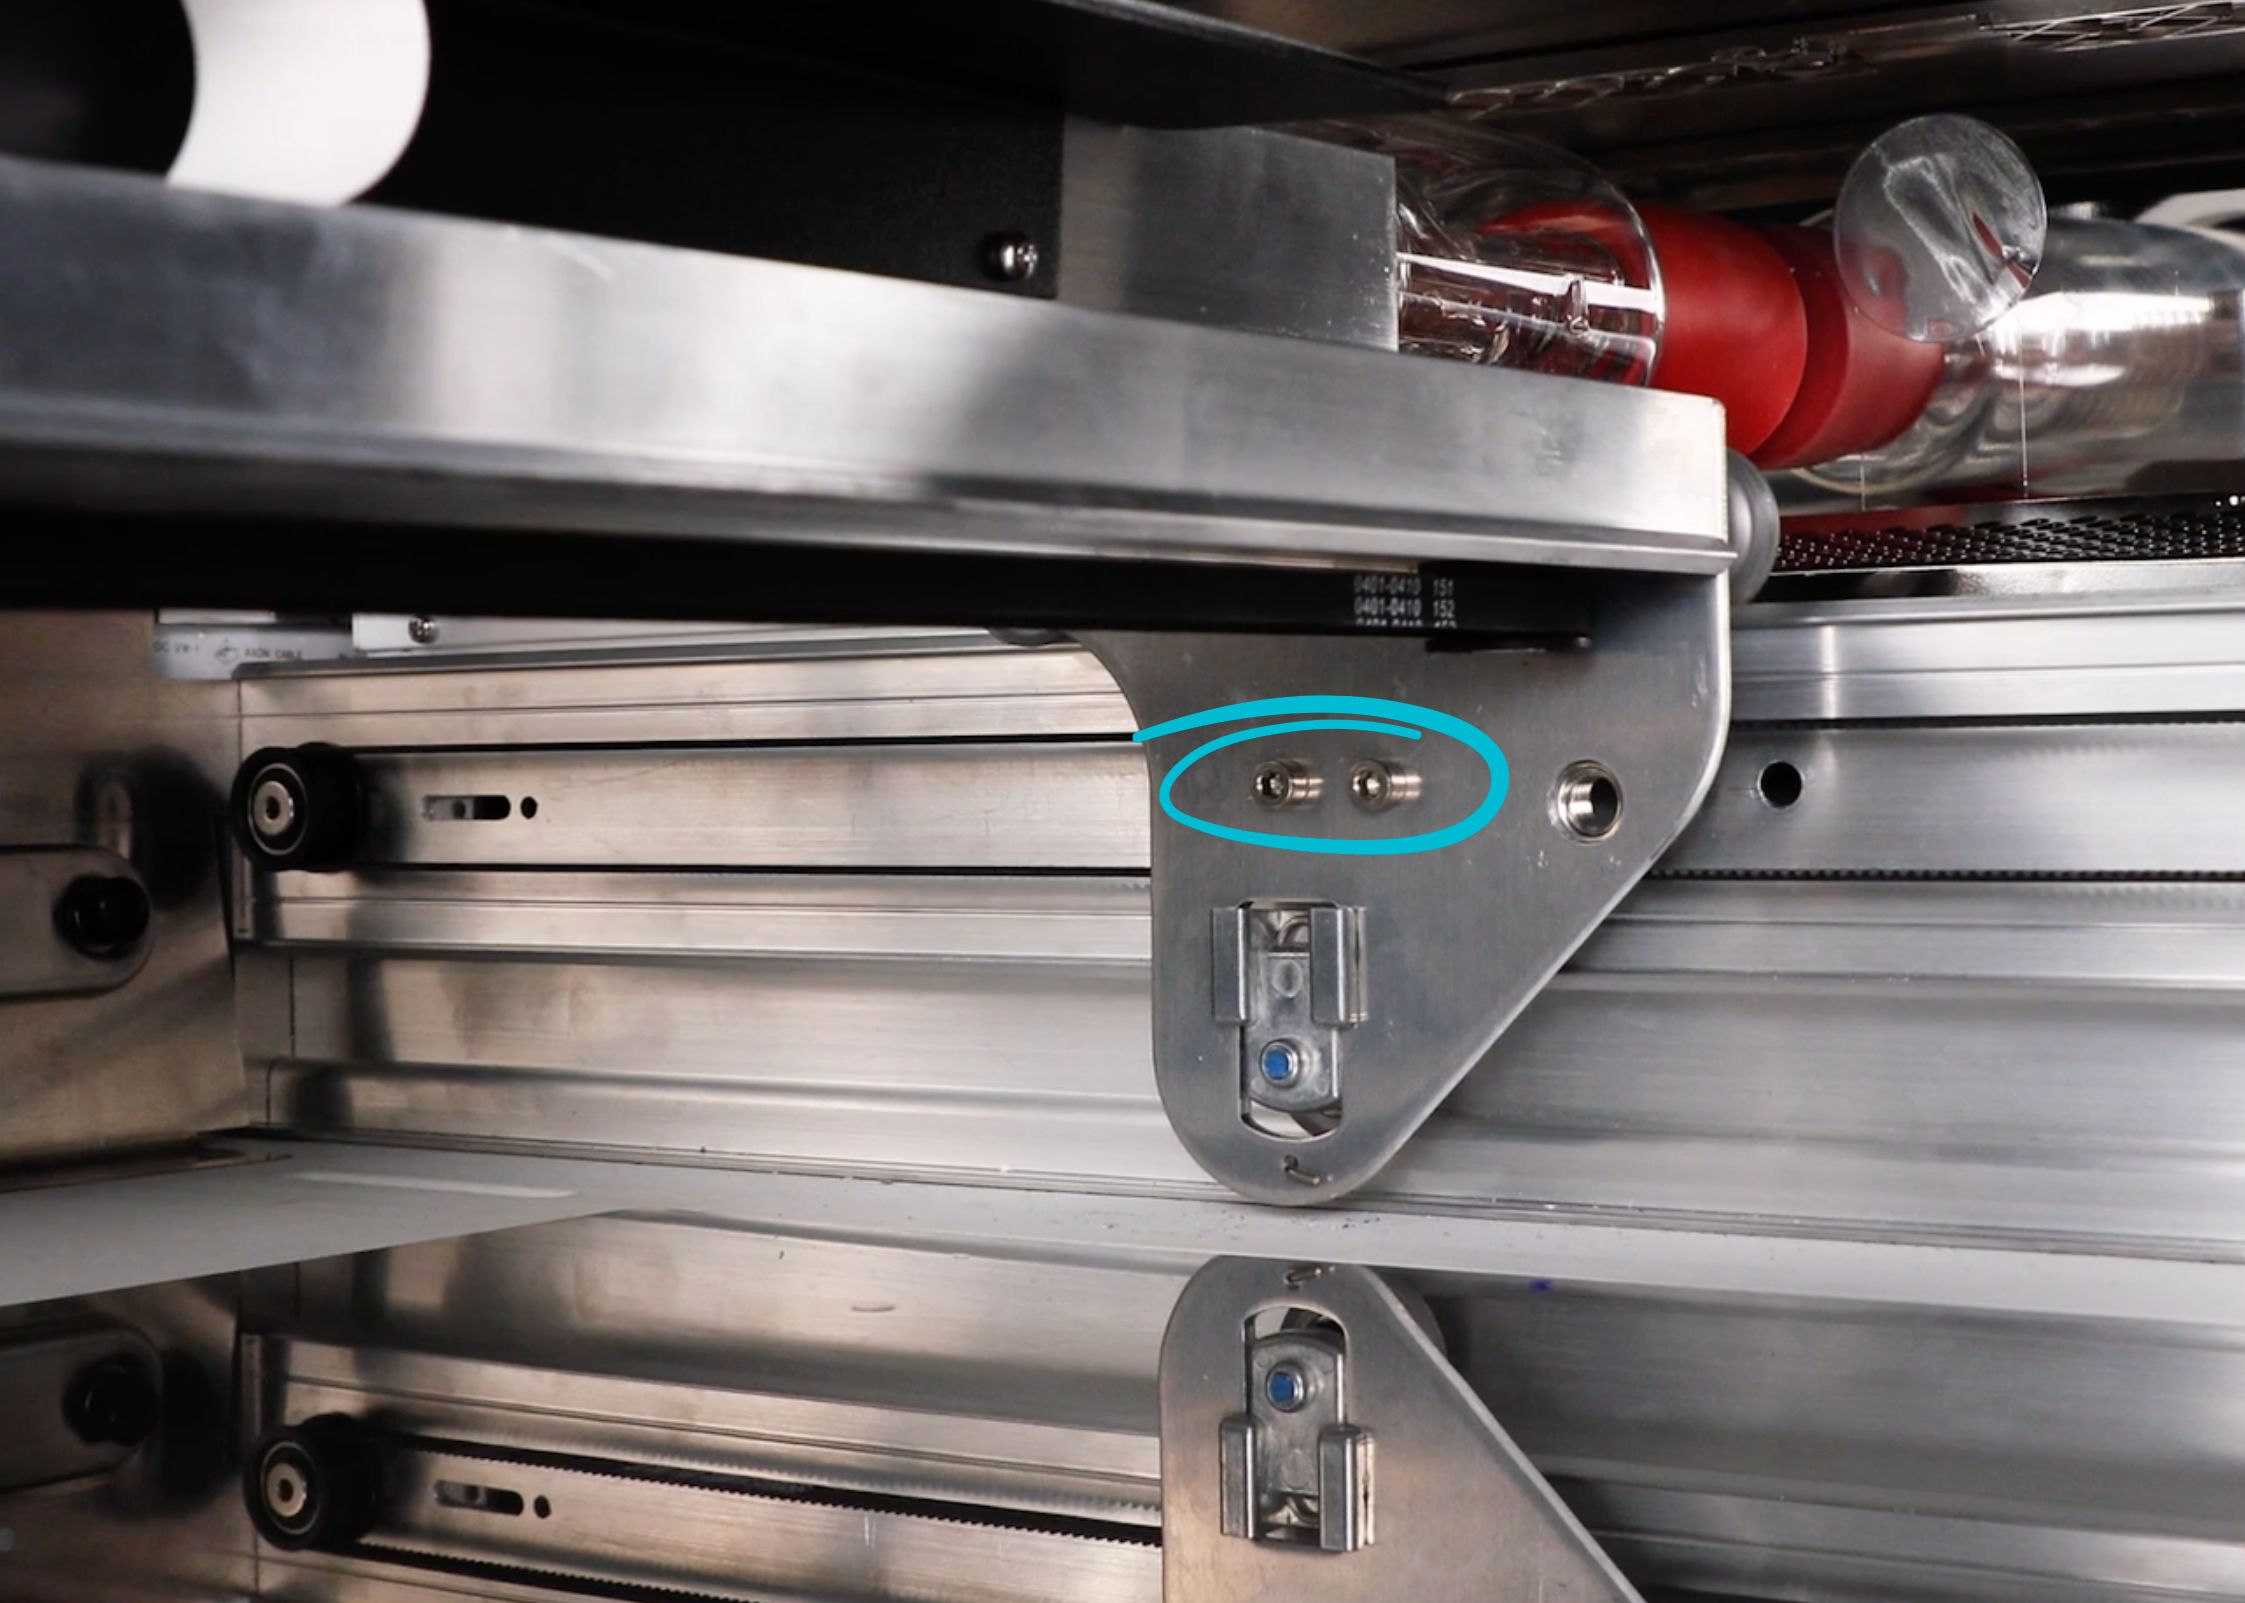
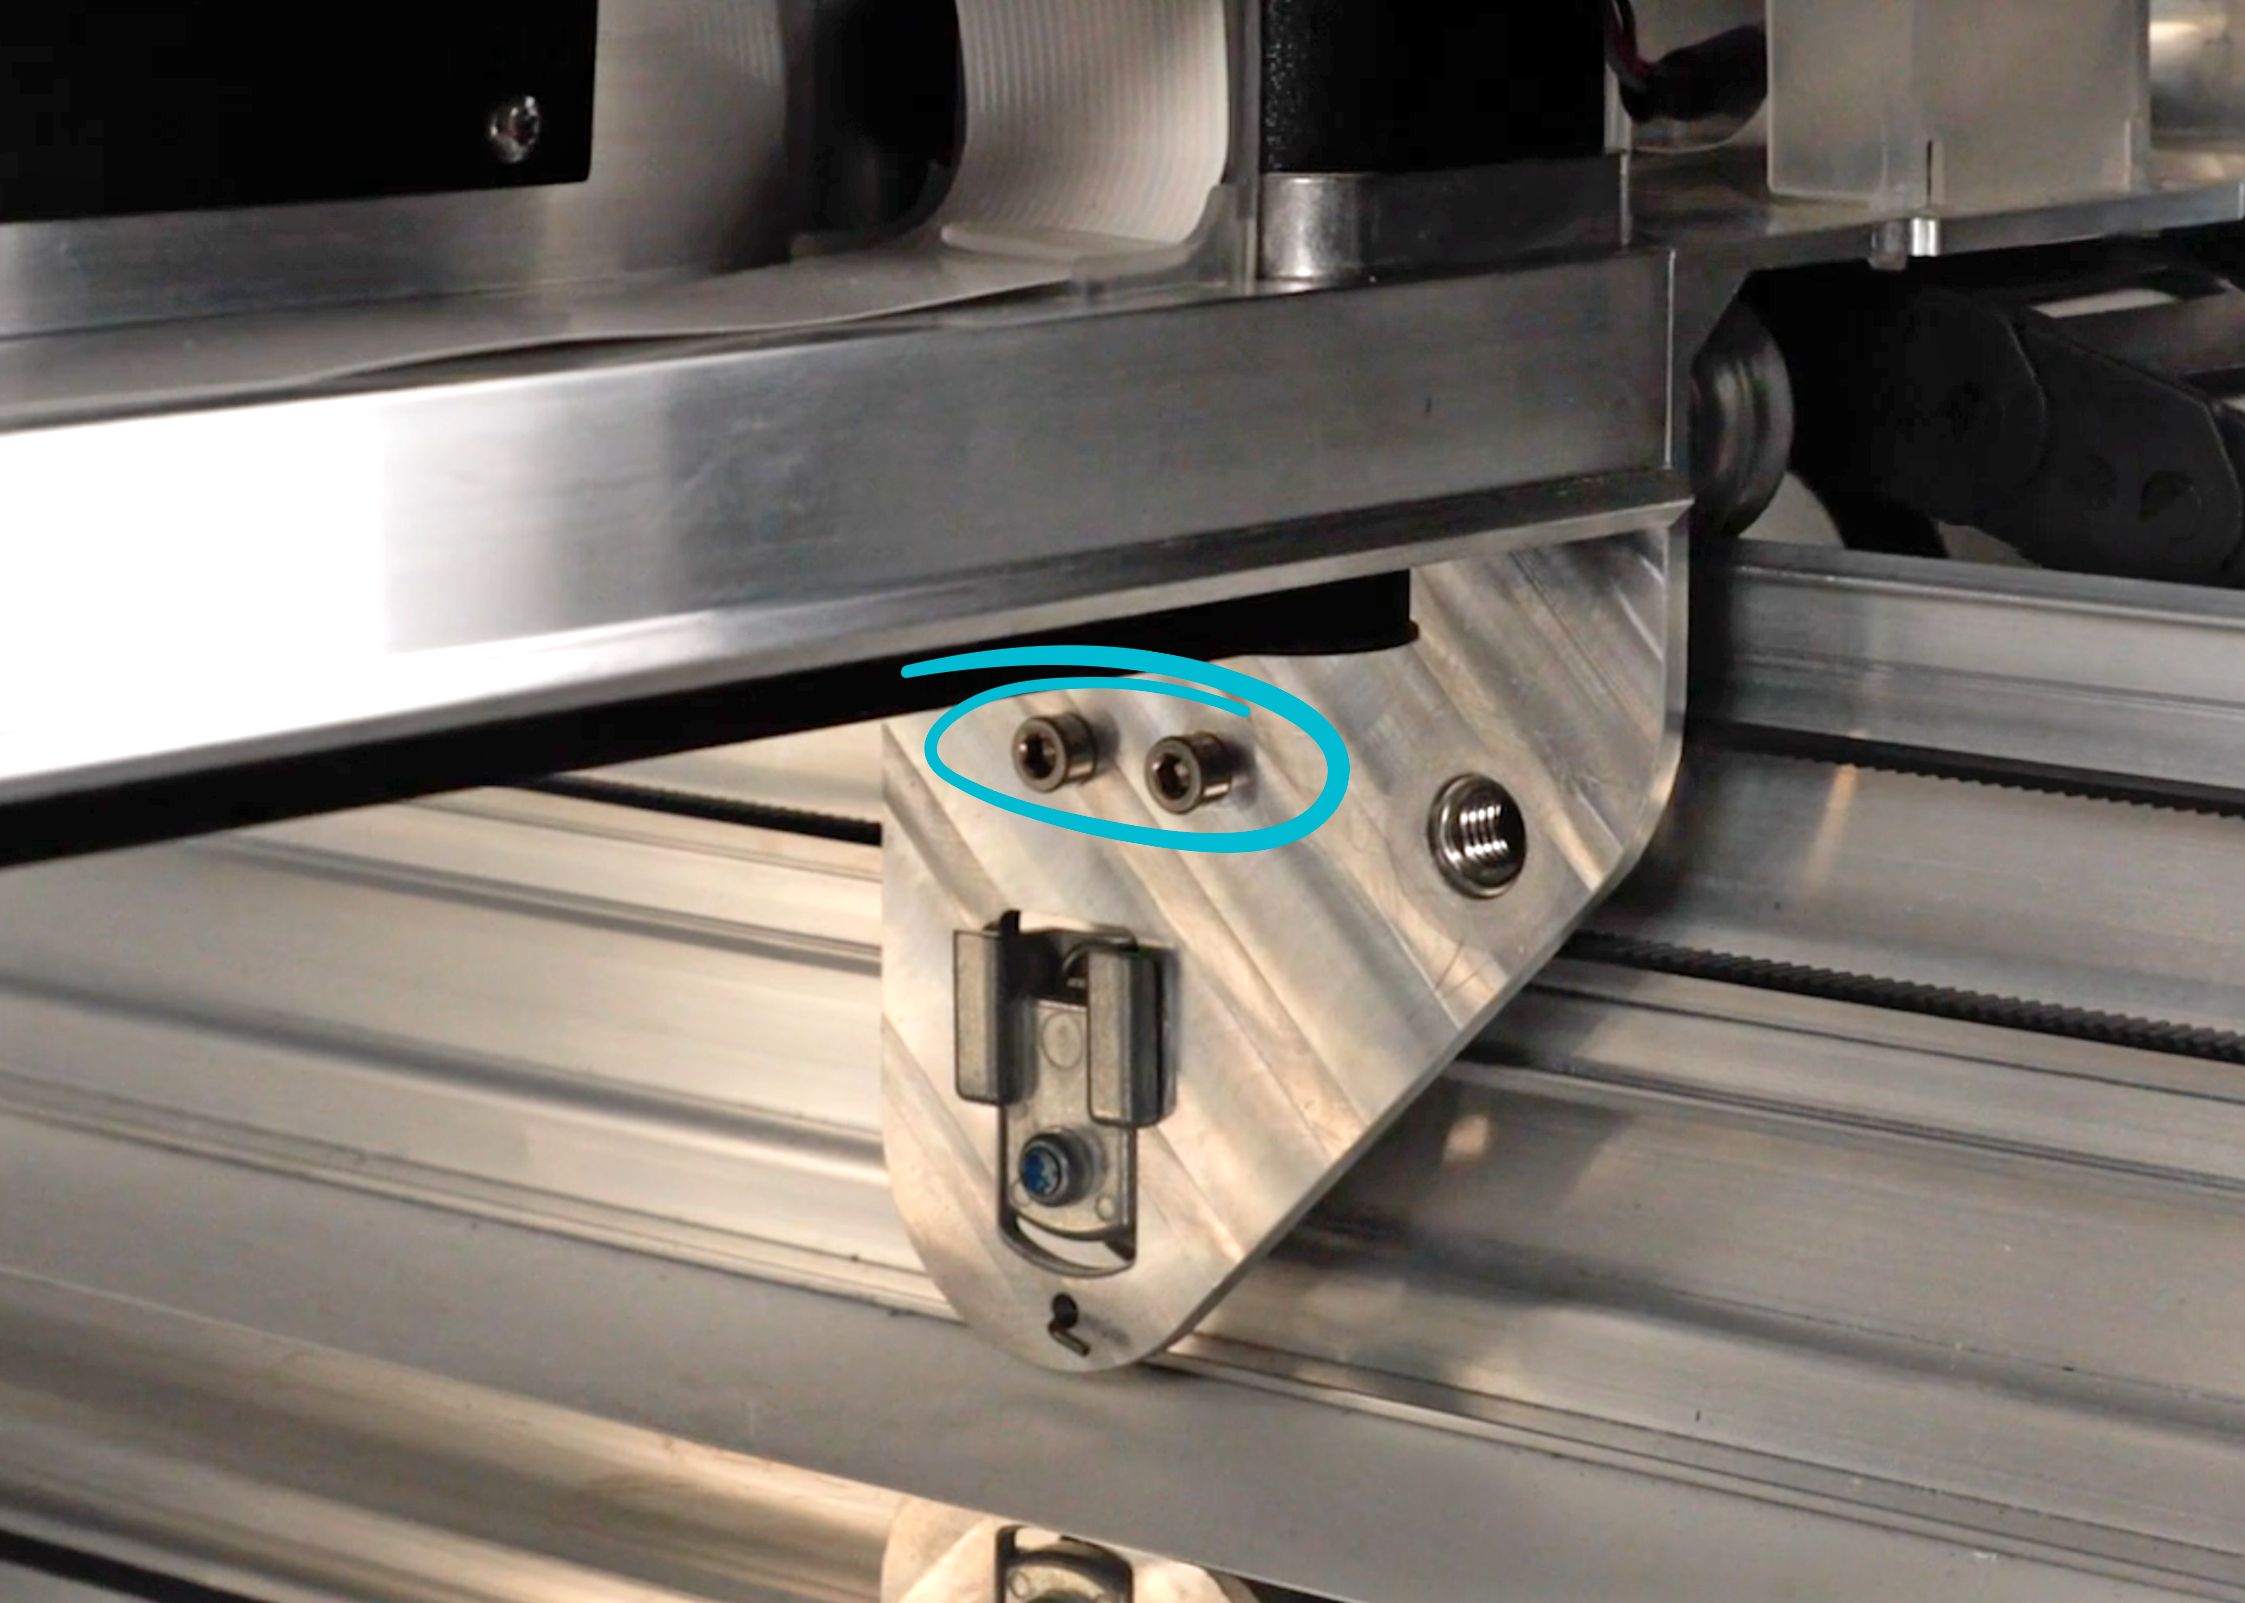
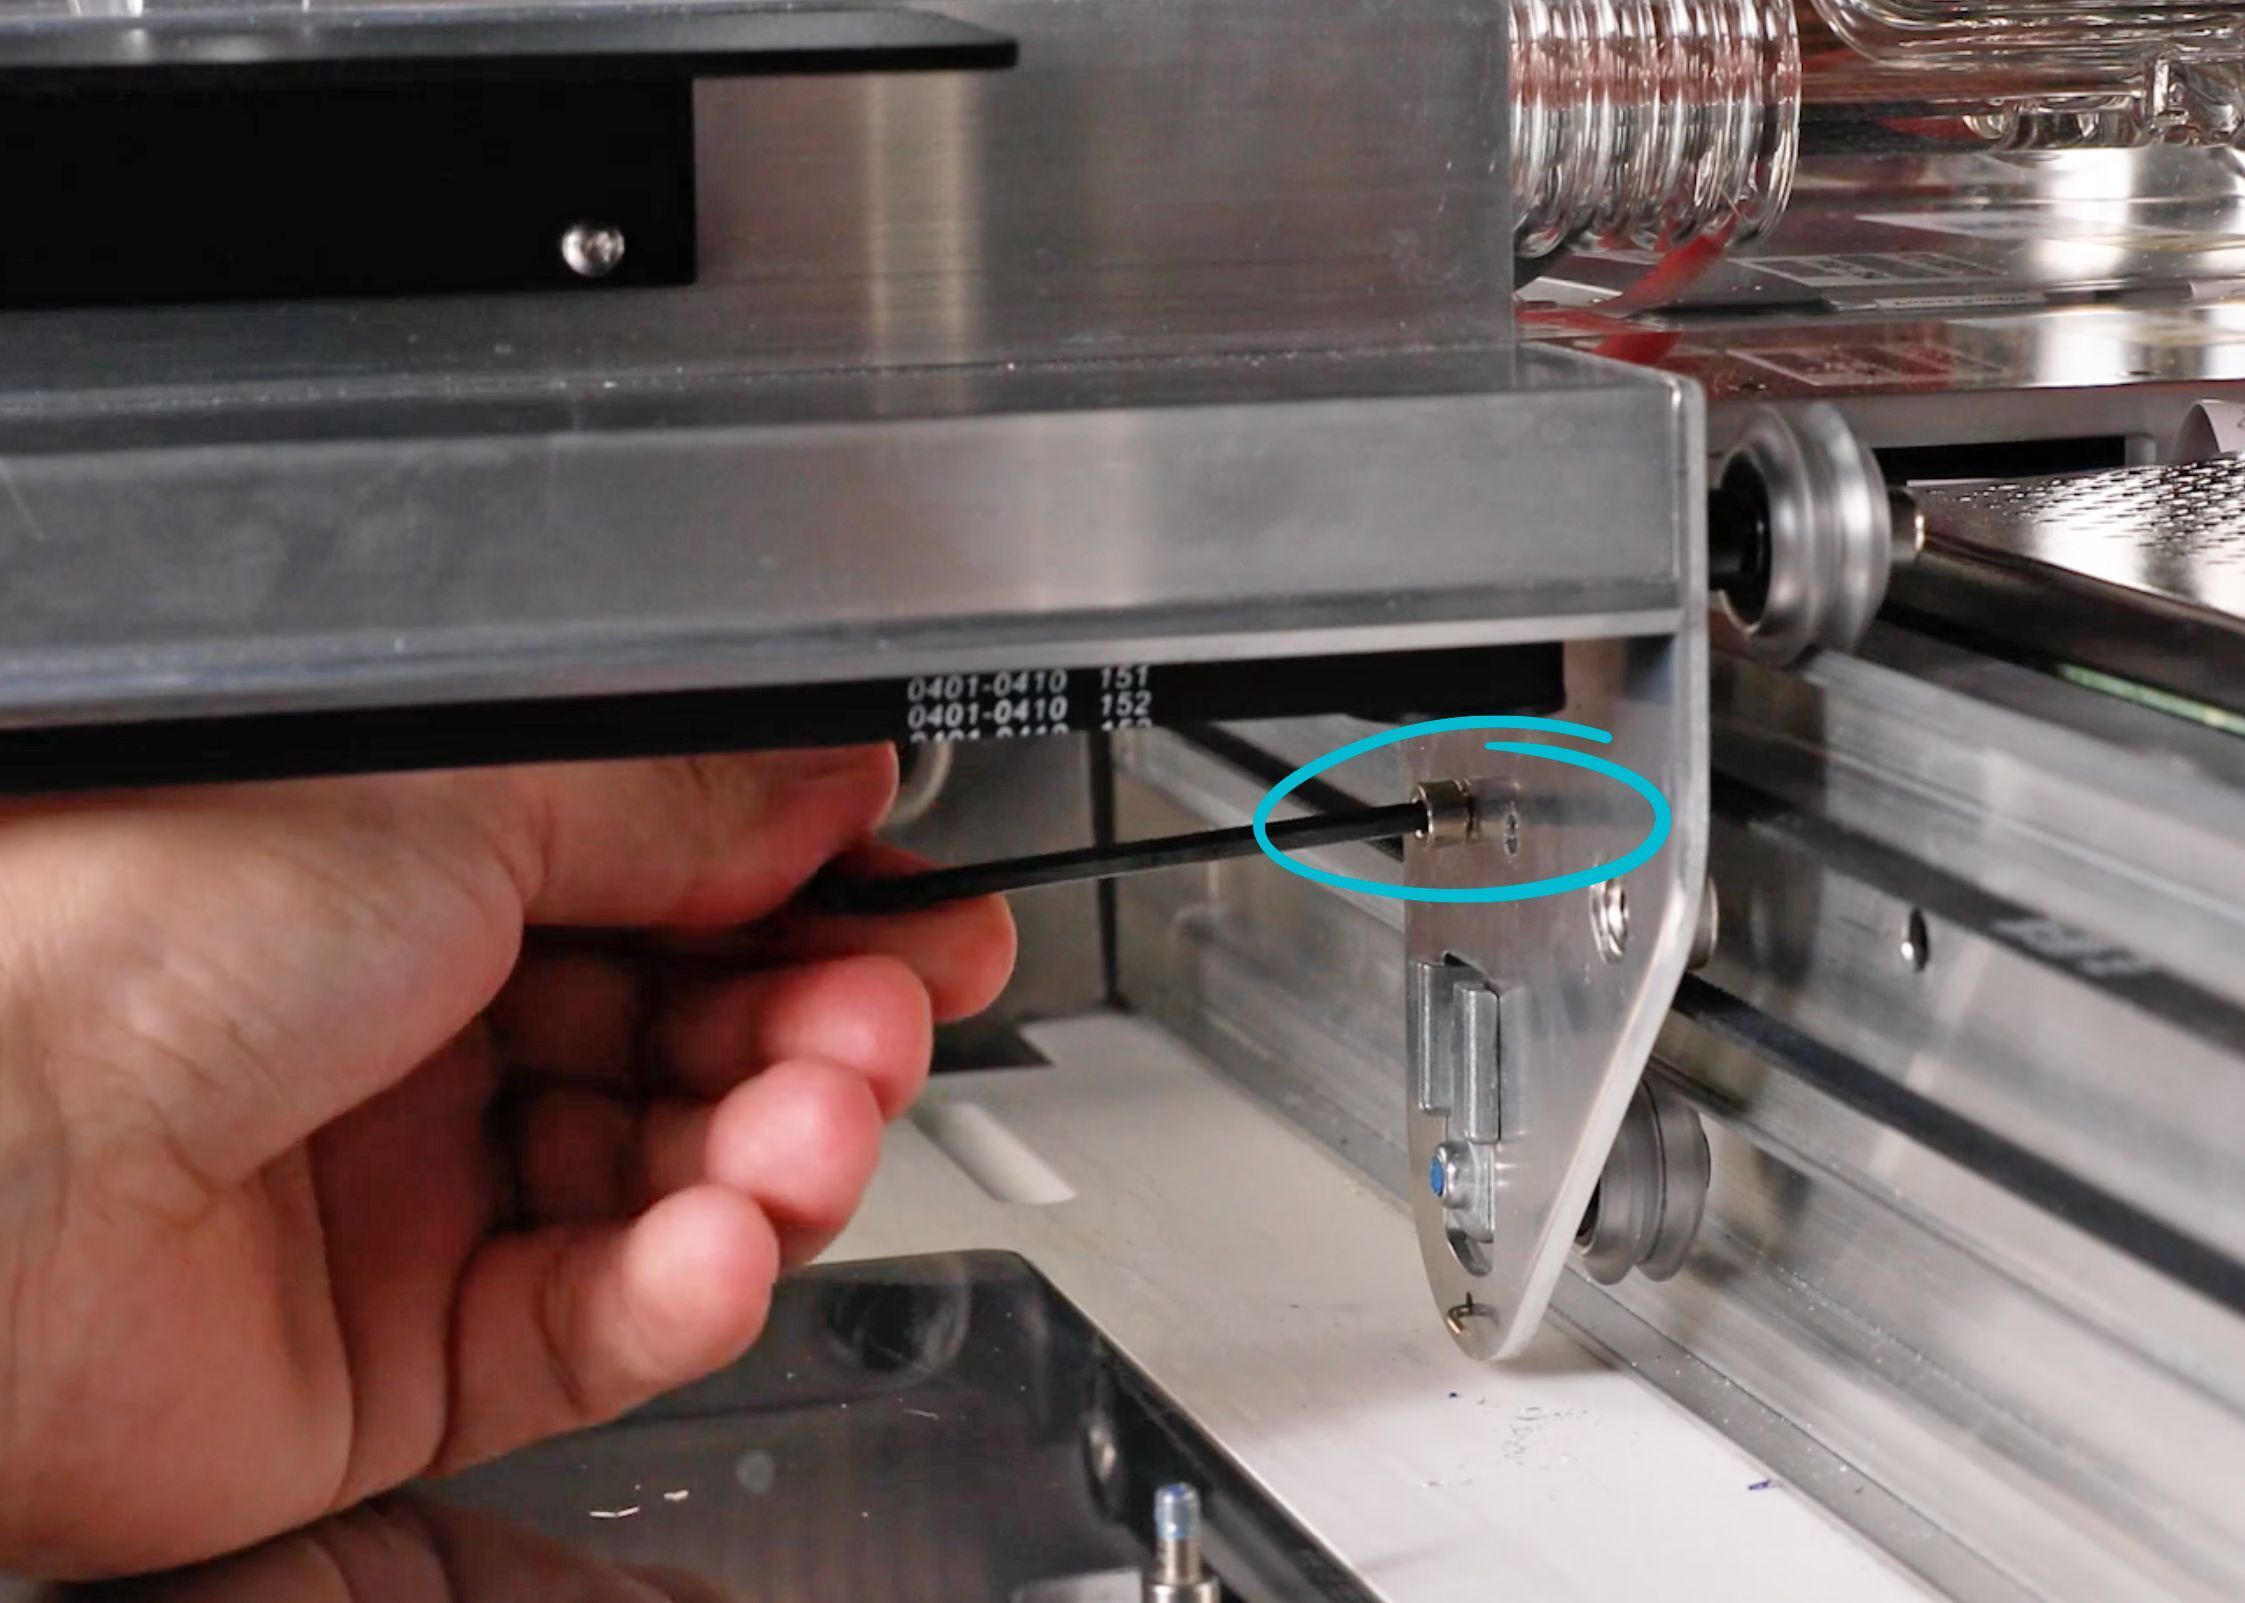
- Unhook the belt from the motor on the front of the printer. The belt should now easily slide off the back pulley and you can pull it out from behind the laser arm.
- Make sure the new belt is in the correct position. The metal clamp will be on the top part of the loop with the holes facing toward you, and the screw should point up toward the top of the belt.
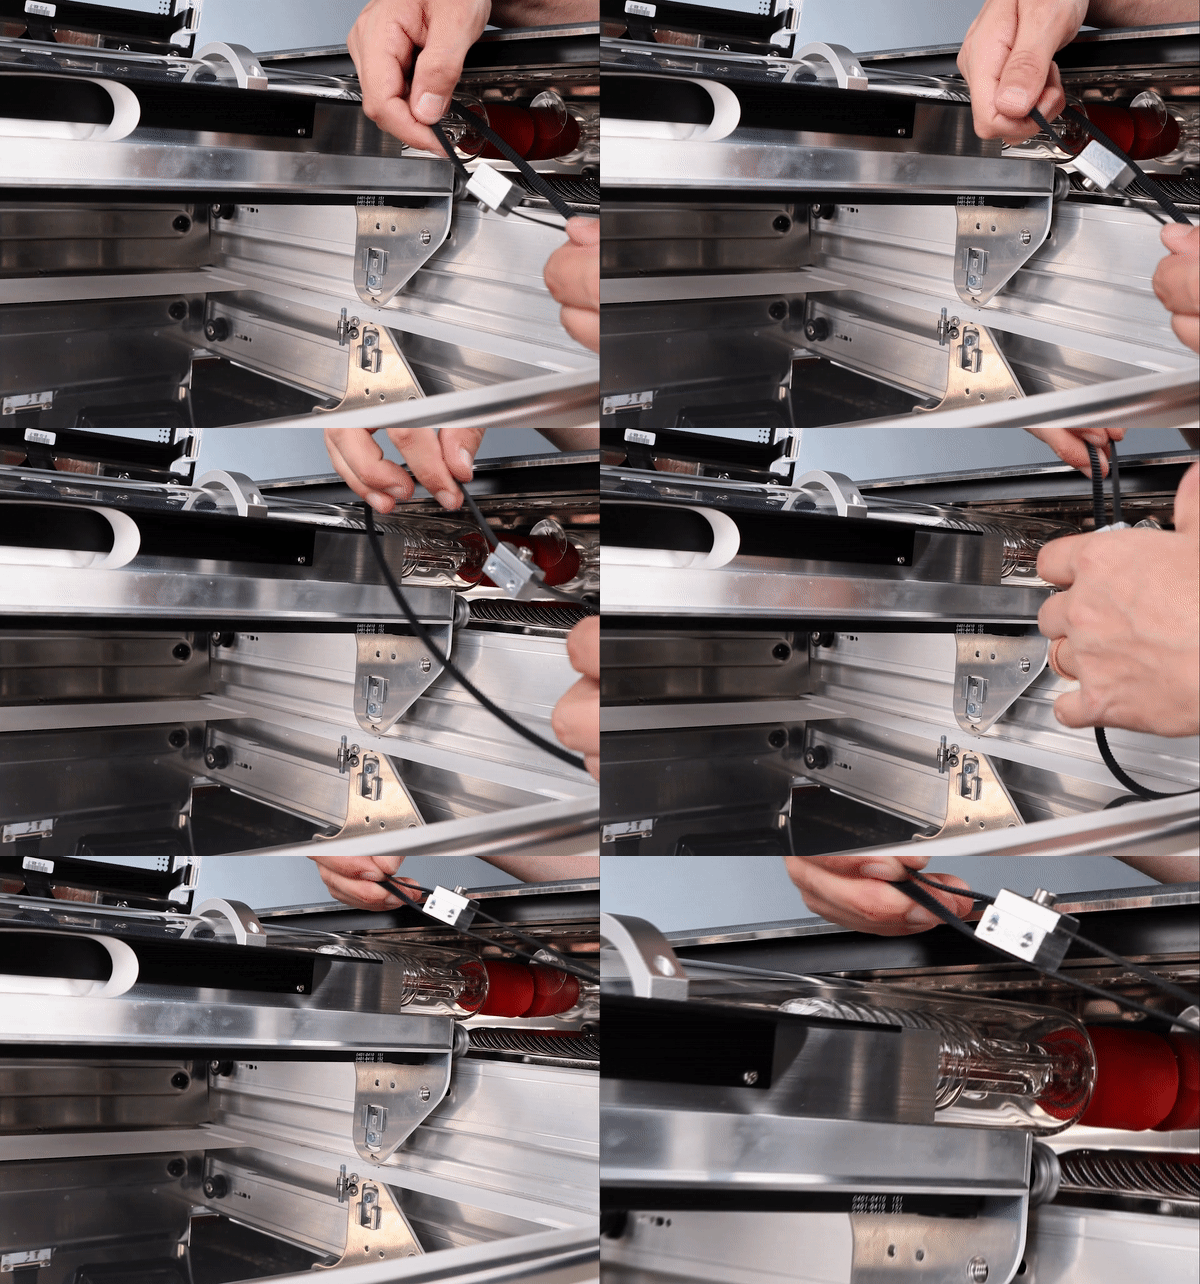
- Thread the right side of the belt from the back of the laser arm to the front of the laser arm.
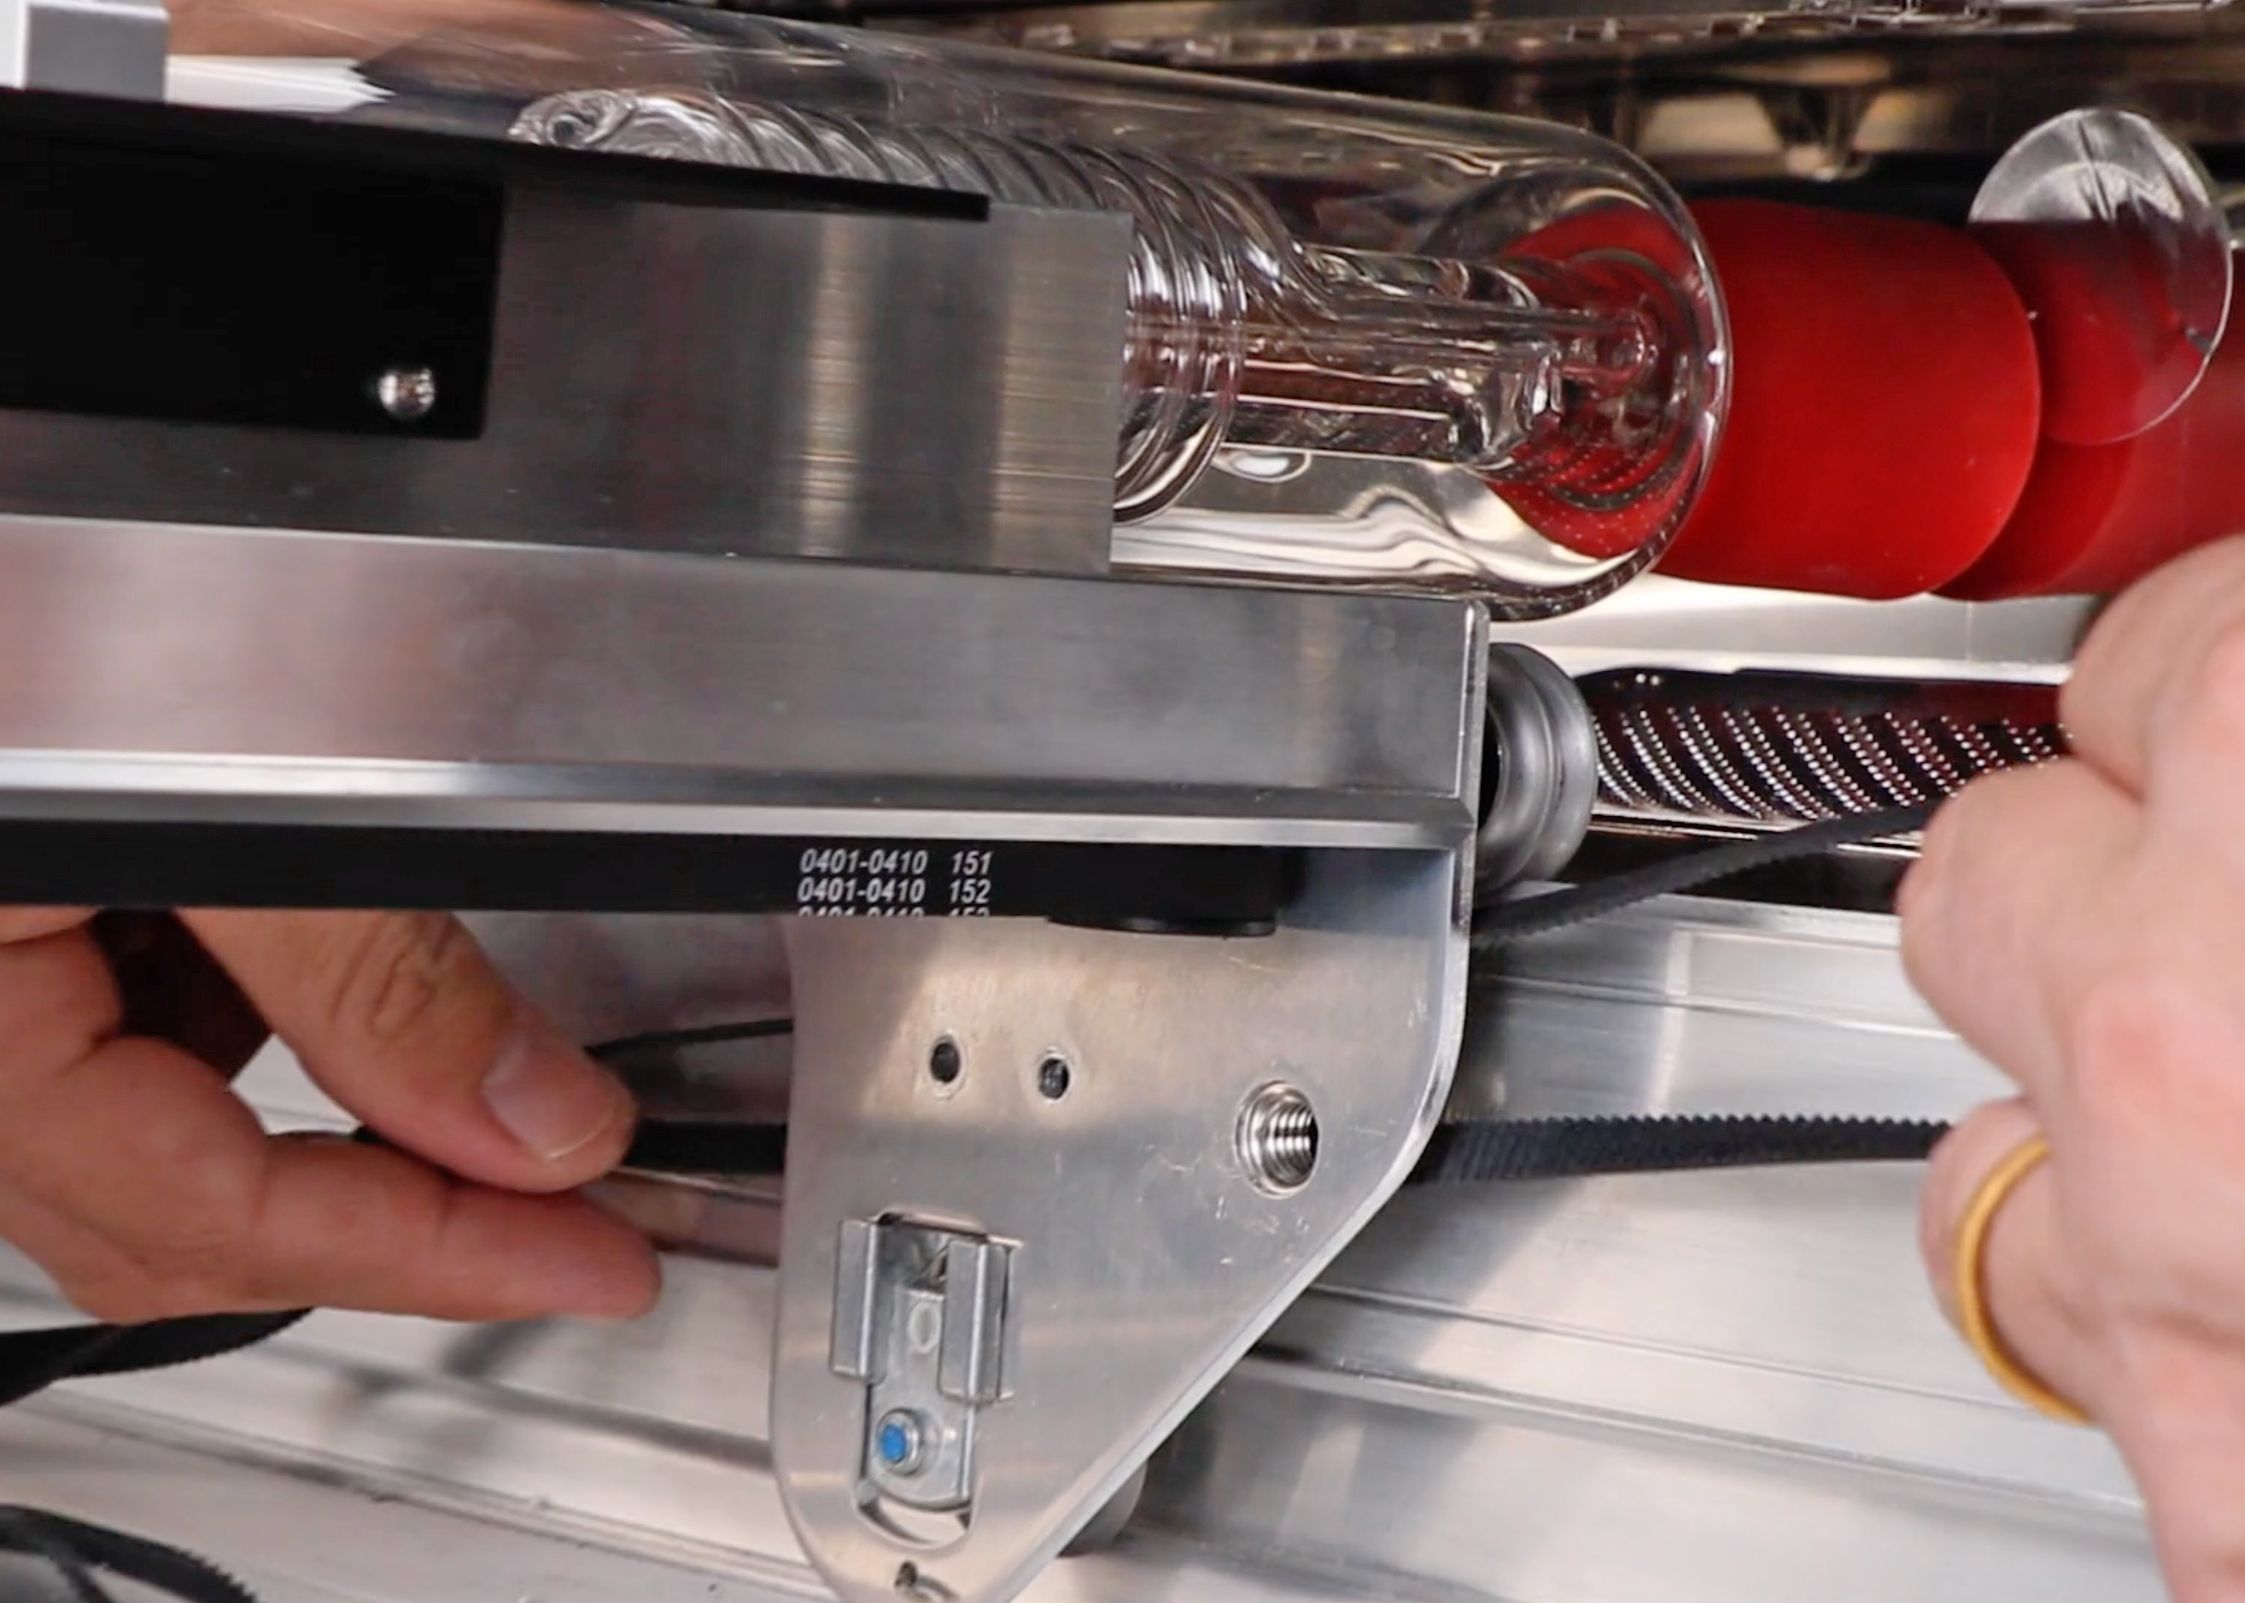 Make sure to insert the belt between the holes on the top and the metal part on the bottom of the laser arm.
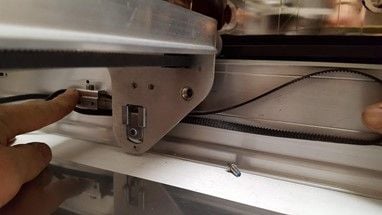
- Now, loop the front side of the belt around the motor.
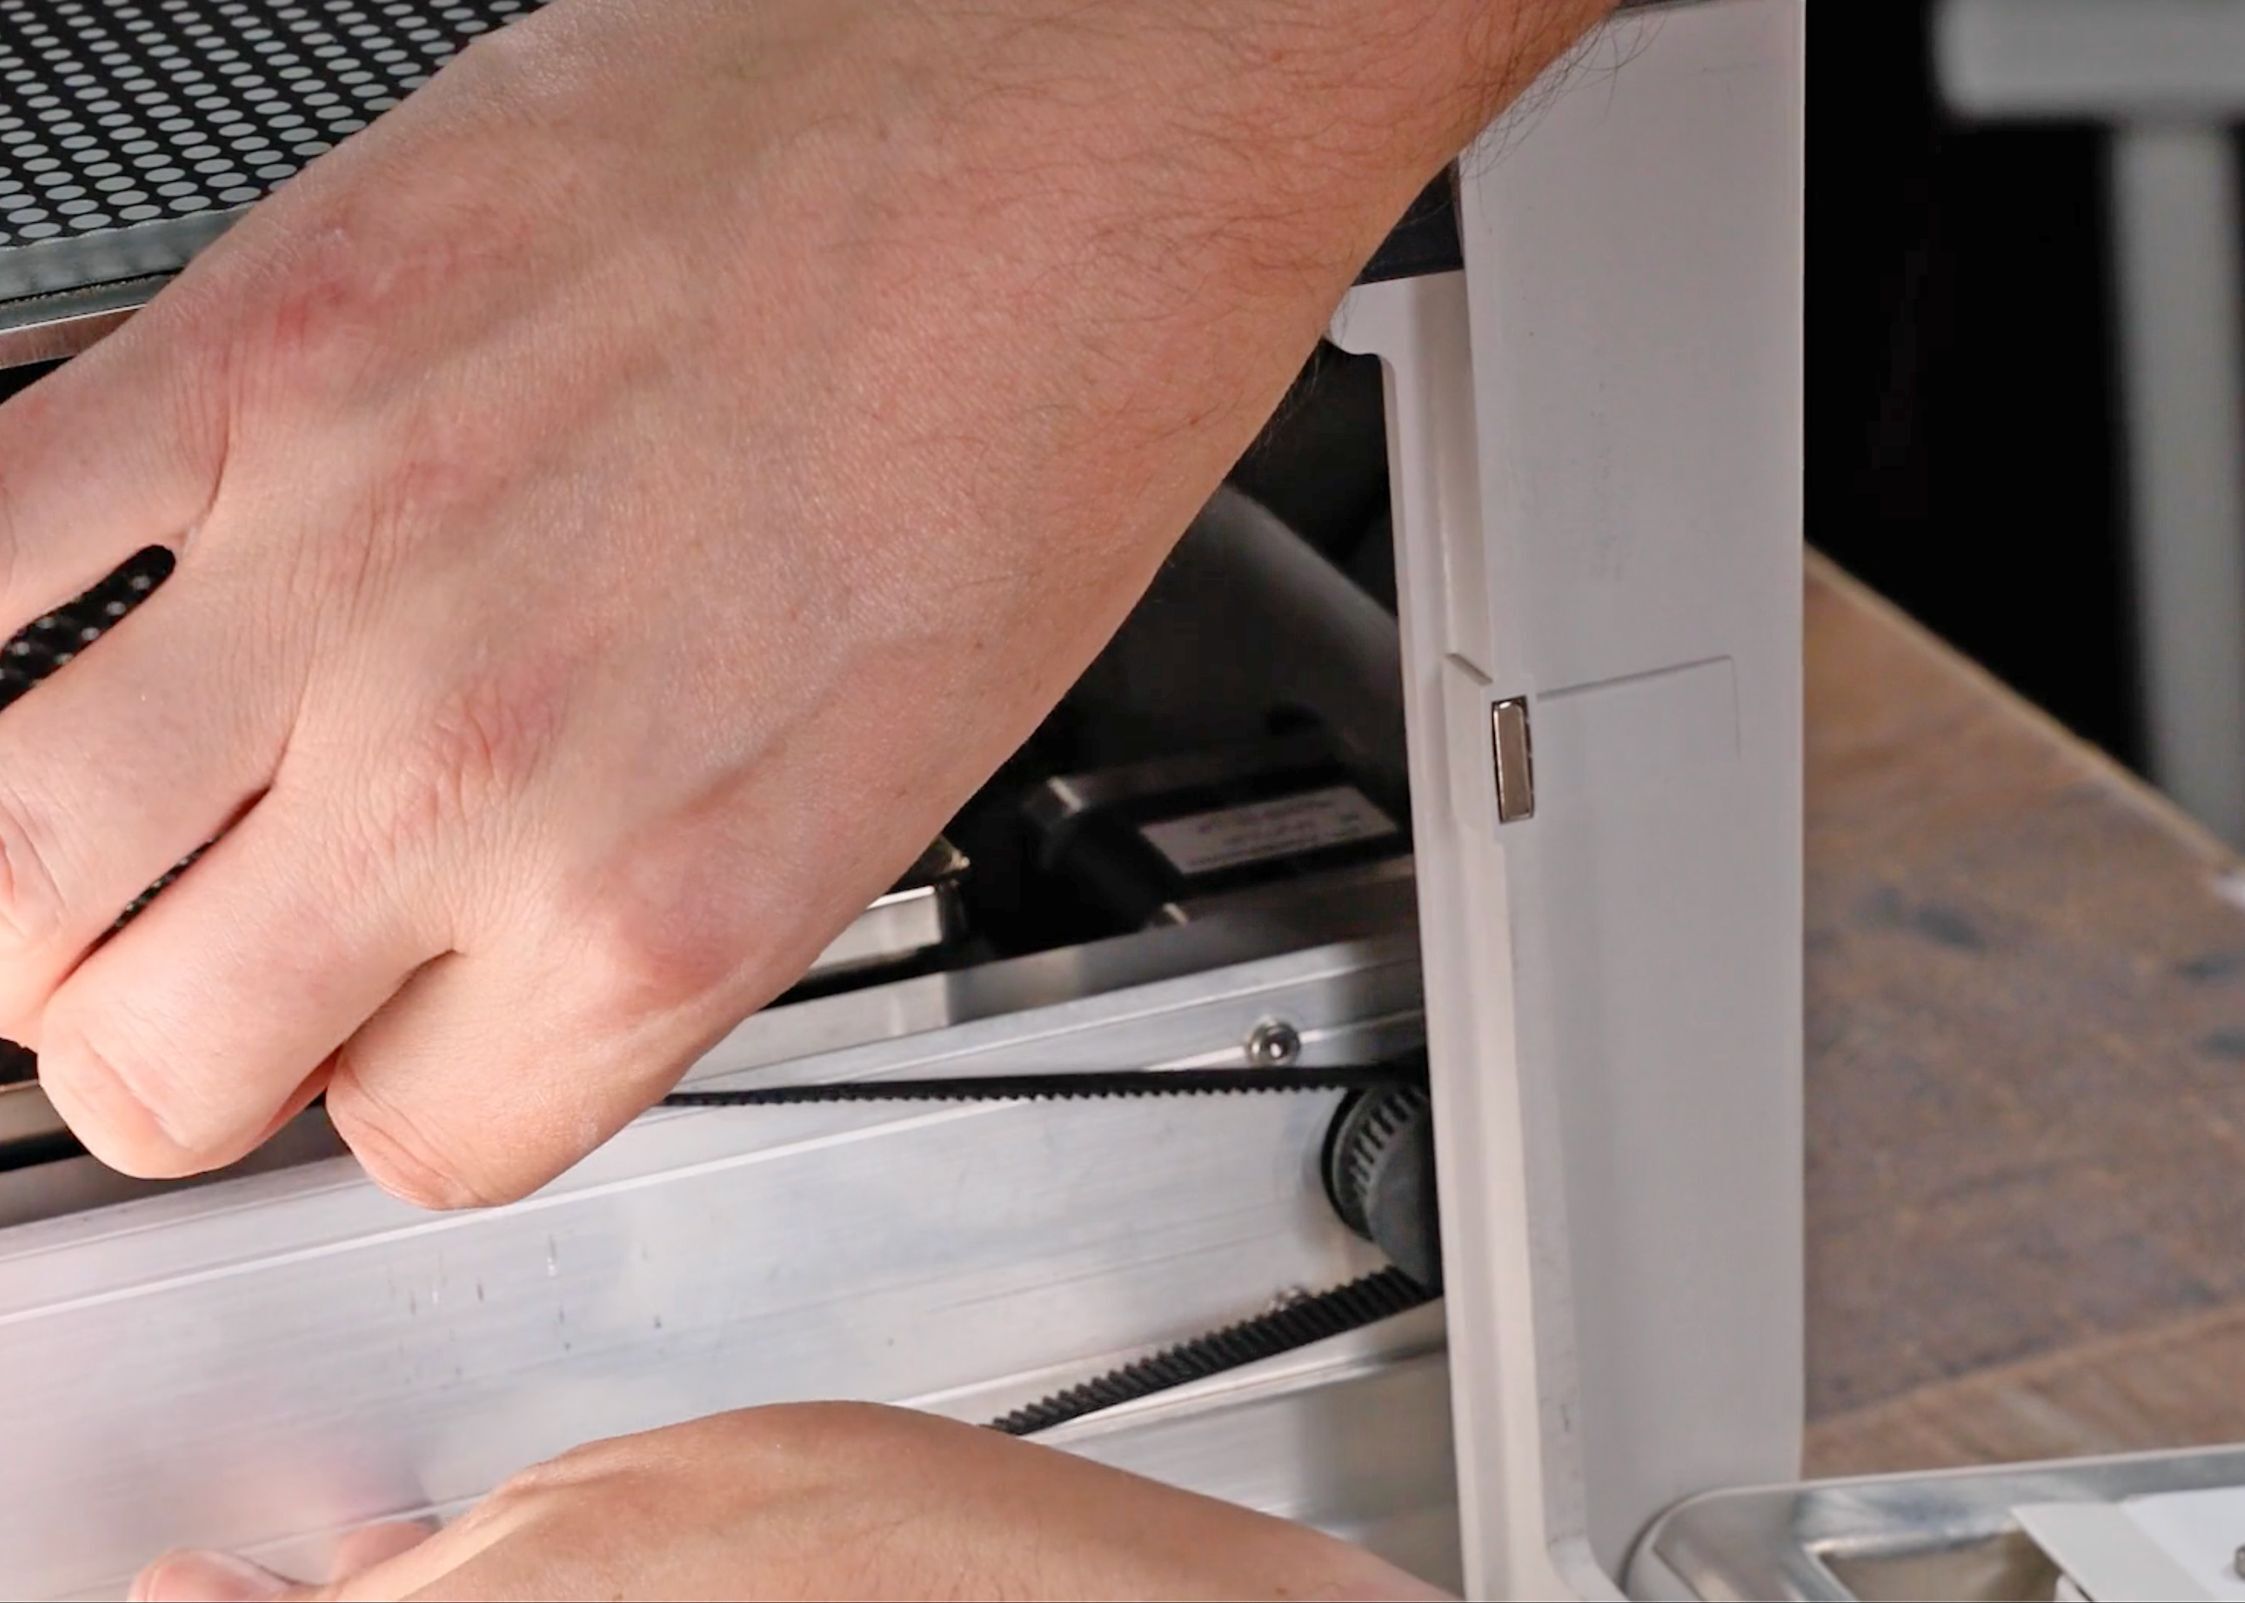
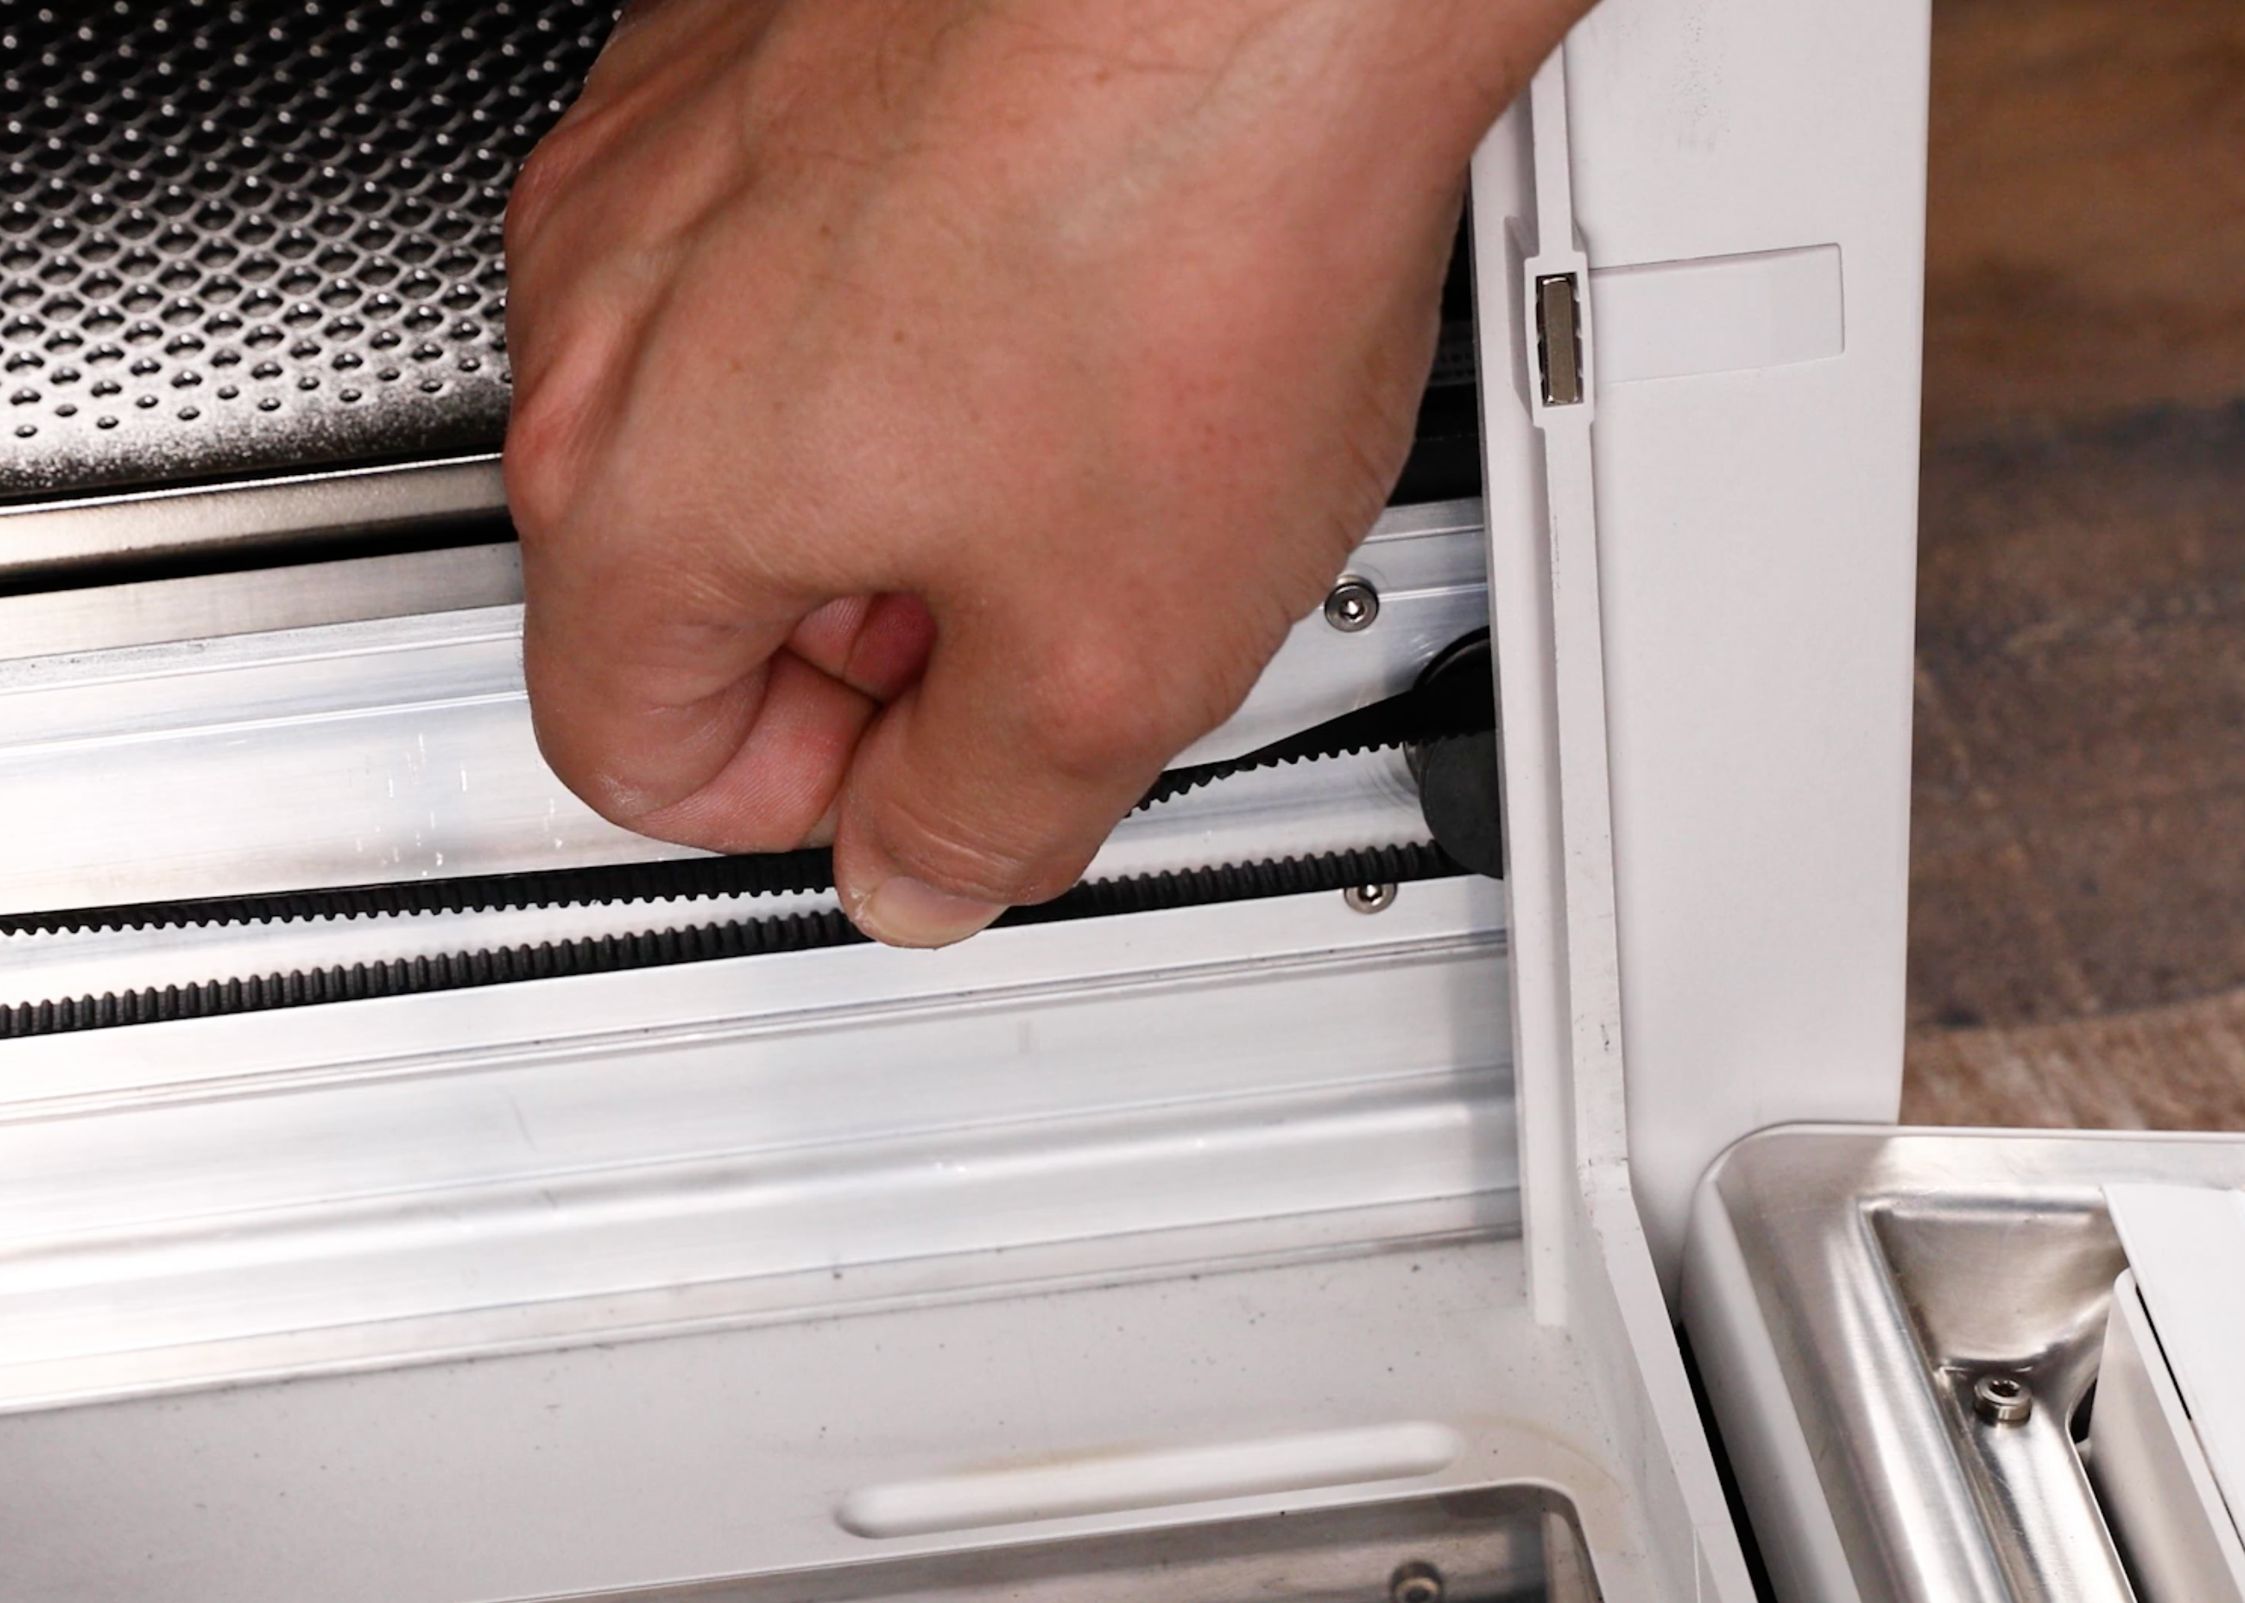
- Using your left hand, hold the far end of the belt and set it on the bottom back half of the pulley. Use your index and middle finger to hold it in place. Note: The belt will not yet be fully on the pulley.
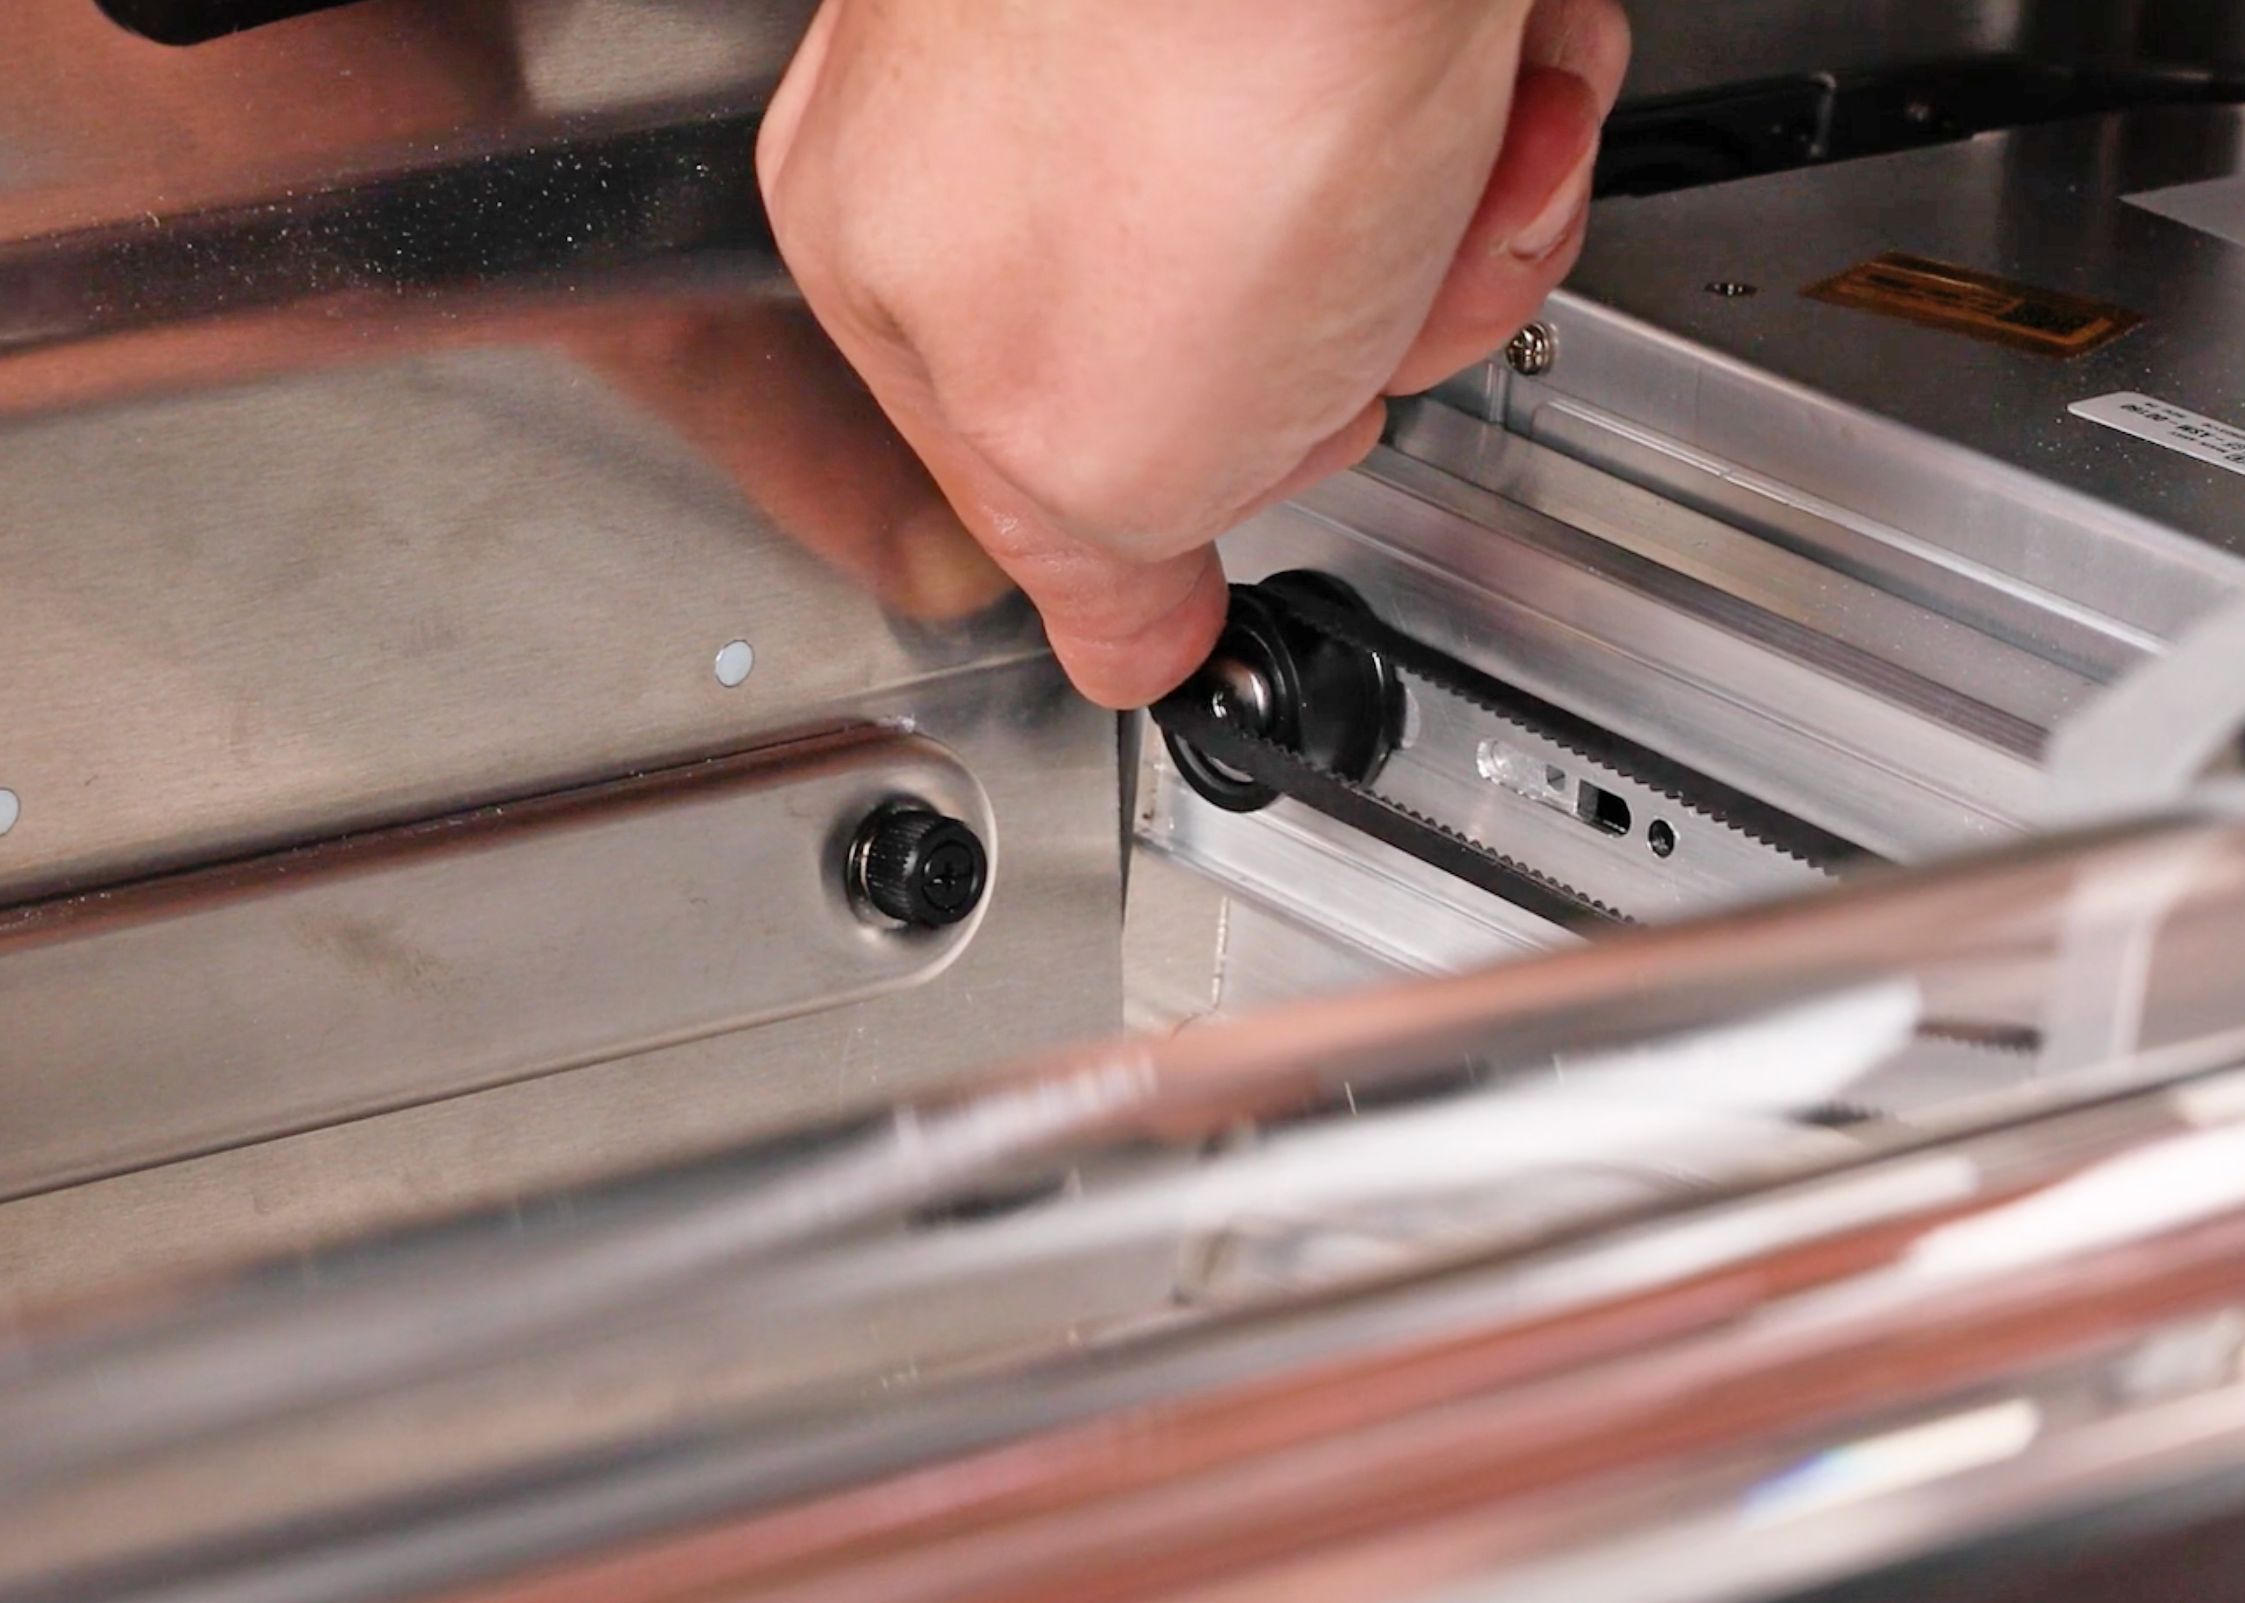
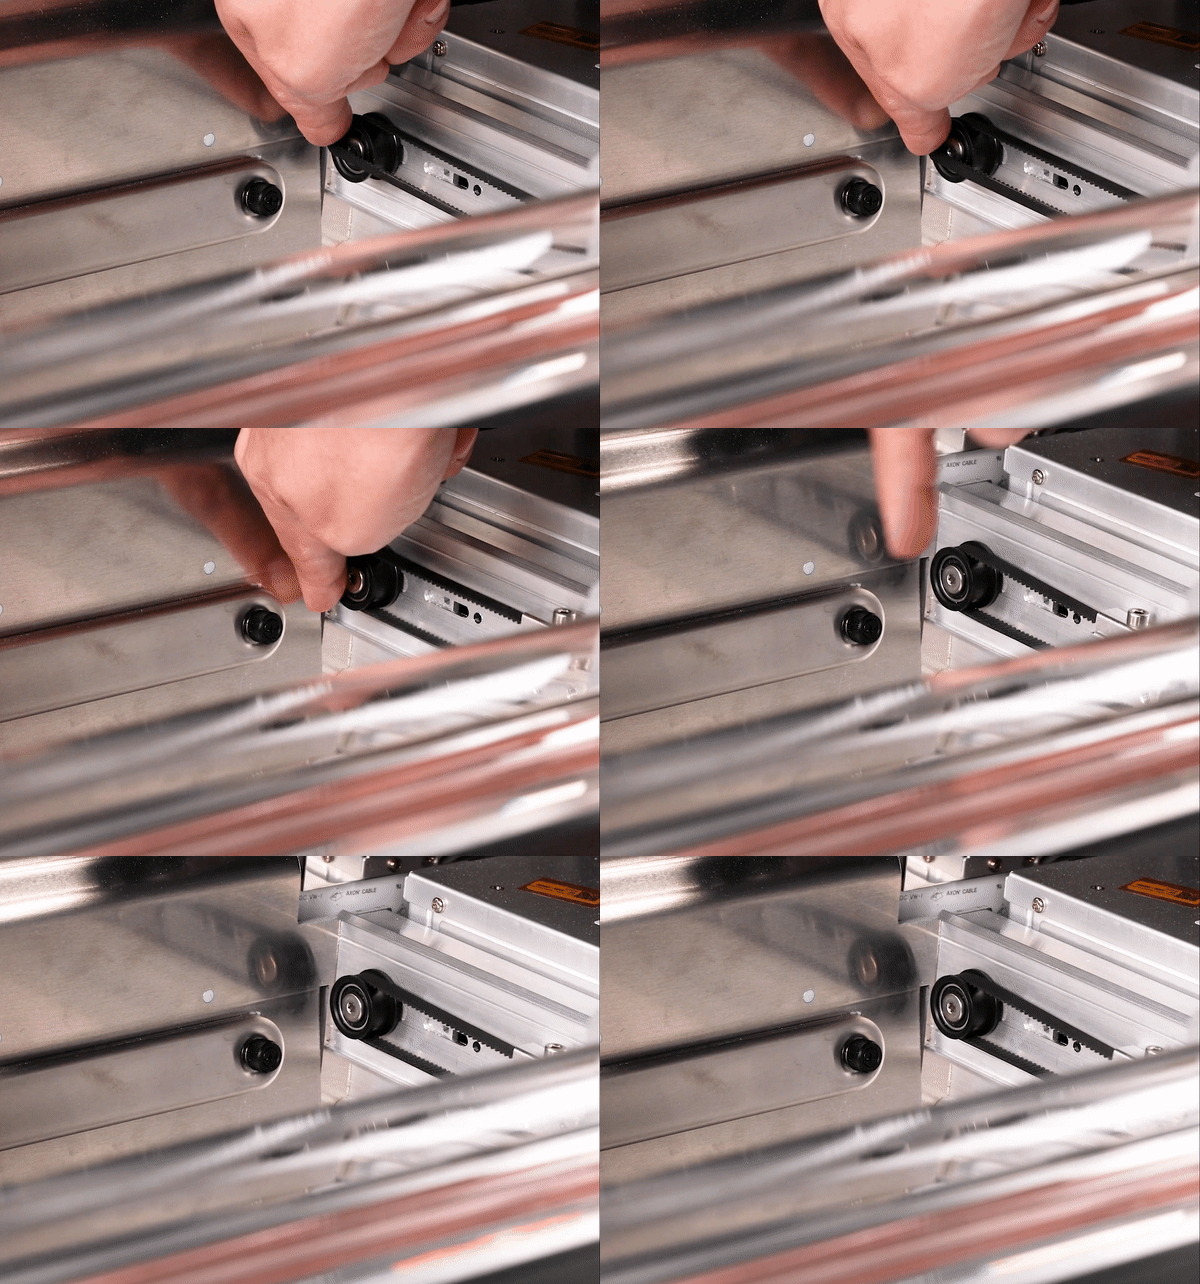
- Still holding the belt firmly in place with your left hand, use your right hand to gradually pull the top portion of the belt towards you. The belt should roll onto the pulley until it is secure. This whole process is a little like putting on a bicycle chain.
- Now push the laser arm back so the clamp is behind the plate that holds the laser arm to the rails.
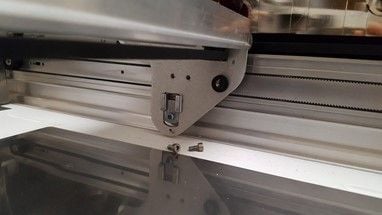
- Line up the holes in the plate with the holes in the clamp. To get them aligned correctly, you may have to pull the belt up a little. To confirm that the clamp and plate are lined up, insert the tool into the holes and ensure that it goes through both parts.
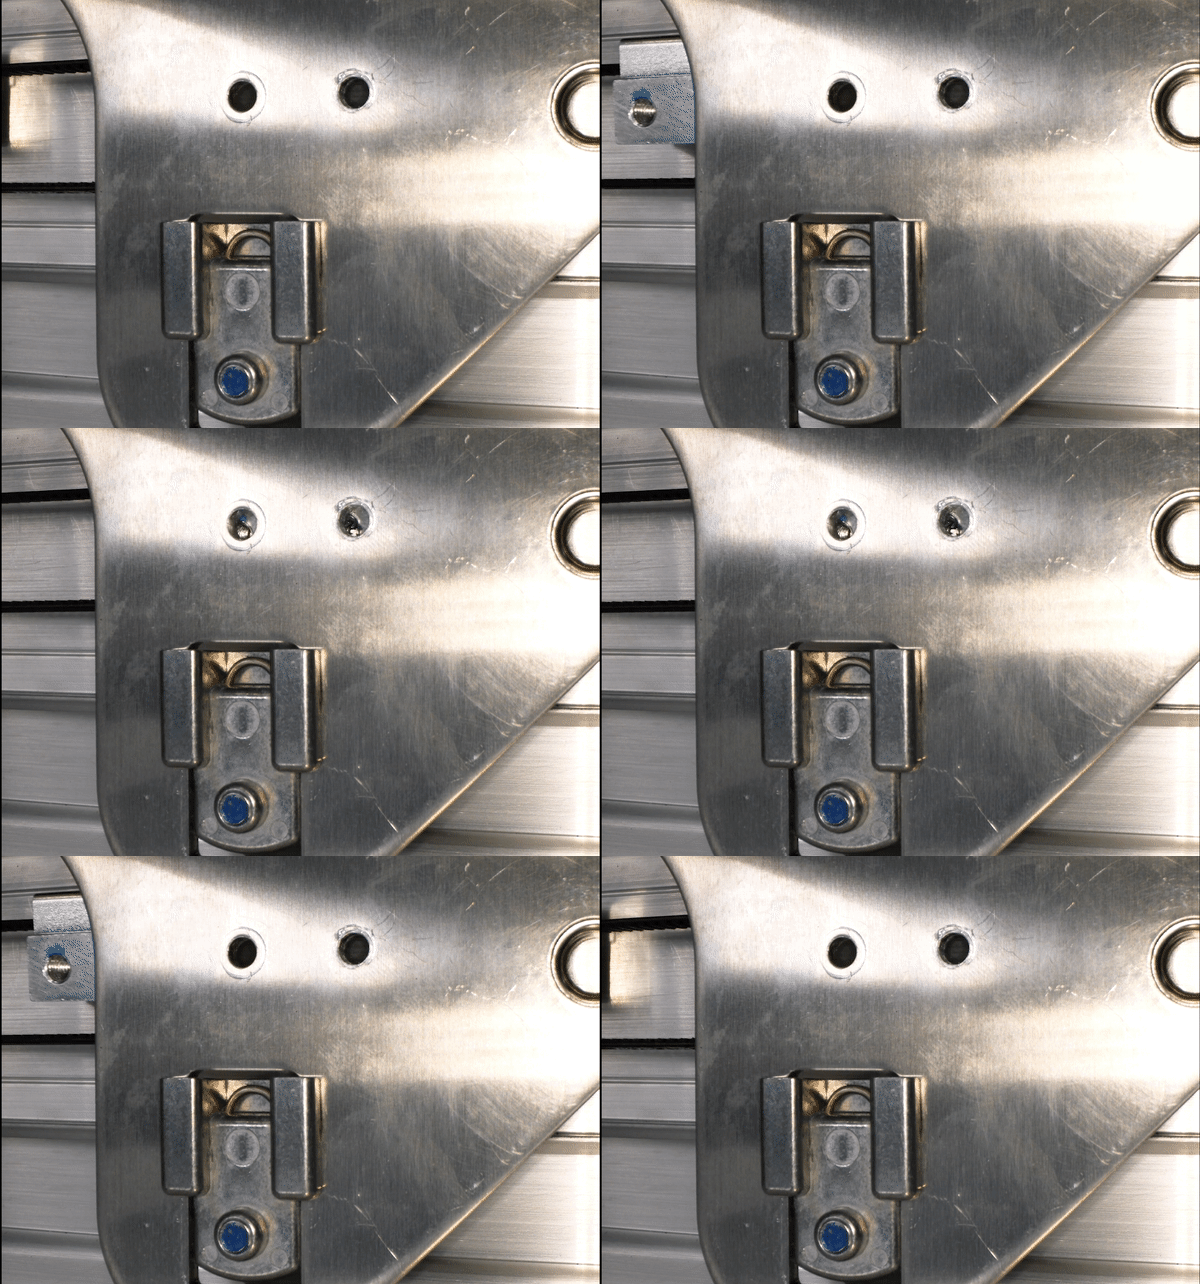
- To replace the screws, start them with your fingers, and then use the hex tool to tighten them.
- If necessary, repeat the process for the other side.
- When you’re satisfied that the belt (or belts) is installed correctly, turn on your Glowforge and try a test print.
If you have any trouble or more questions, please contact our team and we'll be happy to help!