Glowforge Basic/Plus/Pro
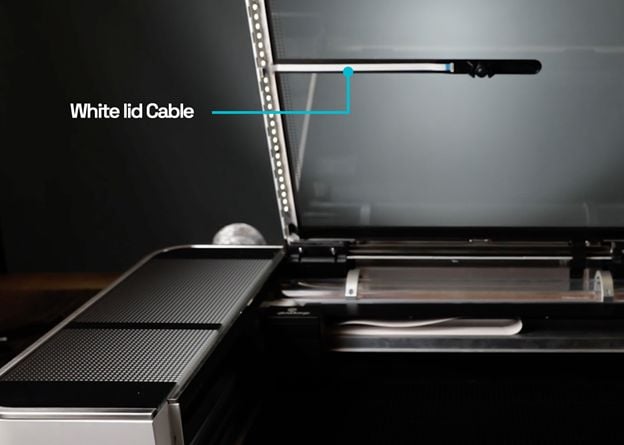
A camera in the lid of your Glowforge takes pictures of the printer bed, letting you preview your material in the Glowforge App and place your designs. The white lid cable connects this lid camera to the rest of your Glowforge.
You may need to replace the white lid cable if it's damaged, if your printer bed image won’t update in the app, or if our support team recommends a new one. If you think need a new white lid cable, please reach out to our support team.
Once you have your new cable, follow these instructions to replace it.
Before you get started
- The only thing you need on hand is your new white lid cable, no other tools are necessary.
- Please read through the instructions before you begin. (And watch the video!)
- Turn off your Glowforge.
- Open the lid and locate the white cable to the left of the lid camera.
- On each end of the cable, gently open the small hinge clips and slide the cable out of the clip. They should open easily using your fingernail. Please don’t use anything else, as it could damage the clip or connectors.
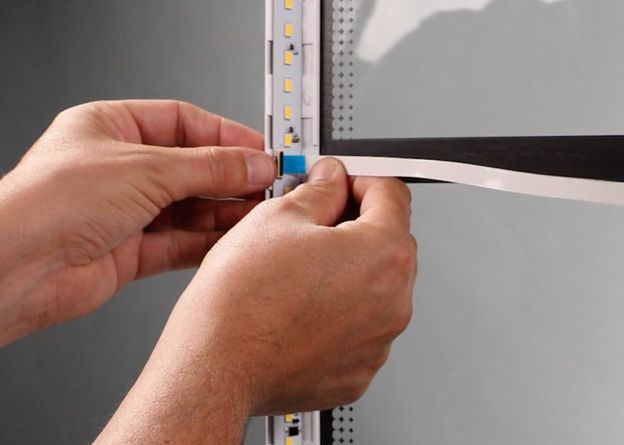
- Gently peel the cable off of the lid. If there is any adhesive left, carefully remove it.
TIP: A small scrap of Proofgrade® material works great for this. - Holding the new cable with the adhesive covering facing the lid, slide the right end of the cable into the clip next to the camera, and then close the clip.
- Align the cable between the clips as straight as you can.
- Working from the right end near the camera, peel back the adhesive covering and attach the cable to the lid with the adhesive.
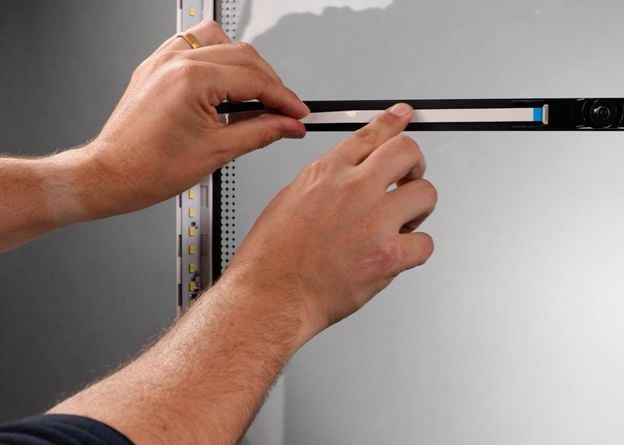
- Slide the left end of the cable into the left clip, and then close the clip.
- When you’re satisfied that the cable is securely adhered to the lid and connected, turn on your Glowforge, and try a test print.
If you have any trouble or more questions, please contact our team and we'll be happy to help!