Replace the Tension Pulley
Glowforge Basic/Plus/Pro
There are three belts inside your Glowforge and each belt has two pulleys. These belts and pulleys work together to move the laser arm and printer head back and forth during printing. One pulley is smooth and holds the tension of the belt (we call it the tension pulley). This article shows you how to replace the tension pulley.
You may need to replace the tension pulley if your prints aren’t landing where you expected on your material. If so, check the tension pulley for damage, and if it’s damaged you can purchase a replacement in our shop here.
Once your new pulley arrives, follow these instructions to replace it.
Before you get started
- You’ll need a new tension pulley and a 3mm L-shaped hex key.
- Please read through the instructions before you begin. (And watch the video!)
Replace the Tension Pulley
- First, turn off your Glowforge.
- Carefully remove the crumb tray to give yourself more room to work.
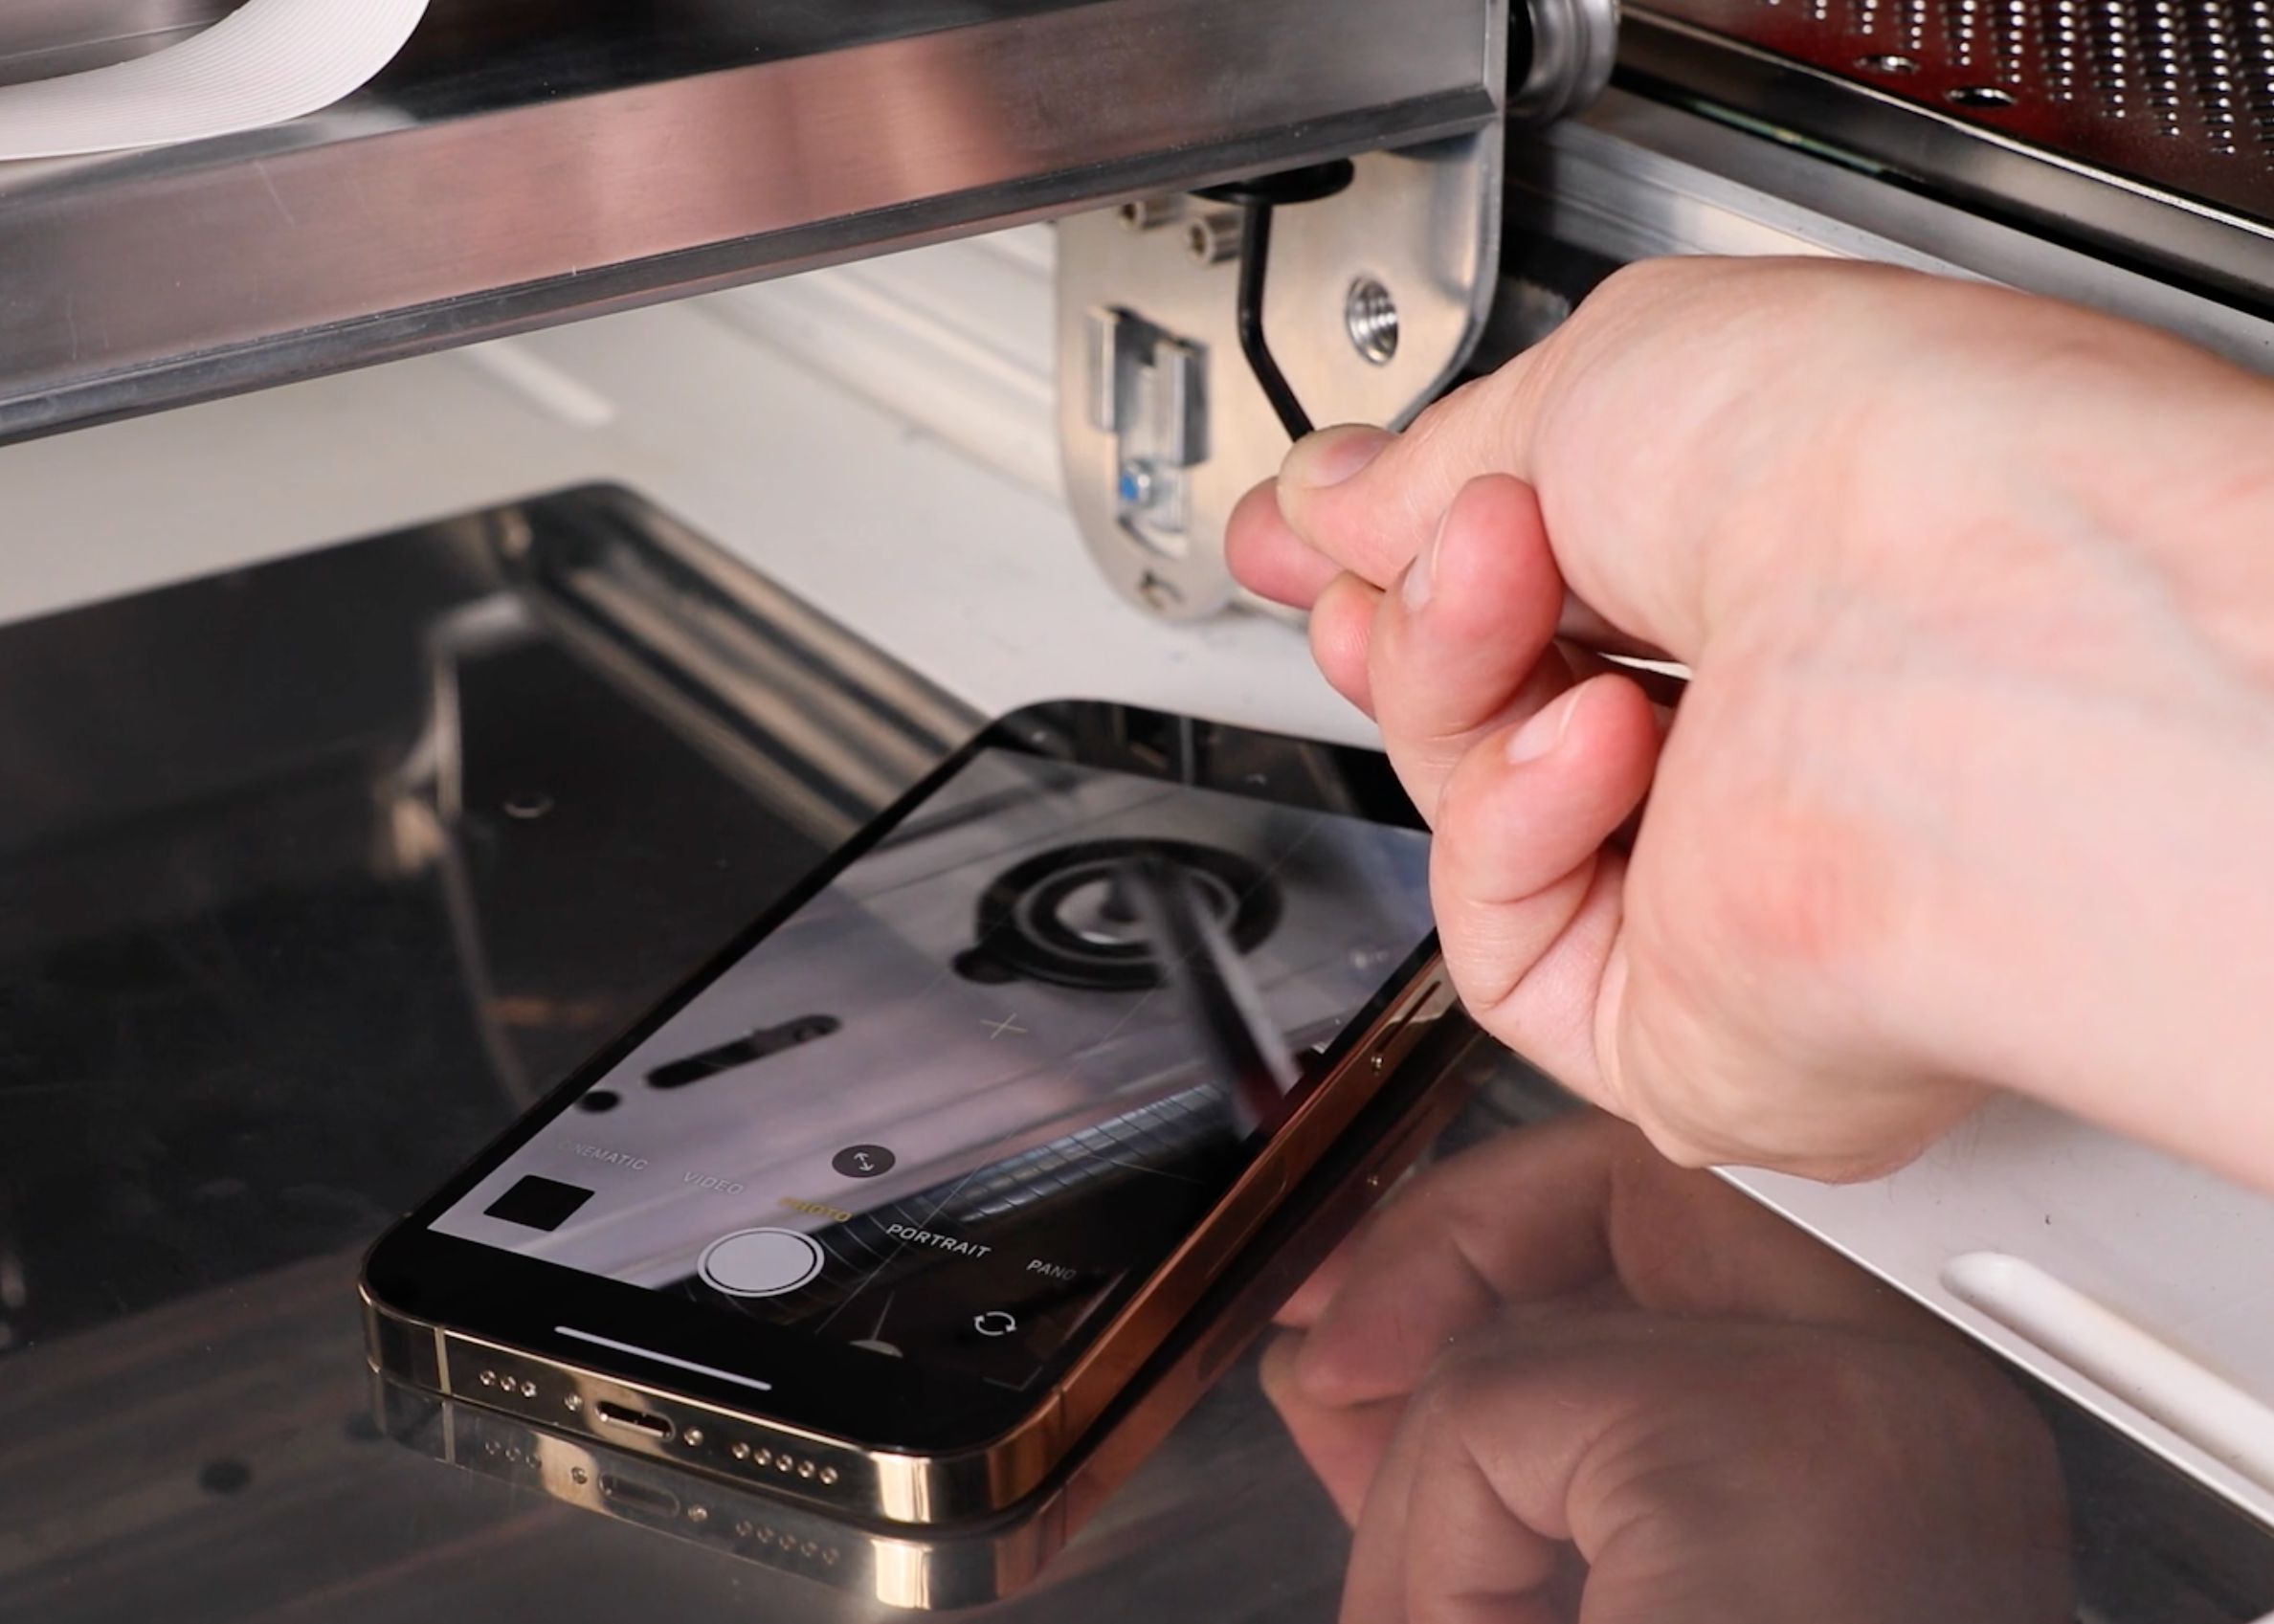
- Locate the tension pulley, underneath the laser arm on the right side of your Glowforge.
TIP: To make it easier to find, use a mirror, or the selfie mode on your mobile phone.
- Insert the short side of the 3mm hex L-key into the metal screw with the long handle of the hex key pointing toward the front of your Glowforge.
- To loosen the screw, turn the handle clockwise - towards the back of the printer. If this is the first time you’ve loosened these screws, it will take a bit of pressure to get it started.
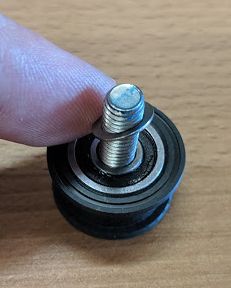
Note: Since the screw is upside down, loosening it is backward from the usual "righty-tighty, lefty-loosey." - Keep loosening until the screw comes out entirely. Remove the washer and screw from the old pulley. Keep those - you’ll reuse them to install the new pulley.
- Add the screw and washer to the new pulley. Be sure to place the washer between the pulley and the laser arm. The grooved ridge of the pulley must be on the same side as the washer.

- With the new pulley assembled, insert it back into the same hole under the laser arm.
- Using your fingers, gently tighten the screw into the hole until it threads a bit.
TIP: Remember, you’ll need to turn counter-clockwise to tighten, which is backward from how you would usually tighten a screw. - With the 3 mm hex key, continue to turn the screw until it’s almost tightened.
- The pulley should be loose enough that you can push it to the right a bit.
- Now, slip the belt over the pulley. Make sure the teeth of the belt face inward toward the pulley. The tension will be very loose.

- With the belt on the pulley, push the screw fairly hard to the right to keep tension on the belt, and then finish tightening the screw.

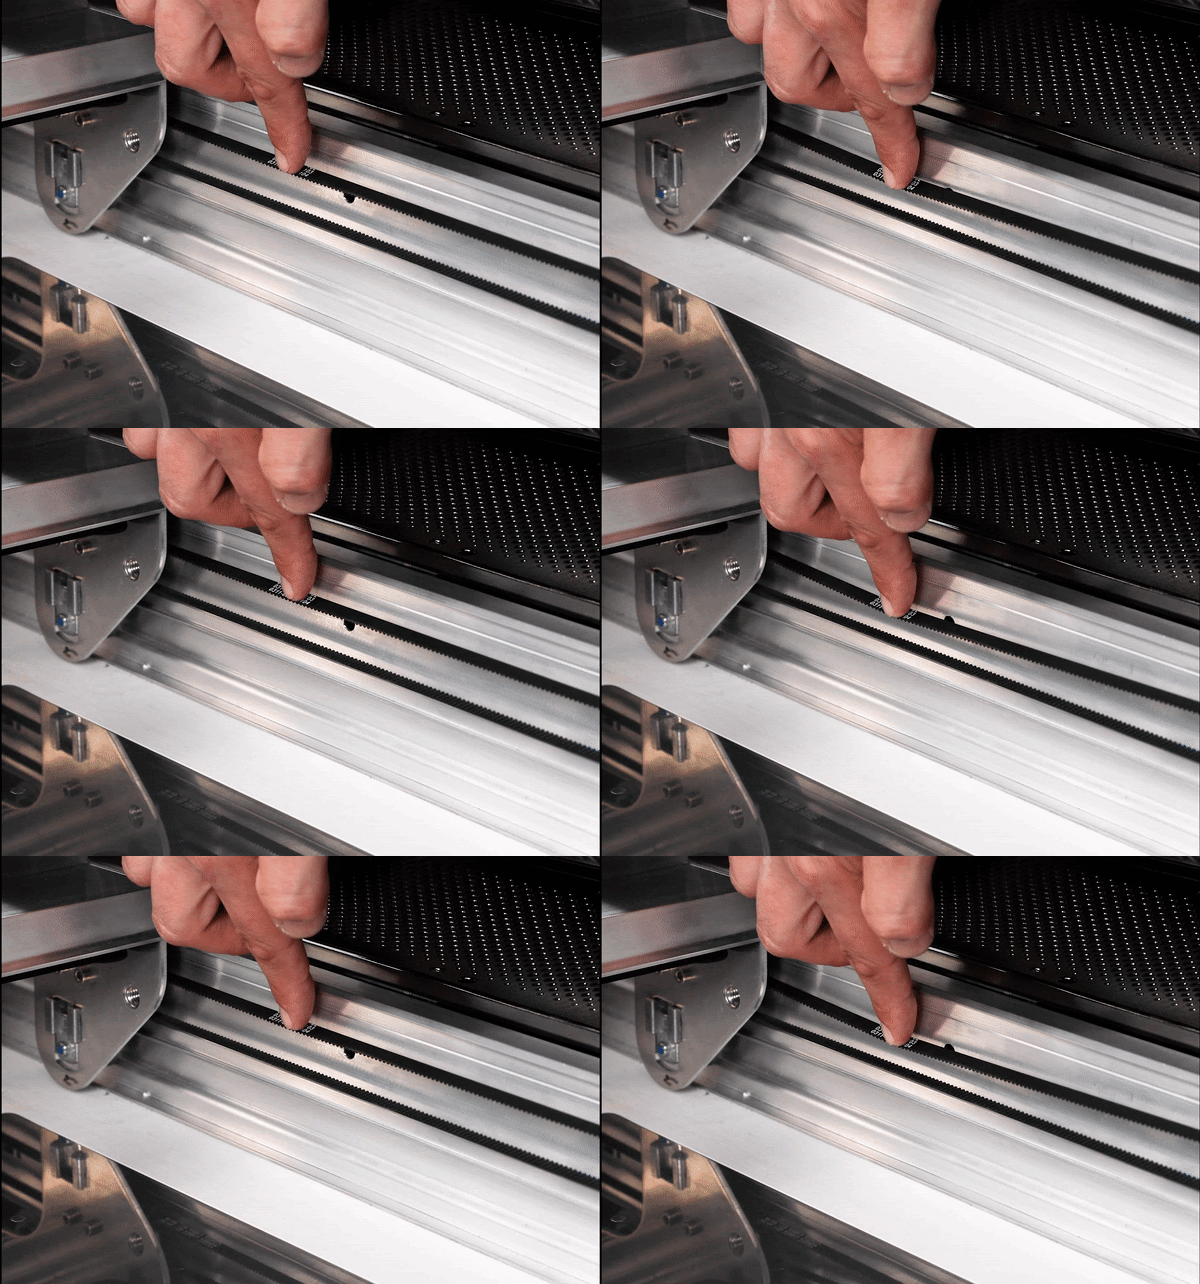
- Once you've tightened the screw fully, check the belt tension. When pressing lightly on one side of the belt, the other side should not move. If it does move, the belt is too loose.

- To further check the belt tension, gently slide the printer head back and forth along the laser arm. It should move easily and smoothly. If it feels stiff, the belt is too tight, so adjust accordingly.
- It may take a couple of tries to get the tension right. You can check the tension on the side belts to compare for correct tension. The tension on all three belts should feel about the same.
- Once you’re satisfied with the tension, turn on your Glowforge, and try a test print.
If you have any trouble or more questions, please contact our team and we'll be happy to help!