Add Text to Your Design using Glowforge Premium
With Glowforge Premium, you have access to over 900 professional fonts. With all those choices, you can easily personalize your designs and projects with the perfect font, whether it’s a project for work or for your niece’s birthday.
Read on to learn how to add and customize text in your design.
- With your design open in the workspace, on the top menu bar, click Insert text.

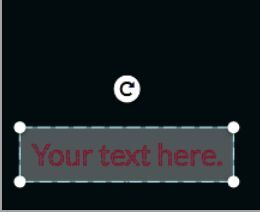
- In the box that appears, type your text.
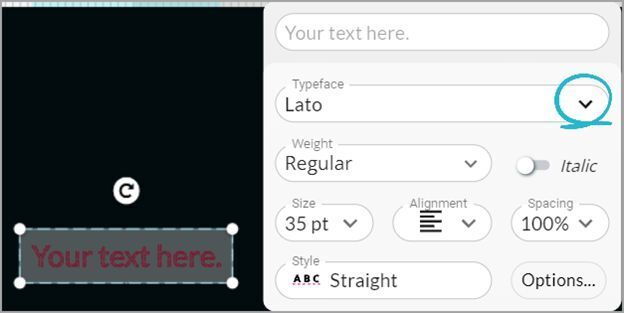
- To choose from all of the available fonts, click the Typeface drop-down menu.
- In the text options window, we’ve made it easy to find the font you want from more than 900 options.
- On the left, select from curated lists of fonts by different categories like Big & Bold, Whimsical, Kids Room, Great for Lasers, and more.
- If you know the name of the font you want, you can search for it, or click All fonts, and then click a letter in the alphabet and select from the list.
- At the bottom of the window, you can narrow the options by font weight, and make the fonts italic by turning on the Italic option.
- On the right, view the text previews to make sure you’ll get the exact look you want.
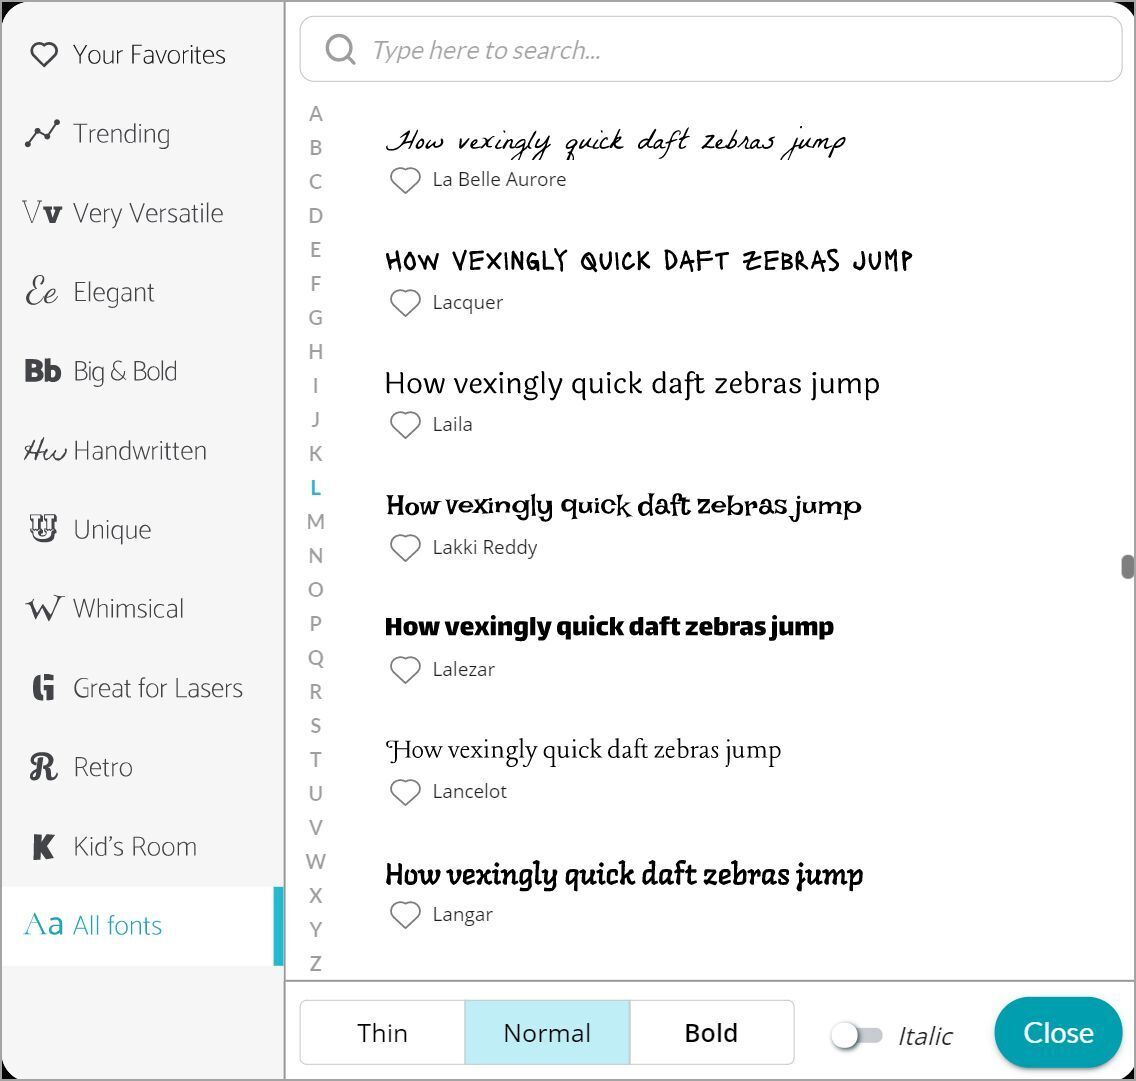
- After you’ve selected your font, click Close.
Once you’ve selected a font, that’s only the beginning. Before you finalize your design, explore all the options to see how you can create a unique text design that’s a perfect match for your message.
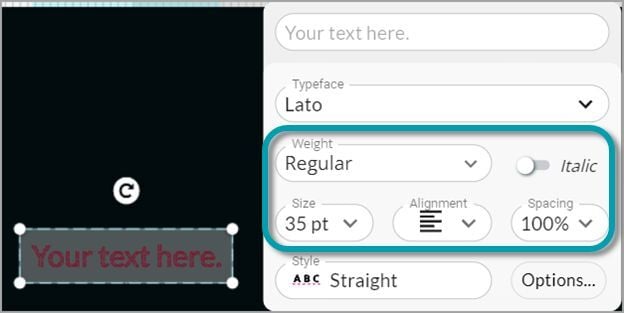
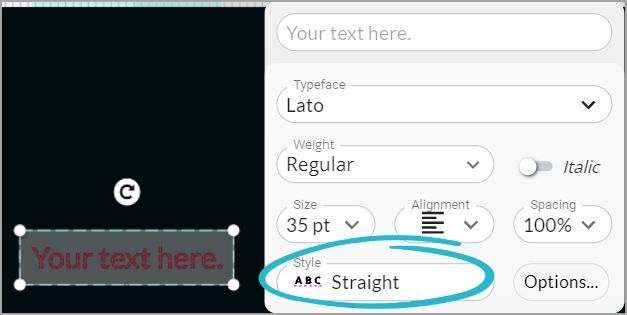
Customize fontYou can change the font size, the weight (thickness) of the text, spacing between the letters, make it italic, and set the alignment.
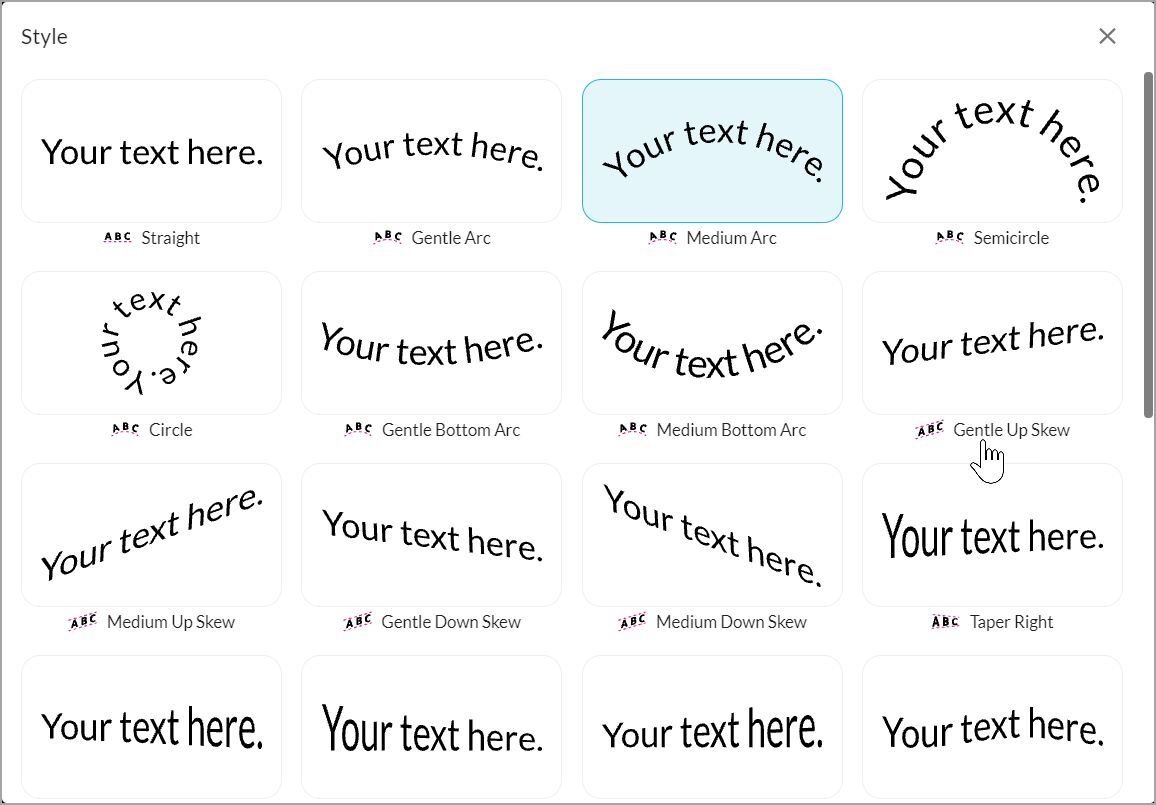
When you’ve played with all those, there’s still more. Click Style, and check out all the ways you can arc, skew, taper, wave, scoop, bump, and even circle your text.
Learn more about Glowforge Premium.