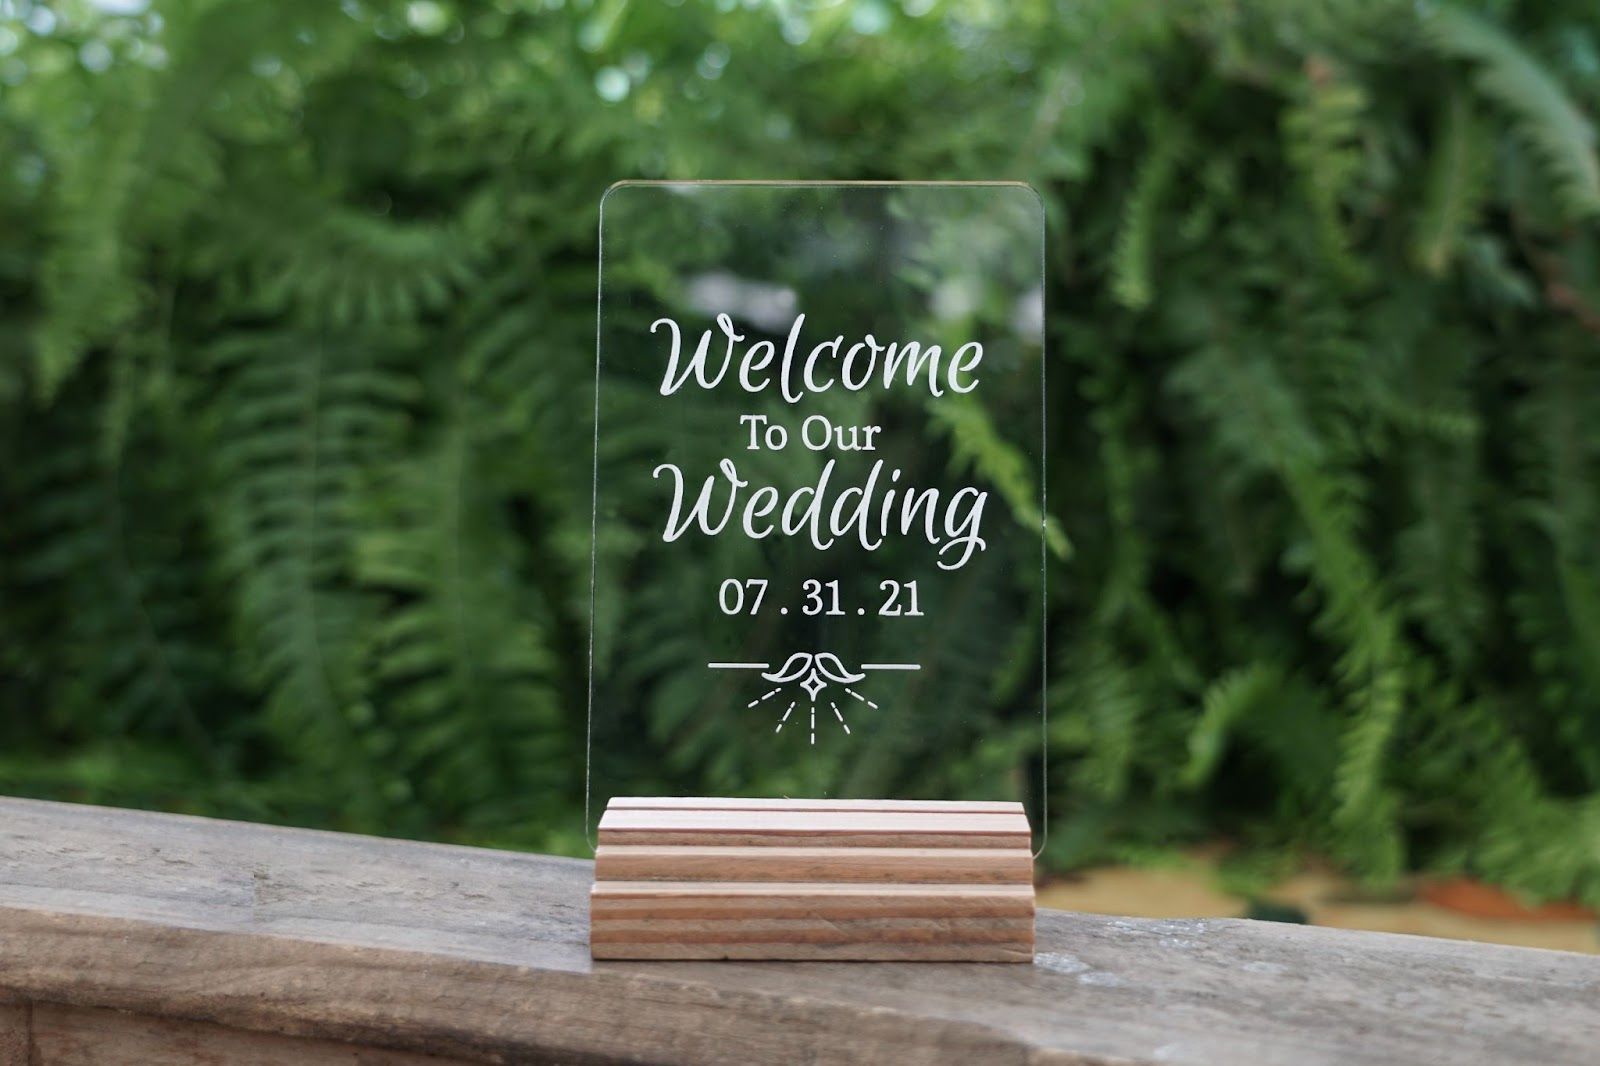
In this article, we'll show you how to create a unique sign by engraving on the backside of clear acrylic (this is also known as a "mirror" or "reverse engrave"). You can use graphics and text to create the perfect sign for your event, business, or home.
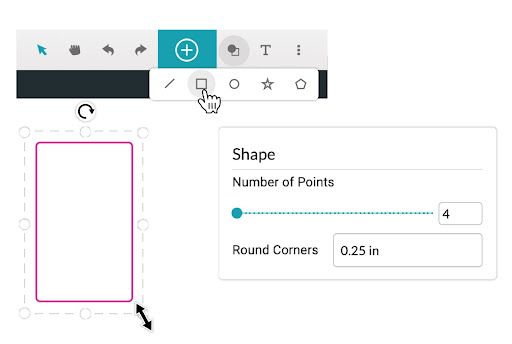
First, add a basic shape with the dimensions you want for your sign.
- On the top menu bar, click Insert shape.
- Click Insert square, or the shape of your choice.
- To modify the size and proportions, click and drag a corner of the shape. You can hold the shift key to stretch the shape into a rectangle or oval.
To round the corners of your rectangle, type the radius of your choice in the Round Corners box. For this example, we used 0.25 inches (about 6mm).

Next, we’ll add some text.
- On the top menu bar, click Insert text.
- In the text box, type “Welcome” (or another phrase), and then select the font you want from the dropdown menu (we used Euphoria Script).
- Follow step one again to add another line of text.
- Type “To Our” (or another phrase) in the text box, and then select the font you want from the dropdown menu (this time we used Esteban).
- Repeat this process for any additional lines of text.
- Resize or rotate your text to align it with the other design elements.
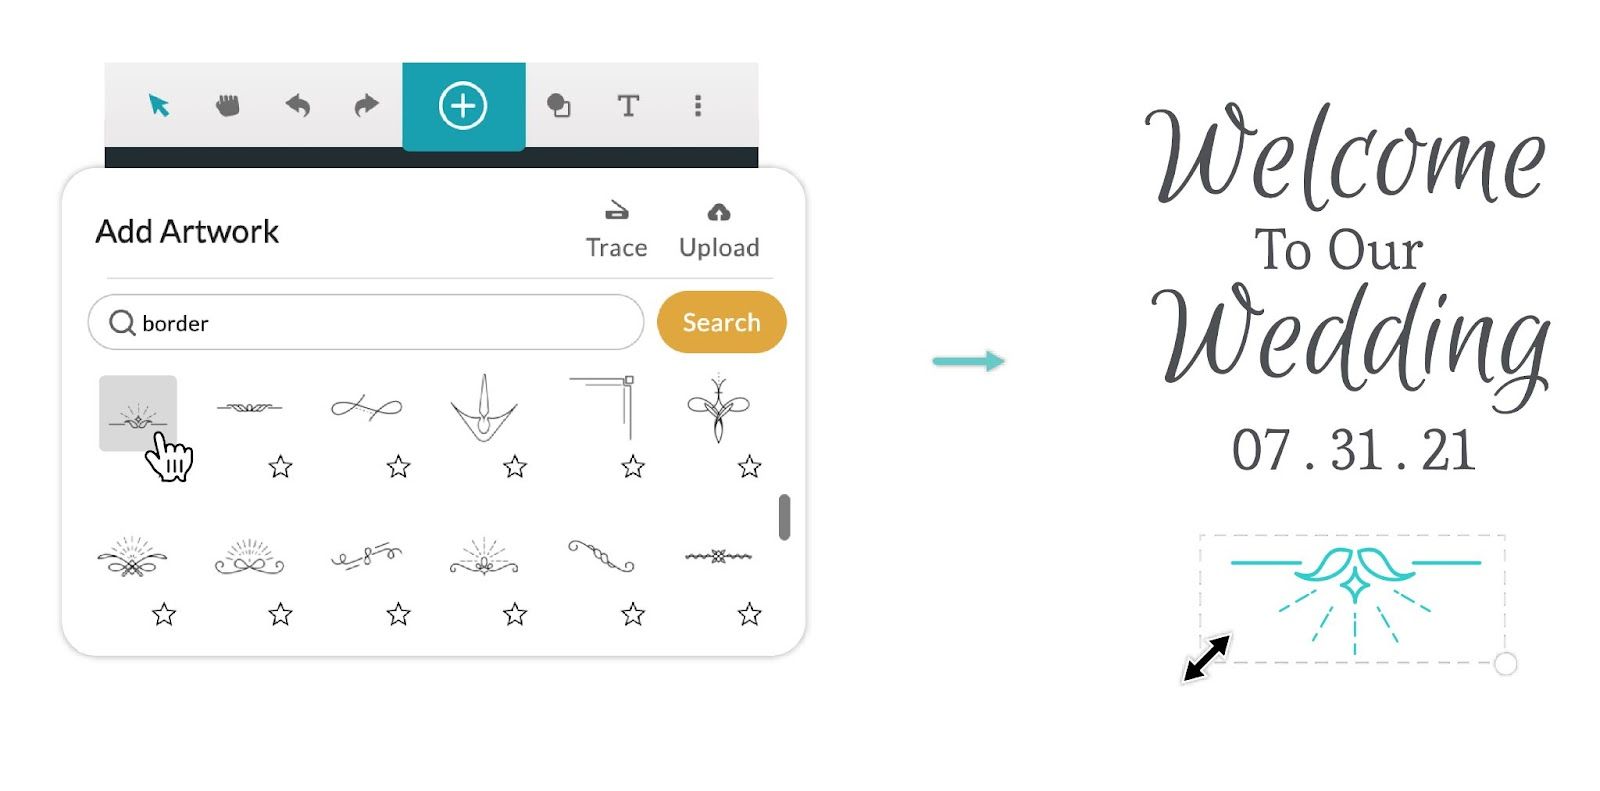
Now, let’s add some artwork.
- On the top menu bar, click Import artwork.
- Then, Search to find some art you like, or click one of the featured illustrations. After a tiny bit of processing, your artwork will appear in your workspace.
- Scale or rotate your artwork. Place it and your text within the sign shape that you created in the first step.
Tip: For an endless supply of ideas, browse the featured artwork, search from more than two million images, upload your own designs, or trace hand-drawn artwork.
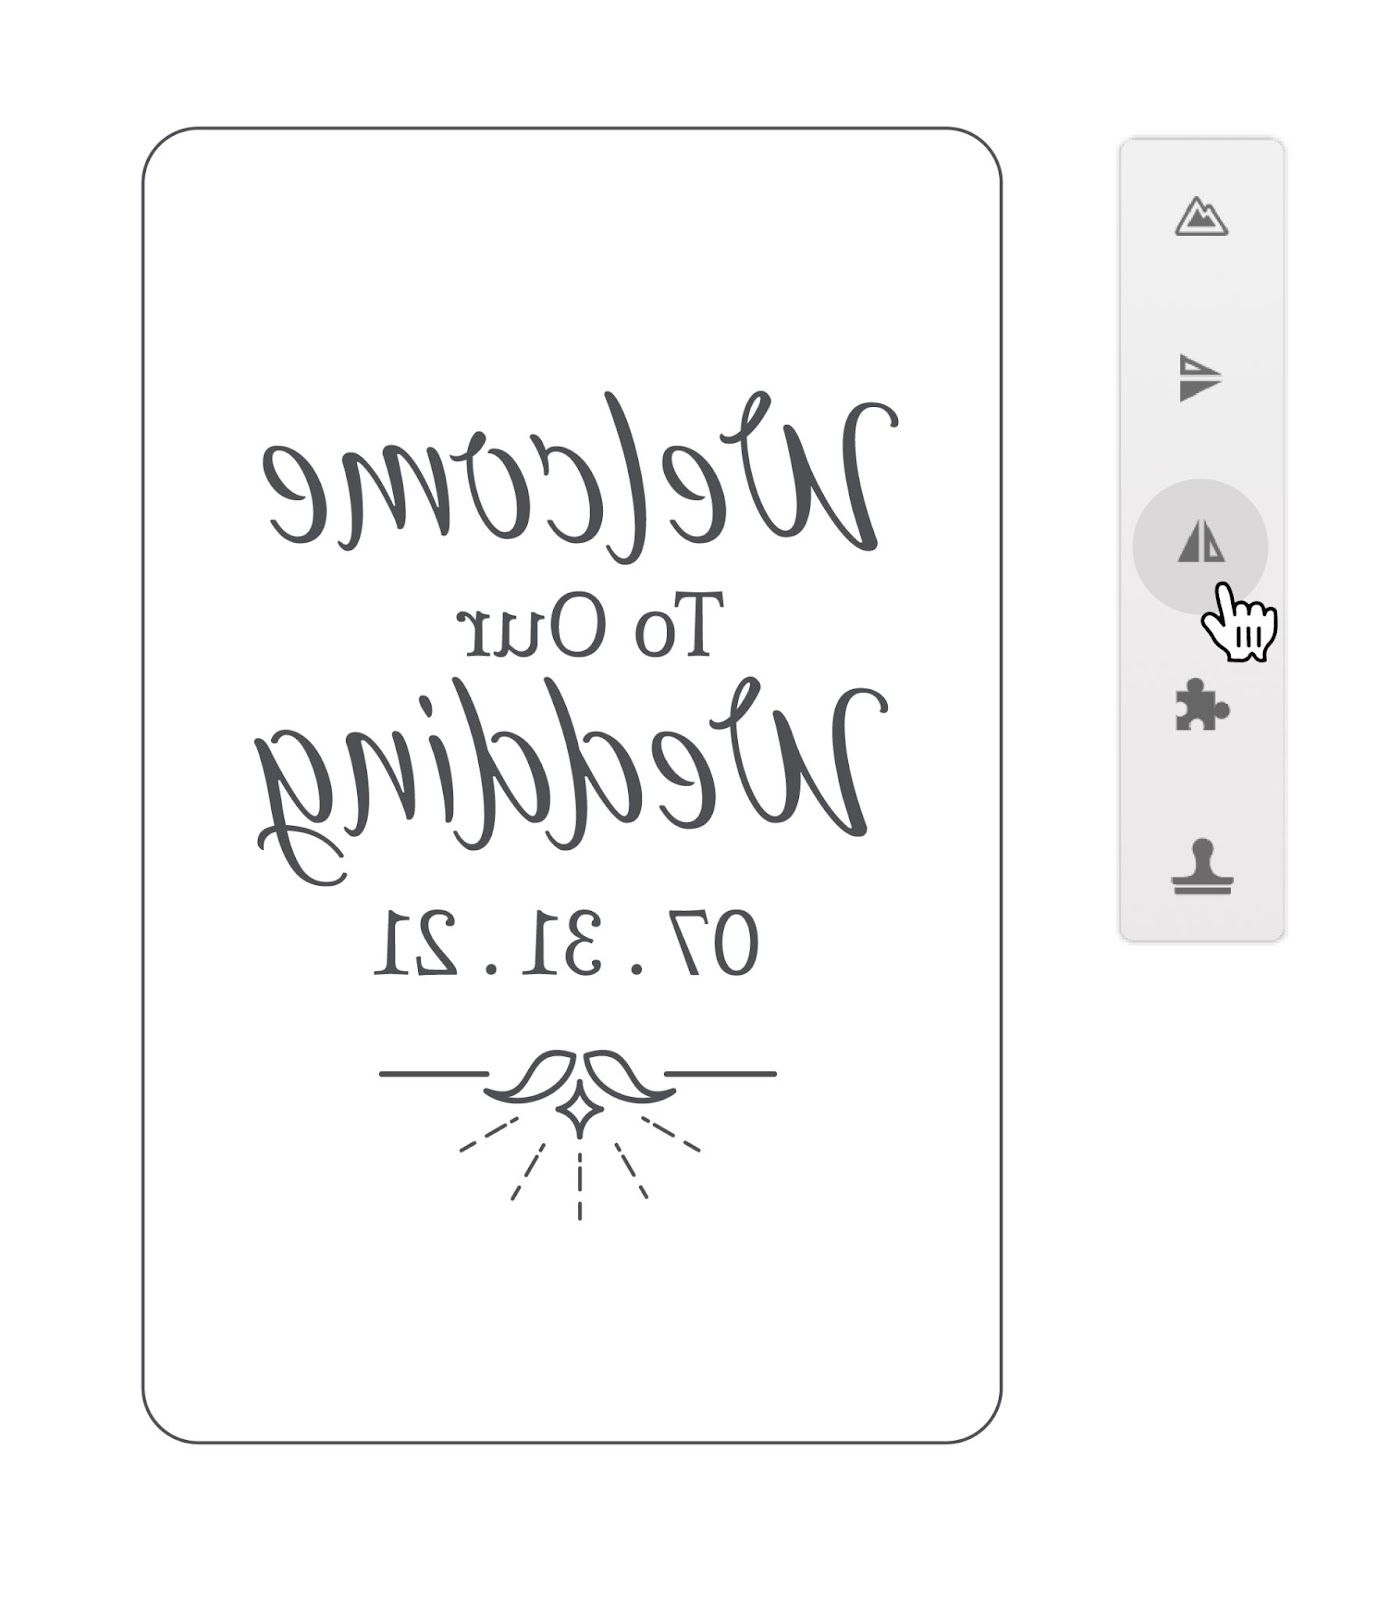
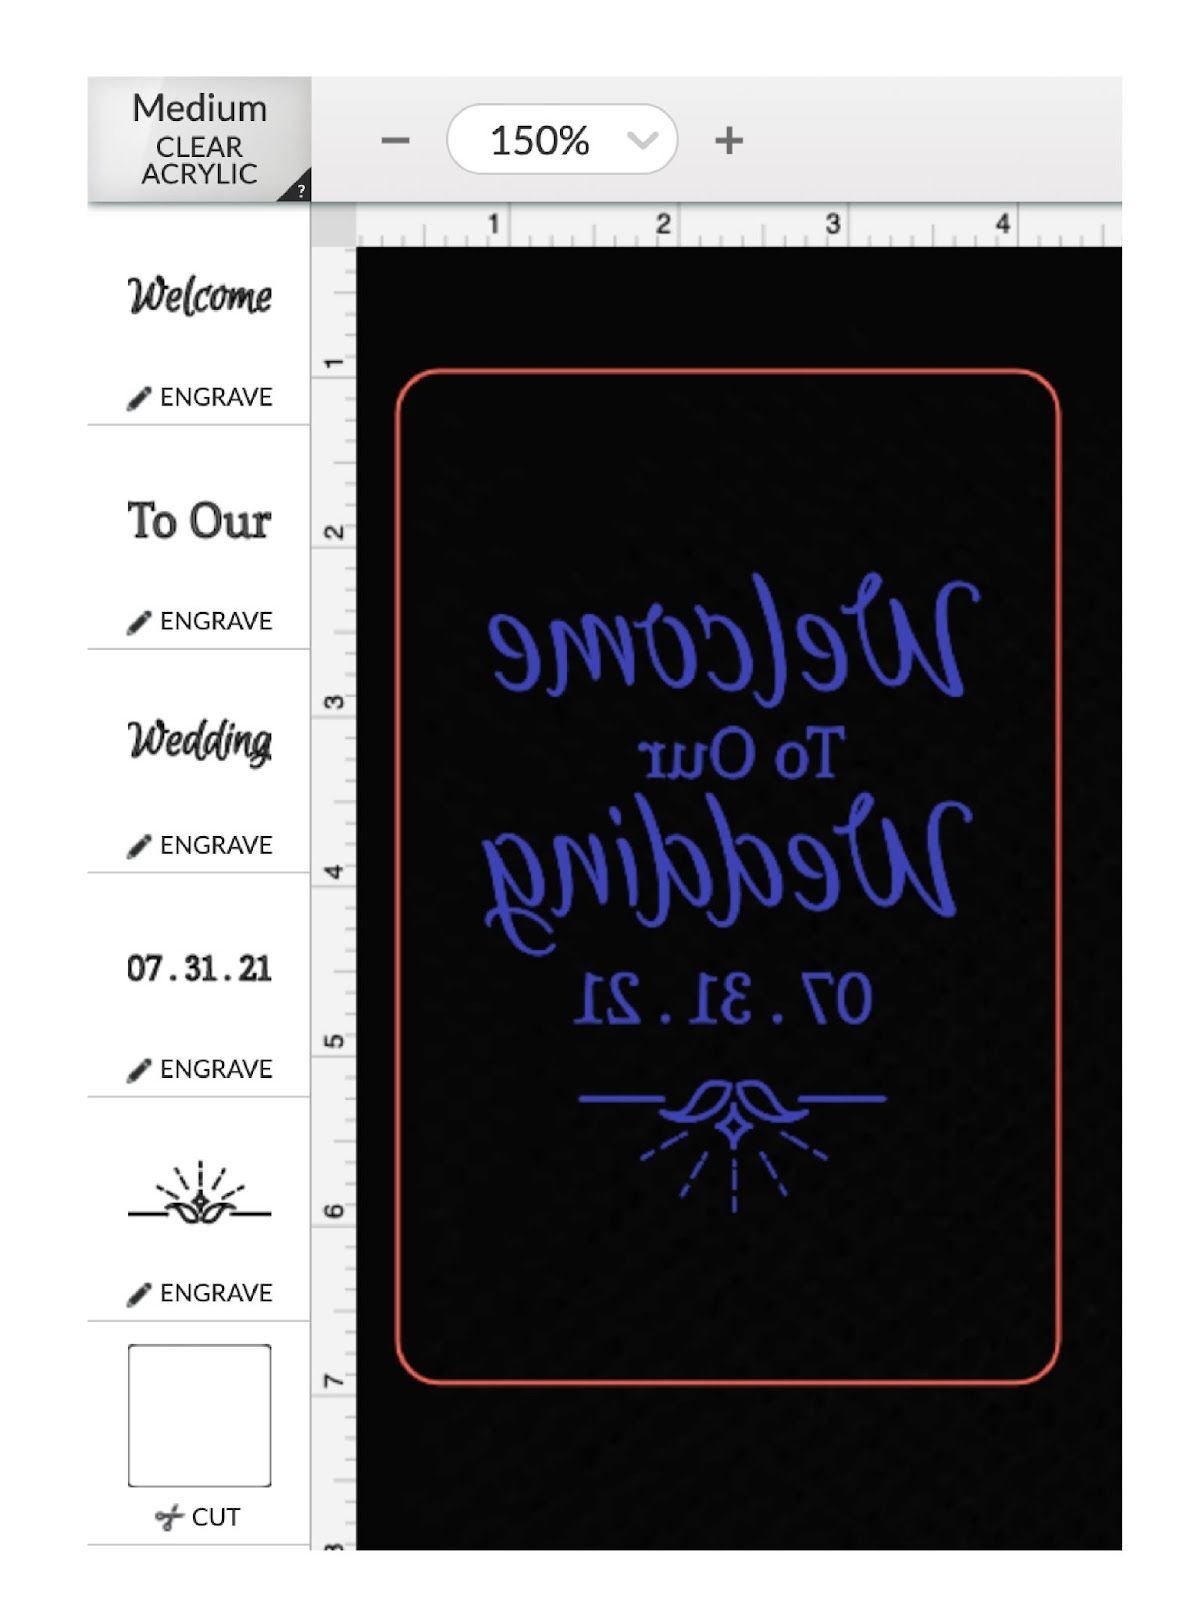
Finally, let's flip the design so that it prints on the backside of your acrylic.
- Click and drag a selection box around all of your art and text elements.
- On the right toolbar, click the Flip horizontal button. This flips the artwork along the horizontal axis to make a mirror image. Now when you engrave it on the acrylic, you’ll have the smooth side of the sign on the front, and the engraved side will face back.
Finally, we'll make sure your Glowforge knows what to do with each of the shapes in your design.
- Place a piece of Proofgrade® clear acrylic material in your printer bed.
- The lid camera will read the QR code and select the right settings for your material. Or you can click the materials menu in the upper left and select your material from the list.
- For the print steps on the left (except the outline), select either Engrave or Score.
- Finally, make sure the outline of your design is set to Cut.
- If everything looks good, it's time to print! Click PRINT in the upper right corner.
- When you’re ready, press the glowing white button on your Glowforge and start your print.
Now your sign is ready to go! Use a sign stand, block, or stand-up hardware to display your sign for the world to admire.
See also
Learn more about Glowforge Premium