Handle Locks - Remove and Replace
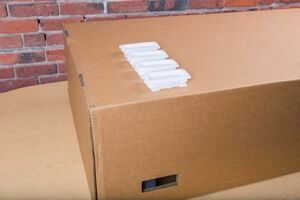
Some Glowforge printer packages include white handle locks. They can be removed, and here we'll show you how. (If you're moving your Glowforge and can't find the handles, you can tape over the holes instead.)
How to remove the handle locks
-
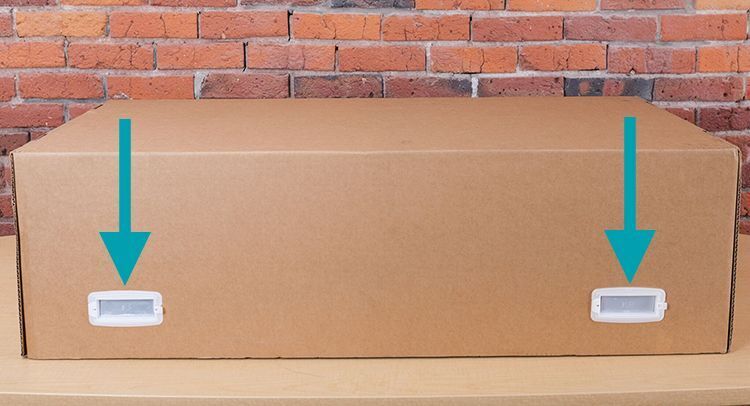
The four (4) handle locks are on the bottom of your box.
-
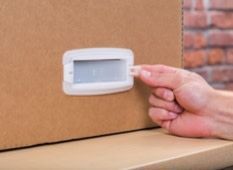
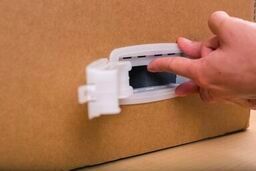
Hold the white tab on the right side of each white box handle.
-
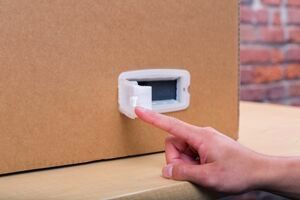
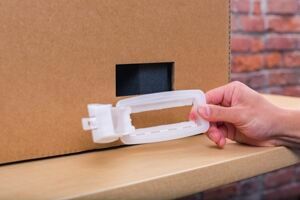
Pull each white tab from right to left, opening the handle like a door.
-
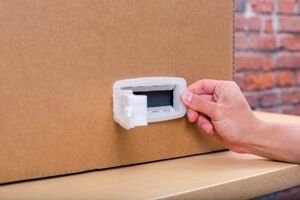
Gently pull the frame of the handle to remove it from the box.
-
Keep all four (4) locks. They lock the box together and are required for proper shipping of your Glowforge.
-
After following the packaging instructions, gather your four (4) white handle locks.

-
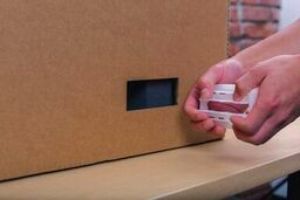
Use the pull tab to open all four (4) handles. Position the two back flaps so they face directly inside the box.
-
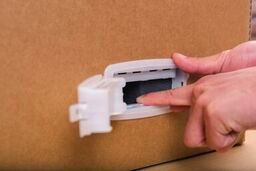
Insert all four (4) locks so they sit flush against the outer box. Use your finger to gently lock the inner tabs down and up into their final position.
-
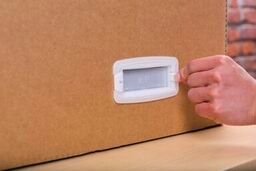
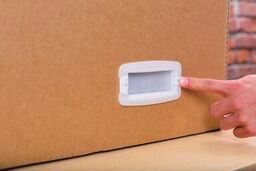
Close the securing handle door and press to ensure it is locked in place. Your packaging is now locked together and ready to travel.
If have any questions, please contact Glowforge Support.