Make a Cake Topper from Scratch using Premium Creative Tools
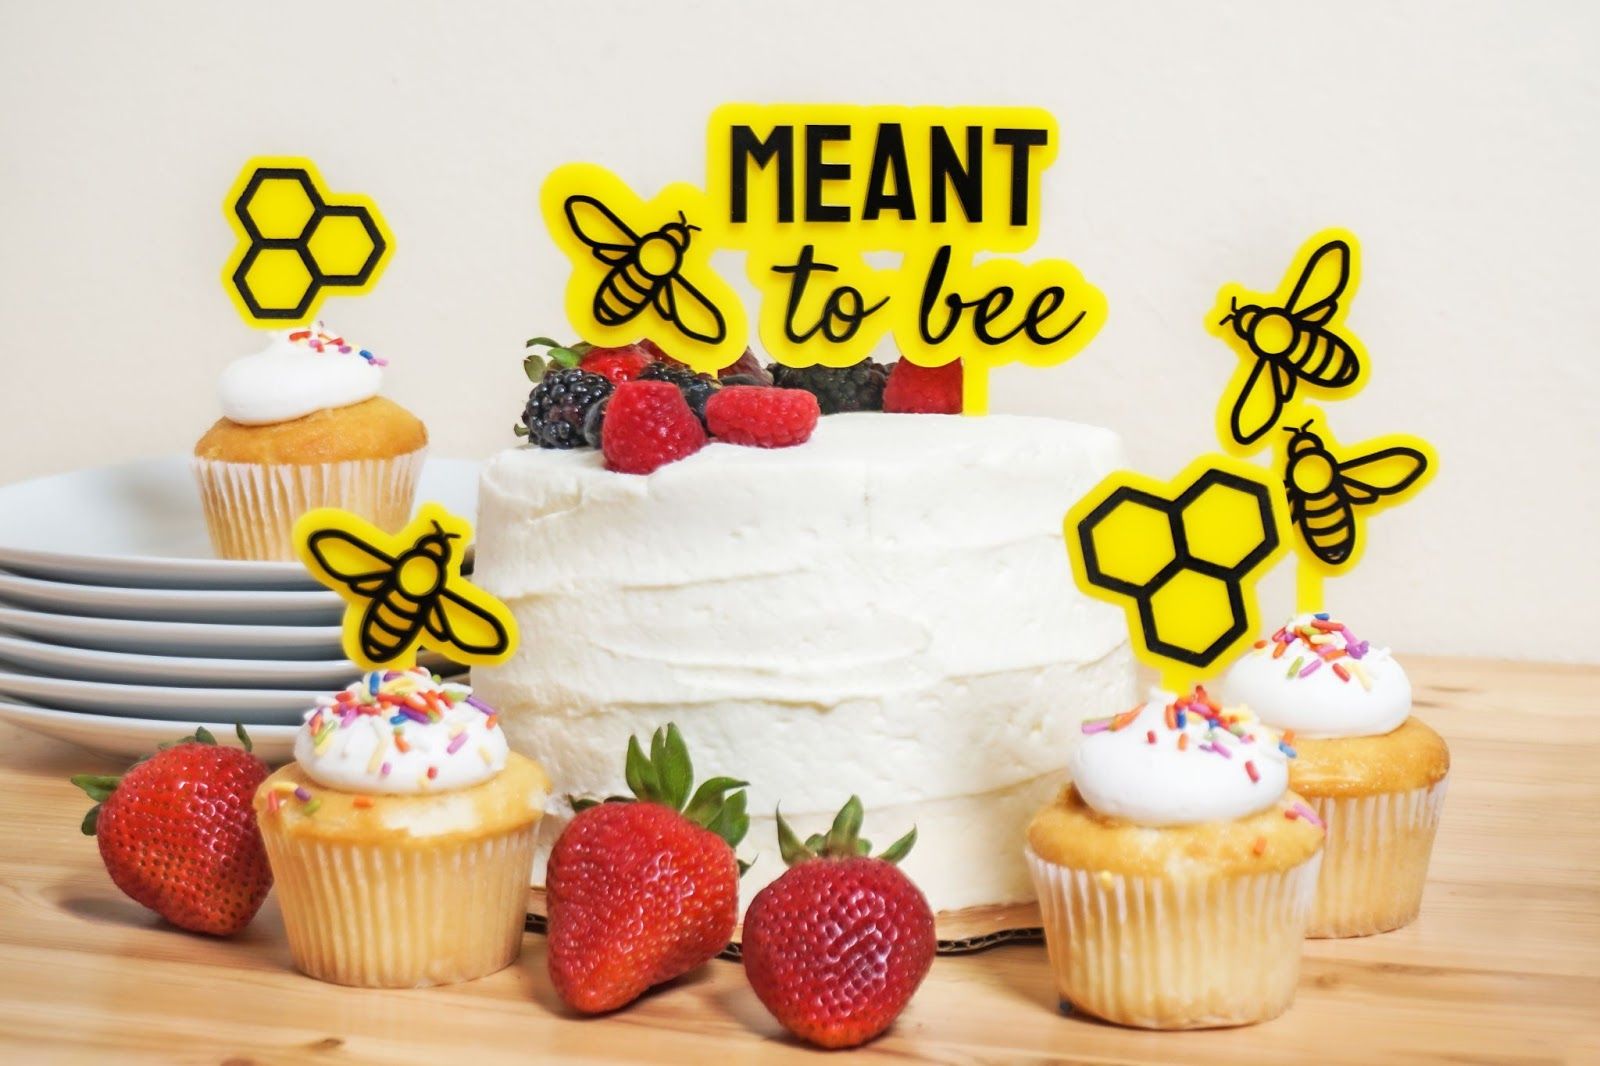
In this tutorial, we'll show you how to make custom cake toppers in just minutes. You can use graphics, text, or both to create the perfect topper for your party or event.

First, add some artwork to your design. For an endless supply of ideas, browse the featured artwork, search from the more than 2 million images, upload your own designs, or trace hand-drawn art.
- Click Import artwork, the large plus sign in the middle of the upper toolbar.
- Search to find some art you like, or try one of the featured illustrations. For this design we're using a bee.

After a tiny bit of processing, your artwork will appear in your workspace.
Add text
Next, we’ll add some text.

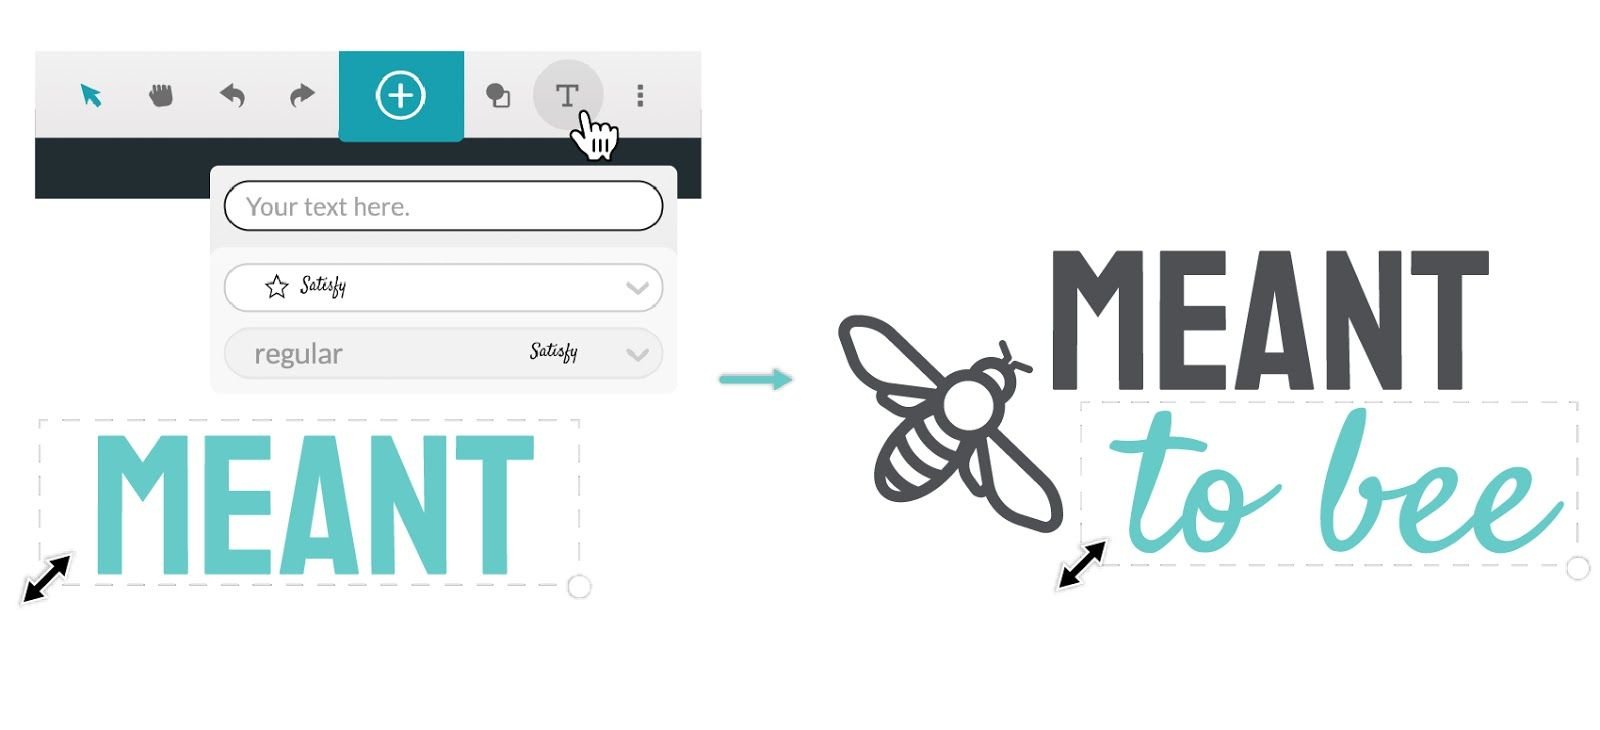
- On the toolbar, click Insert text, the large "T" button.
- In the text box, type in “Meant," then select the font you want from the dropdown menu. For this example we used Staatliches.
- Again, on the toolbar, click Insert text, the large "T" button.
- Type “to bee” in the text box, and again select the font you want from the dropdown menu. For this example we used Satisfy.
- Now you can resize or rotate your text to align it how you want with the other design elements.

Next, we’ll add lines to your design to make the stick(s) for the cake topper.

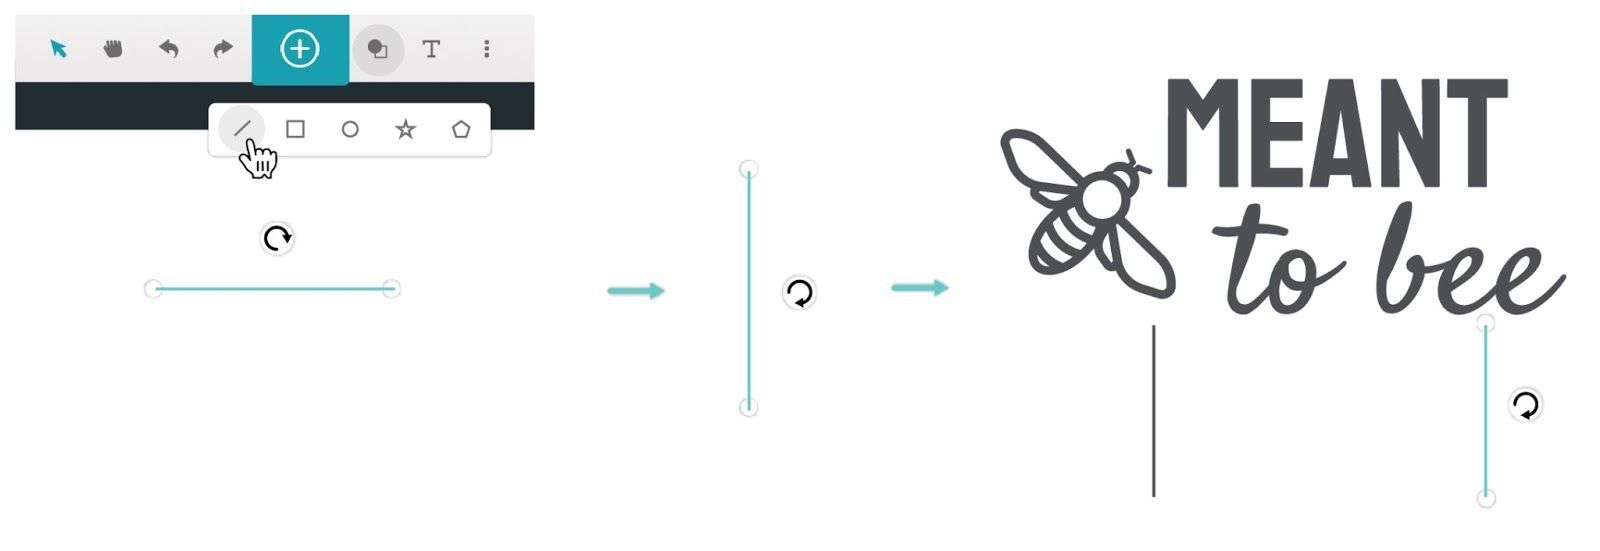
- On the toolbar, click Insert shape, the overlapping circle and square button.
- Click Insert line to add a horizontal line to your design.
- To change the horizontal line to vertical, click your line to select it.
- While holding down the Shift key, click and hold your mouse pointer on the rotation handle, and then rotate the line 90 degrees until it is vertical.
- Click and drag the line to position it centered below the cake topper artwork.
Tip: For wide cake toppers, you may want to add two lines to provide more stability.
Create outlineFor the last step in your cake topper design, you'll create an outline.

- Click and drag a selection box around your artwork and shapes.
- On the toolbar that appears, click the Outline tool, and then click Create New Outline. The outline will appear around your objects.
- To adjust the distance of your outline from the objects, drag the Adjust Outline slider. We recommend somewhere between 1/8th to 1/4 inch (3-6mm).
- To remove the vertical lines from the design, just select the line (or lines) you created and press Delete.
Tip: You can also select multiple objects by holding the Shift key while clicking on the objects you want to select. You can also press Ctrl+A (Windows) or Command+A (Mac) to select everything in your design.
See also
View the tutorial in the Glowforge app.
Learn more about Glowforge Premium.