If your prints look distorted or aren't turning out as you expected, you may have an issue with the belts, wheels, or pulleys in your Glowforge.
Here's how to troubleshoot the issue. We recommend proceeding in order, with a test print after each step to see if the problem is resolved.
Here's how to troubleshoot the issue. We recommend proceeding in order, with a test print after each step to see if the problem is resolved.

An example of a distorted print
We're going to check three belts: two in the printer bed and one under the laser arm. They should all fit snugly around the pulleys. When you push on one side of the belt, the other side shouldn't move; however, the belts shouldn't be so tight as to restrict movement of the carriage plate or laser arm.
Here's how to check them.
- Turn off your Glowforge.
- Open the lid, lower the front door, and remove the crumb tray.
- Using both hands, gently move the laser arm to the center of the bed.
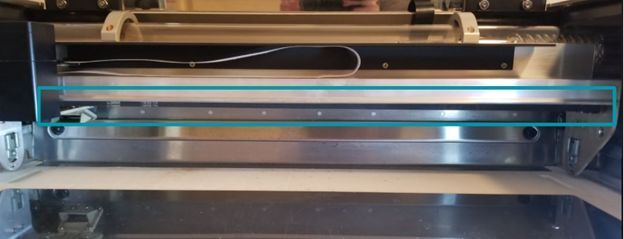
- With the laser arm pushed all the way in the back of the printer, press each side belt on the top.
- If you see any sagging or if it feels loose, adjust the side belt tension until it matches the tension in the image below. (It may take a few tries to get it right.)
- Next, check the carriage plate belt. This belt is underneath the laser tube and moves the carriage plate under the printer head. With the front door of the printer still lowered, move the printer head all the way to the left. The belt is the black rubber piece directly under the metal laser arm.
- The belt should be straight across with no curve or twists, as in the image above. If it seems loose, adjust the tension, following the steps in Adjust the Carriage Plate Belt Tension.
- Try a test print to see if this fixed the problem. If so, hooray! If not, move on to the next section.
If your print has a "bump," something in your Glowforge may not be moving smoothly. So next we'll check the wheels and pulleys.
- Turn off your Glowforge.
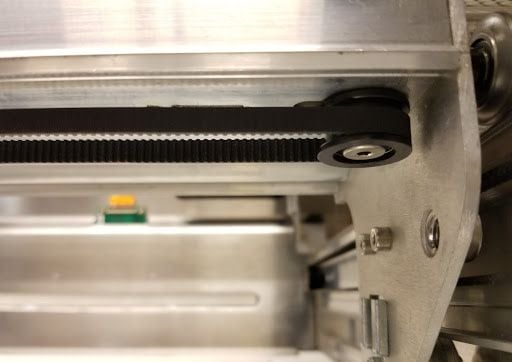
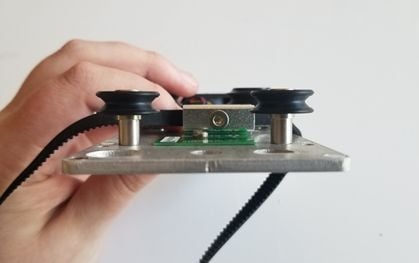
- Start with the v-wheels on either of your laser arm. On each side of the laser arm there are two v-wheels that ride on the top of the rail, and one underneath. (This image shows the top wheel on one side.)

- Use both hands to hold the metal under the laser tube. Gently move the laser arm all the way to the front of the printer, then to the back. It should move smoothly along the whole distance, with no resistance or bumping. Also check the wheels for damage; if you see any, take a photo and contact Glowforge Support.
- Next, you’ll inspect the carriage plate v-wheels for cracks. Start by removing the carriage plate from the laser arm. Follow these steps:
- Remove the belt from the laser arm by placing your thumb between the belt and the laser arm, near the pulley. Now, push down on the belt while sliding the belt to the right towards the pulley. The belt will slide off of the pulley.
- Next, place your thumbs on the top of the front wheels of the carriage plate. Support the base of the carriage plate and gently pull it towards you.
- Once the front wheels clear the laser arm, gently pull the carriage plate downwards and to the back. It will detach from the laser arm.
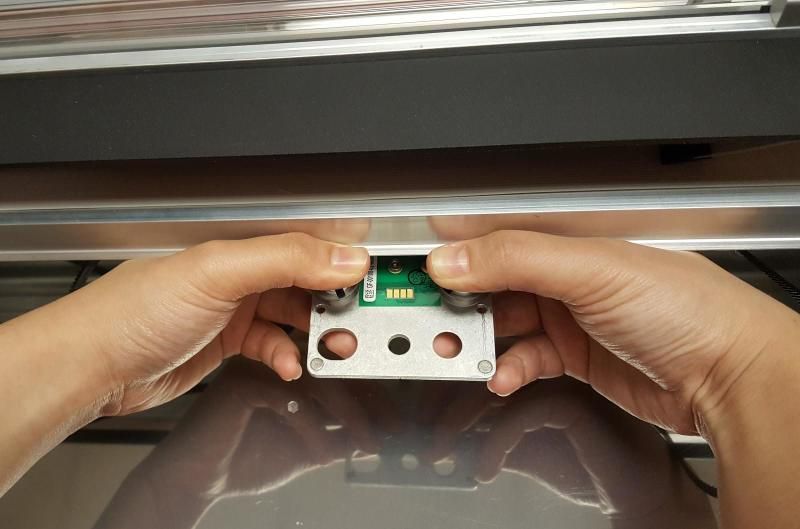
- Inspect the tops of the v-wheels for cracks or other damage. The surface of each wheel should be smooth and round.
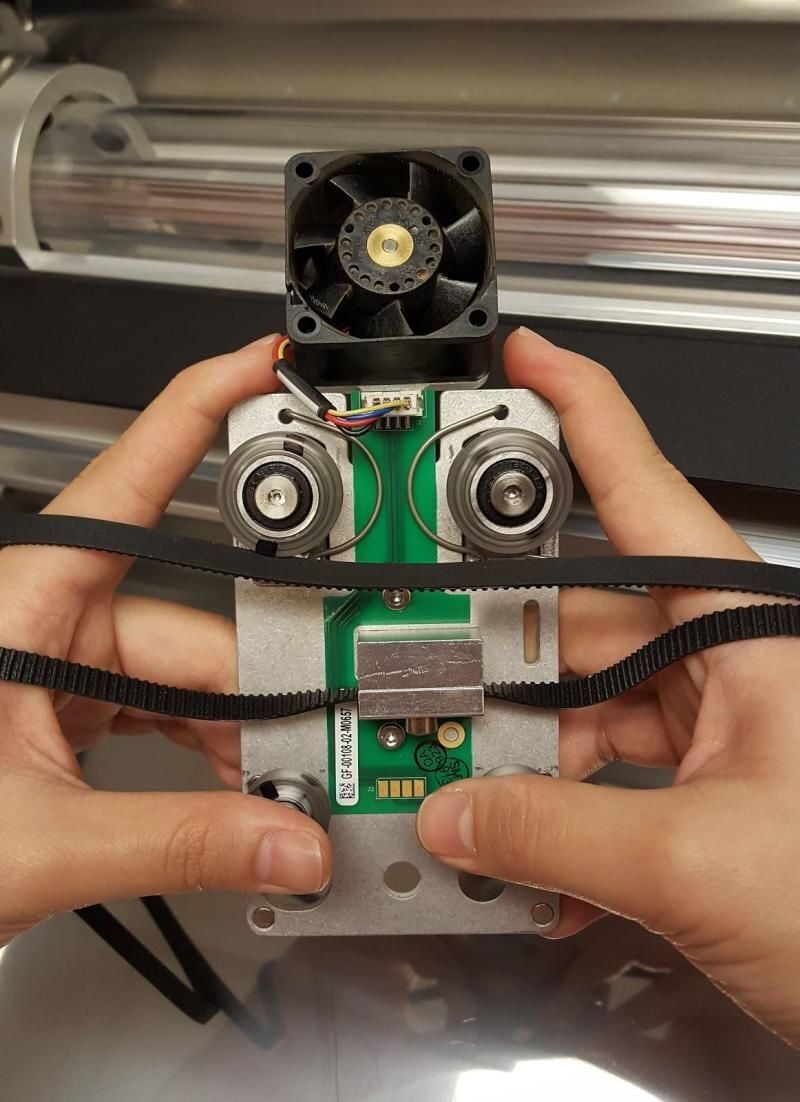
- Check the sides of all four wheels for cracks or any other damage. If anything looks damaged, send a photo to Glowforge Support and we can help with replacement parts.
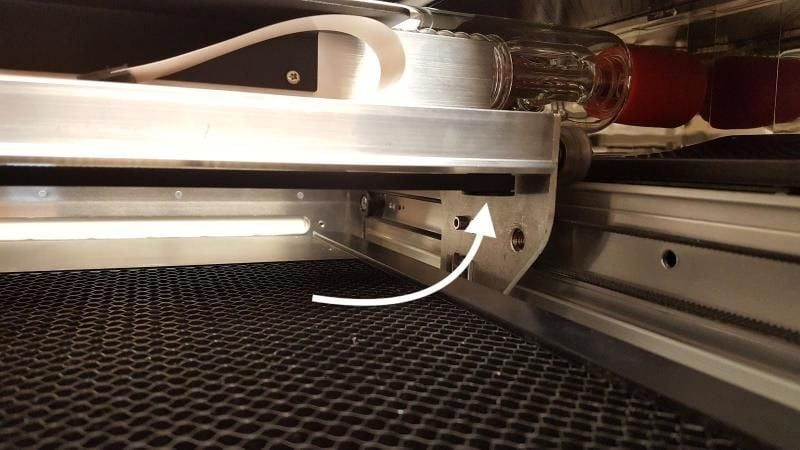
- Look to the right side of the laser arm. The pulley on the underside keeps tension on the belt. The pulley should be smooth with no cracks, with the top flush against the bottom of the laser arm. If you see the metal bearing of the pulley between the black plastic and the laser arm then the pulley should be replaced.
- Try a test print to see if this fixed the problem. If so, hooray! If not, move on to the next section.
- Remove the belt from the laser arm by placing your thumb between the belt and the laser arm, near the pulley. Now, push down on the belt while sliding the belt to the right towards the pulley. The belt will slide off of the pulley.
As you print, smoke residue can build up on the printer's surfaces. Build-up on the belts or pulleys can cause trouble, such as slipping.
We recommend cleaning your belts if you notice a lot of build-up. Here’s how:
- Turn off your Glowforge.
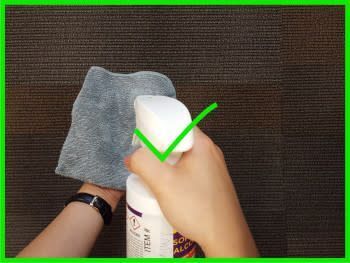
- Holding the cloth away from your printer, spray a lint-free cloth with isopropyl alcohol. (Never spray liquid on or in your Glowforge.)
- Use the moistened cloth to gently clean residue off of the side belts.
- To clean the carriage plate belt, first remove the carriage plate (see step four in the previous section,
"Check for any damaged wheels or pulleys"). - Use the moistened cloth to gently clean residue from the carriage plate belt.
- Wait for your printer to dry completely. Reinstall the carriage plate and turn your Glowforge back on.
Any damaged parts will need replacement. Contact Glowforge Support with send photos and a brief description of the issue. We will verify the problem and give you next steps for replacing the needed part. You can also find spare parts in our shop.