Replace the Printer Head
Glowforge Basic/Plus/Pro
It’s pretty easy to replace your Glowforge printer head. You’ve set up your Glowforge already, so you may be familiar with these instructions. However, in order to calibrate your new printer head, there are a few more steps you’ll need to complete to make sure it works properly.
Please read these instructions completely before you begin.
Caution: Never connect or disconnect the printer head while the Glowforge is plugged in.
Replacing the printer head
- Turn off and unplug your Glowforge.
- Position the laser arm and metal plate by gently sliding the metal plate on the laser arm all the way to the right, then push the arm to the back of the unit.

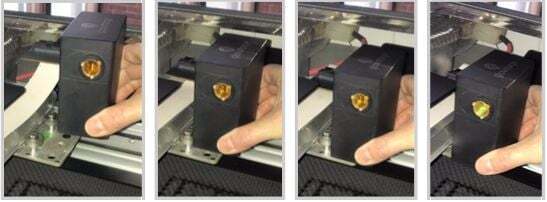
- Remove the printer head: Holding only the finished black surfaces, grasp the printer head as shown. Pull gently up and back to disengage the magnets and remove the head.

-
Unplug the wire ribbon
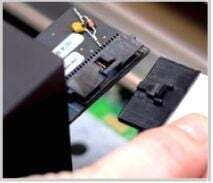
Push down fully on the wire ribbon tab to unplug the wire ribbon from the printer head. Pull the wire ribbon gently away and tuck it into the laser arm, and then set the old printer head aside.

- Carefully pick up the replacement printer head
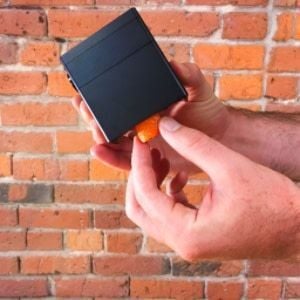
To keep the optical components clean, do not touch any part of the printer head that is not flat-black metal. If you touch any other surface, use lens wipes to remove any fingerprints. Remove the printer head from the white foam tray and remove the orange foam cylinder from inside the head.
- Holding only the finished black surfaces of the printer head, pick up the printer head and wire ribbon.

- Make sure the tab on the wire ribbon is facing up. Slide the ribbon into the head until it clicks.

- Attach the printer head
As shown, lower the printer head over the metal plate so that it rests next to the two round posts. Then push it gently away from you – you’ll feel a click as magnets pull the printer head until it sits snugly atop the metal plate.
- Make sure that the head slides freely, and move it to the center
Using both hands, gently move the laser arm to the center of the bed.
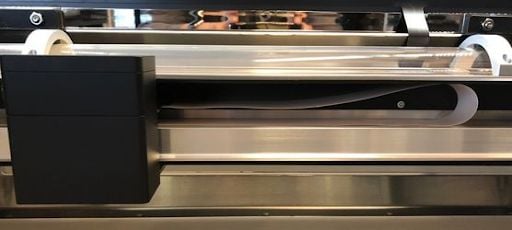
Gently slide the head all the way to the left, then right. If it doesn’t slide easily, make sure that the ribbon cable is a simple loop with no twists, as shown.
Move the head back to roughly the center of the bed, under the lid camera. -
Close the front door and lower the lid of your Glowforge.
- Run Printer Head Setup
To complete the printer head installation, you must run Printer Head Setup within the Glowforge App. Follow the instructions at the link. You'll need 20 minutes, and one new, flat sheet of 12” x 20” Proofgrade® Medium Draftboard, Proofgrade Medium Plywood, or Proofgrade Medium Acrylic.
Note: To make sure the printer head is properly aligned, run Printer Head Setup every time you change out the printer head.
If you run into trouble or have any questions, please contact our team and we'll be happy to help!