Replace the Front Carriage Plate V-Wheels
Glowforge Basic/Plus/Pro
The front carriage plate wheels keep your carriage plate moving smoothly on the laser arm. If you need a new v-wheel for your carriage plate, they can be purchased in our shop here.
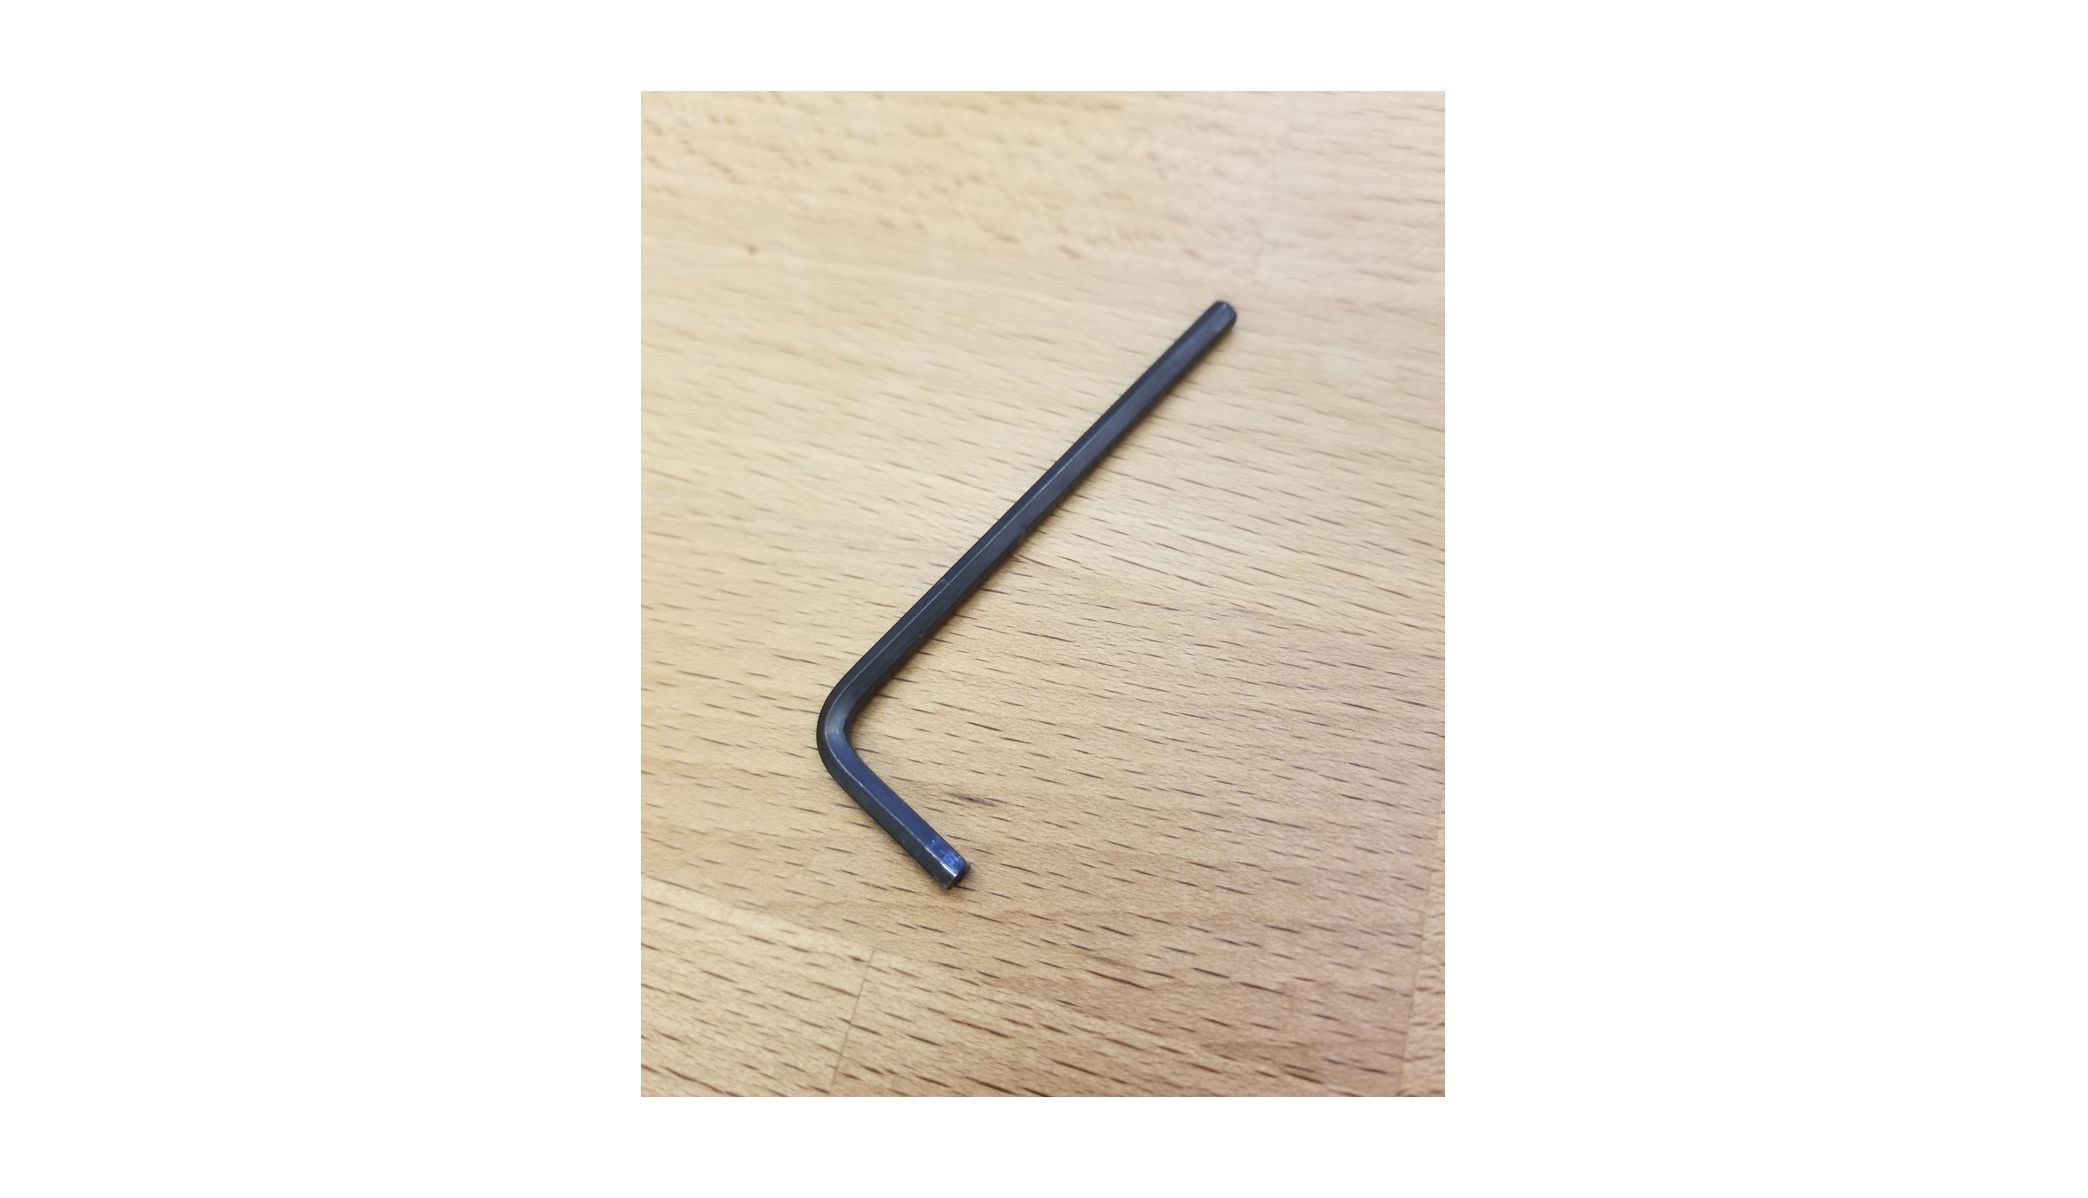
To install the new v-wheel, you will need a 3mm hex key, as shown below.
- Turn off and unplug your Glowforge.
- Disconnect the printer head and remove the carriage plate from your Glowforge.
For instructions, visit the Cleaning Your Air Assist Fan article, and follow the steps in these three sections: Remove the Printer Head (Steps 1-3), Unhook the Driver Belt (Steps 1-4), Remove the Carriage Plate (Steps 1-3). - Insert the end of the hex key into the screw with the damaged wheel. Turn it counter-clockwise to unscrew the wheel from the plate.
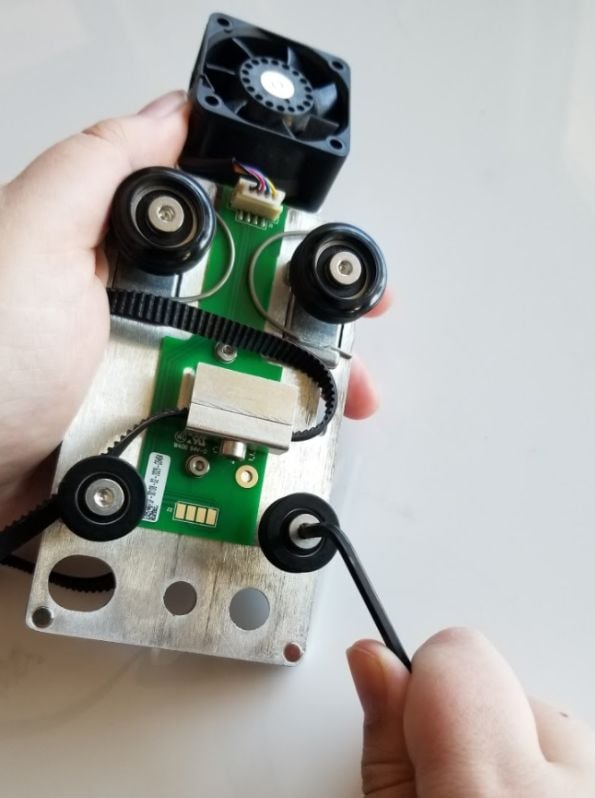
- Remove the damaged wheel, screw, and metal spacer. Keep the metal screw and spacer for the new wheel.
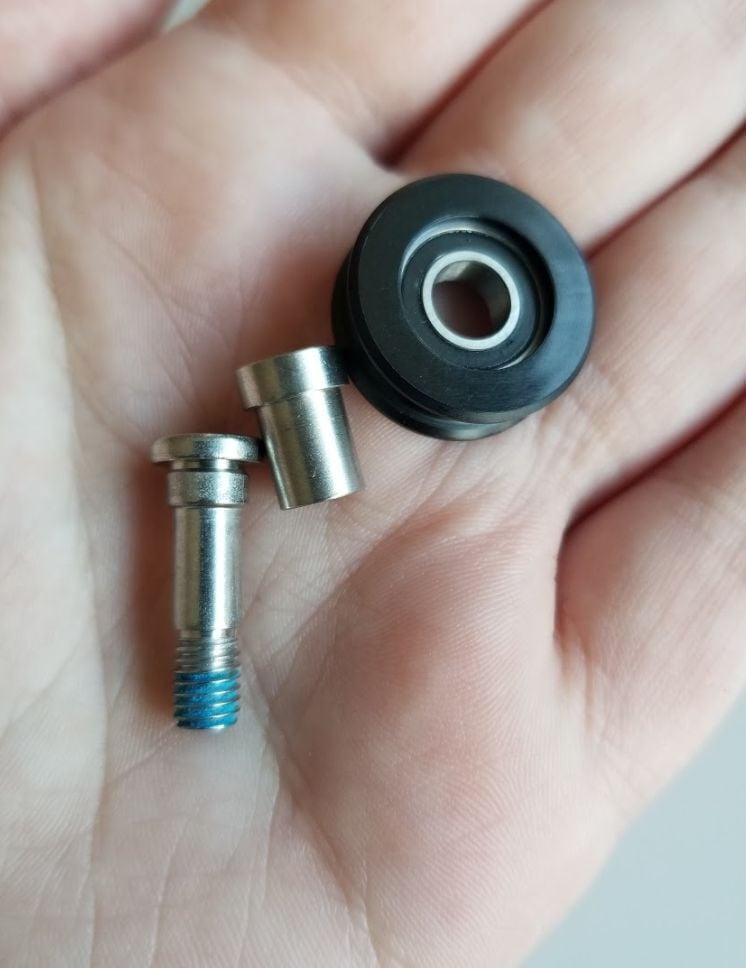
- Identify the top of the new wheel. It will be side with no markings.
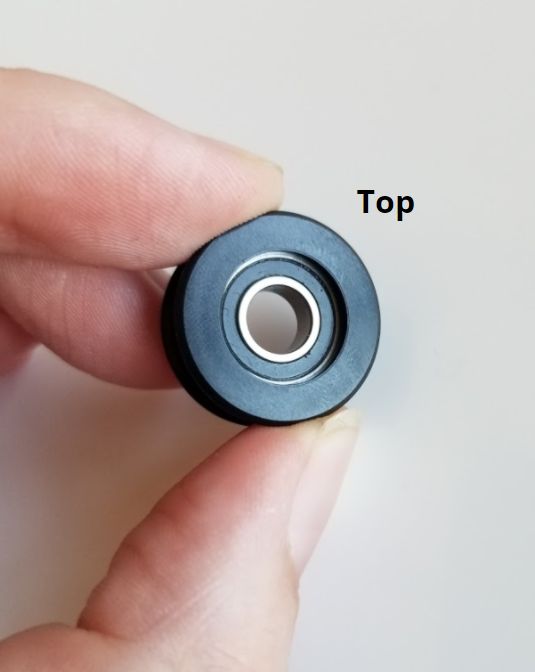
- Insert the screw into the wheel from the top.
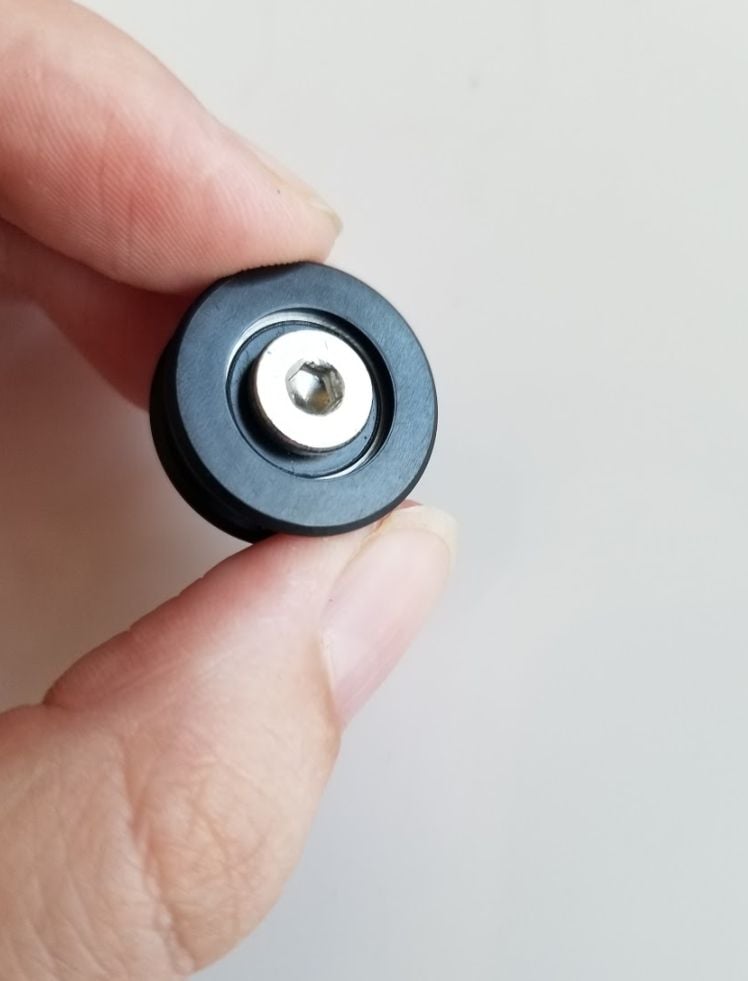
- Slide the spacer onto the screw below the wheel. The spacer for the small wheel has a larger end. That end will be against the wheel.
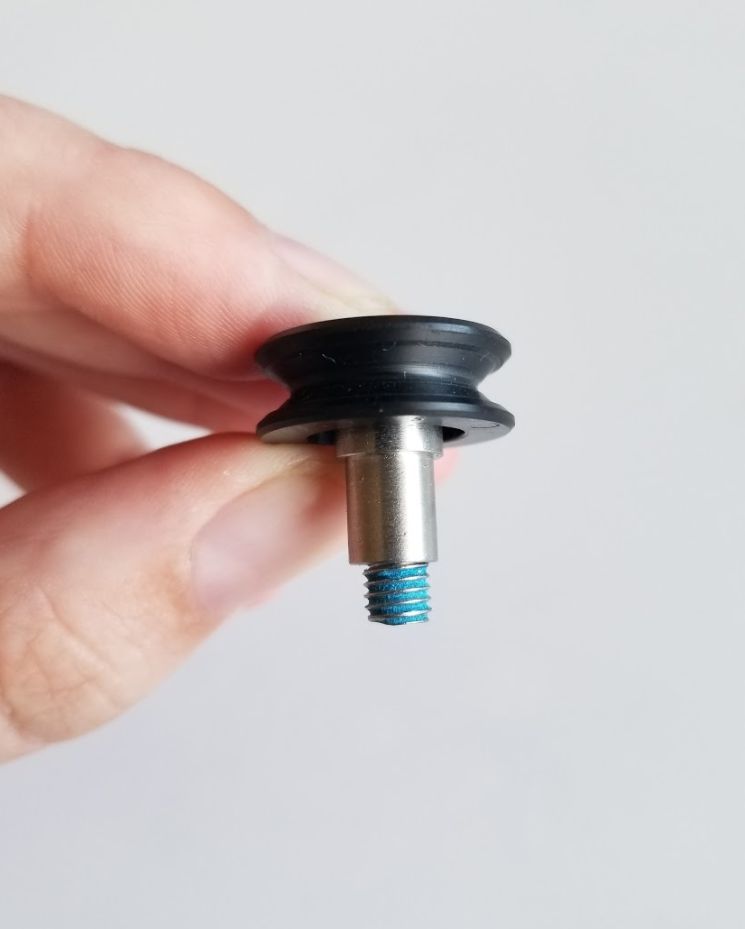
- Turning clockwise with the hex key, screw the wheel to the carriage plate and make sure it is snug.

- Reinstall the carriage plate and connect the printer head.
For specific instructions about how to do this, visit the Cleaning Your Air Assist Fan article, and follow the steps in these three sections: Reattach the Carriage Plate (Steps 1-3), Reattach Driver Belt (Steps 1-5), Replace Printer Head and Crumb Tray (Steps 1-7). - With the belt in place, be sure it is snug and does not sag. When you press on one side of the belt, the other side shouldn't move.
If the belt is not snug, follow the steps in Adjust the Carriage Plate Belt Tension. - Slide the carriage plate along the laser arm to check that the wheels are moving correctly.
- When everything looks good, plug in your Glowforge, turn it on, and try a test print.
If you have any trouble, please contact our team and we'll be happy to help!