Adjust the Carriage Plate Belt Tension
Glowforge Basic/Plus/Pro
-
Turn off and unplug your Glowforge
Turn off your Glowforge, unplug it, and open the front door. Carefully remove the crumb tray. -
Locate the laser arm pulley
Without removing the carriage plate and belt, locate the black pulley fastened by a metal screw on the right end of the laser arm.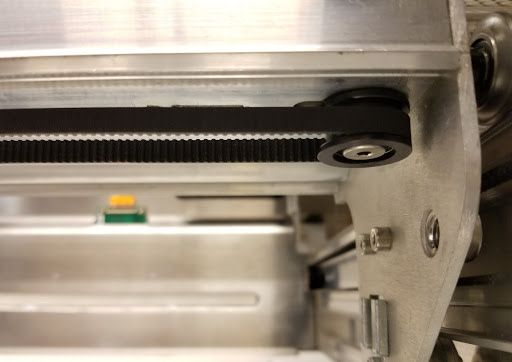
Image: The pulley on the right side of the laser arm. The crumb tray has been removed. -
Insert the hex key into the pulley
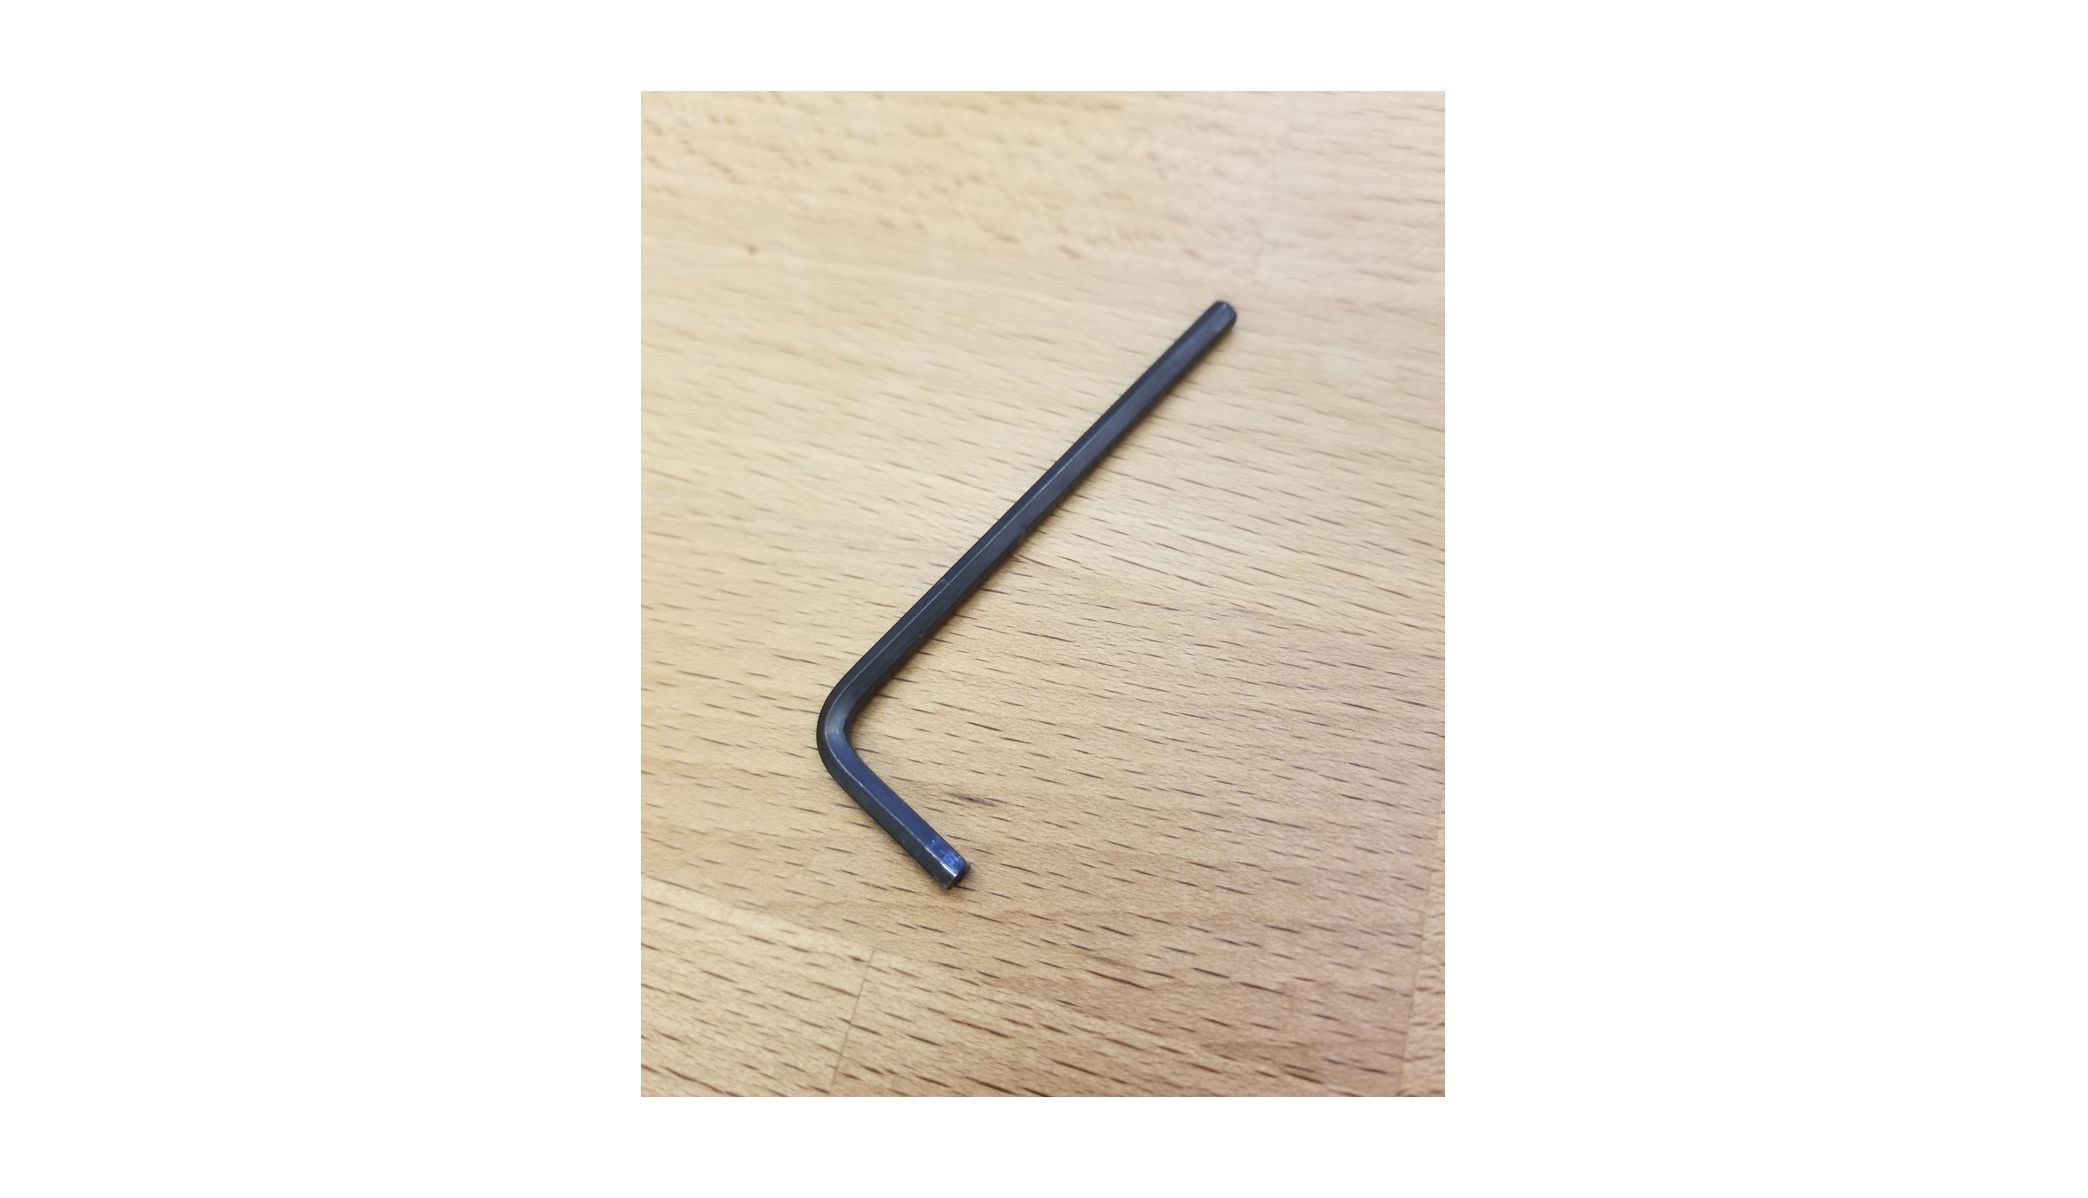
Insert the short side of the 3mm hex L-key into the metal screw with the long handle pointing toward the front of the unit.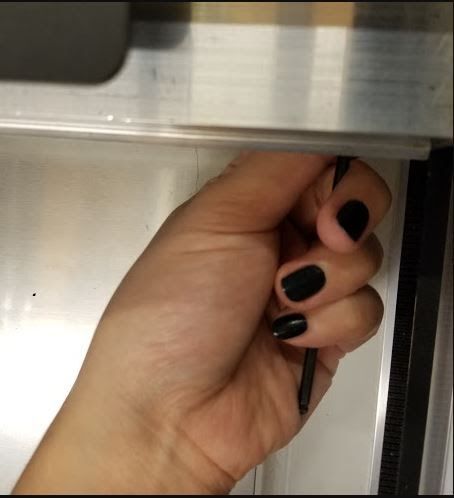
Image: The hex key is in the pulley ready to loosen the screw -
Loosen the pulley
Turn the key clockwise to loosen the screw until the pulley can slide with some friction. Don’t remove the key from the screw. -
Slide the pulley to the right
Holding the key with your one hand, position your other hand to push the pulley to the right until the belt is fully extended.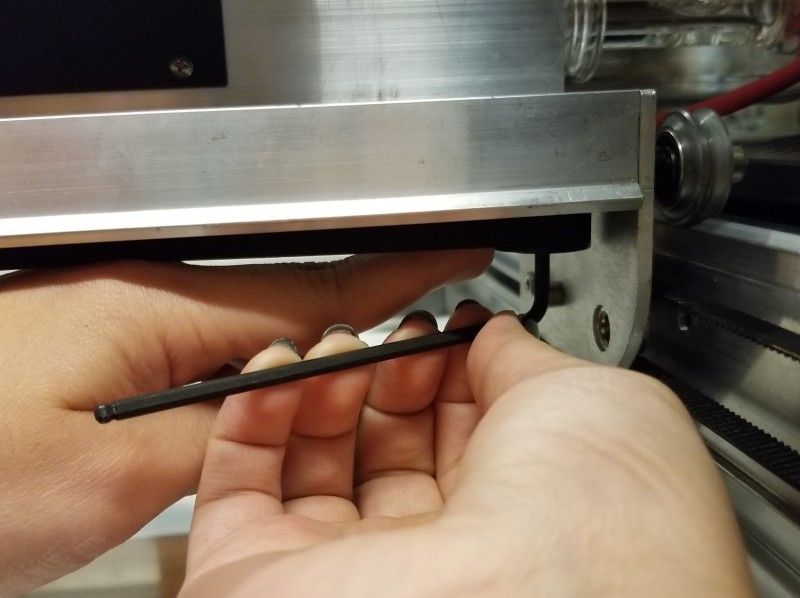 Image: One hand holds the pulley in place, while the other holds the hex key.
 -
Tighten the pulley
While keeping tension with your other hand, turn the hex key counter-clockwise to tighten the screw in the pulley. -
Check the belt tension
When pressing lightly on one side of the belt, the other side should not move. It may take a few tries to get the belt tension correct. If the belt has too much slack, loosen the pulley and try again.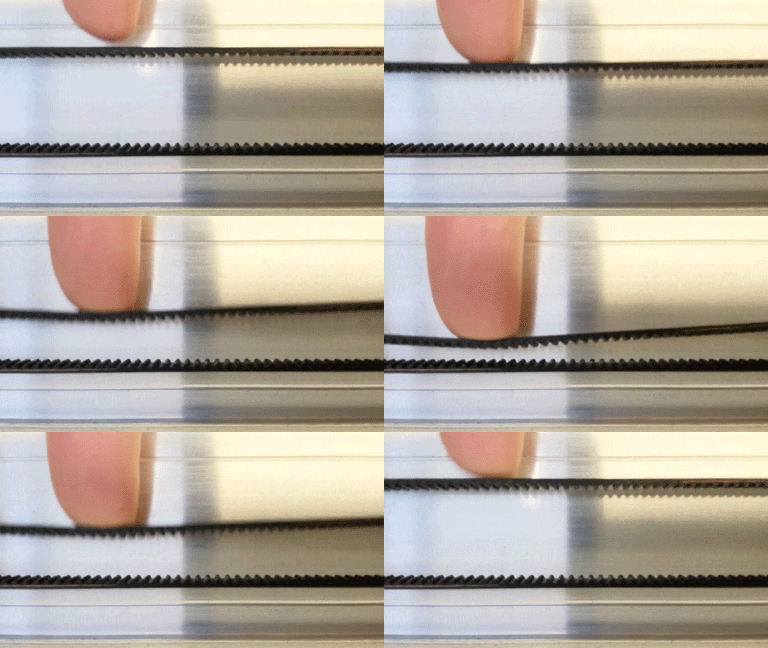
-
Try a test print.
When you are satisfied with the tension on the belt, plug in your Glowforge, turn it on, and try a test print.
If you have any trouble, please reach out to our team and we'll be happy to help!