Adjust the Side Belt Tension
Glowforge Basic/Plus/Pro
2. Remove the crumb tray and locate the pulley.
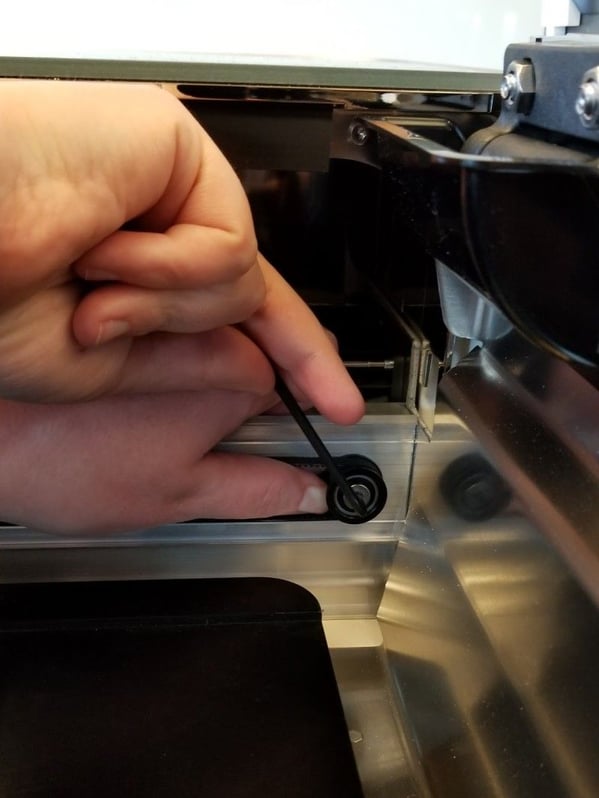
Open the front door and carefully remove the crumb tray. Without removing the belt, locate the black pulley fastened by a metal screw in the back of your Glowforge printer.

Insert the short side of the 3mm hex L-key into the metal screw with the long handle pointing toward the front of the unit.

Turn the key counter-clockwise to loosen the screw until the pulley can slide with some friction. Don’t remove the key from the screw.
Using one hand, slide the pulley towards the back of the printer. It will take some force, the belt should be at full tension.

While keeping tension with your other hand, turn the hex key clockwise to tighten the screw in the pulley.

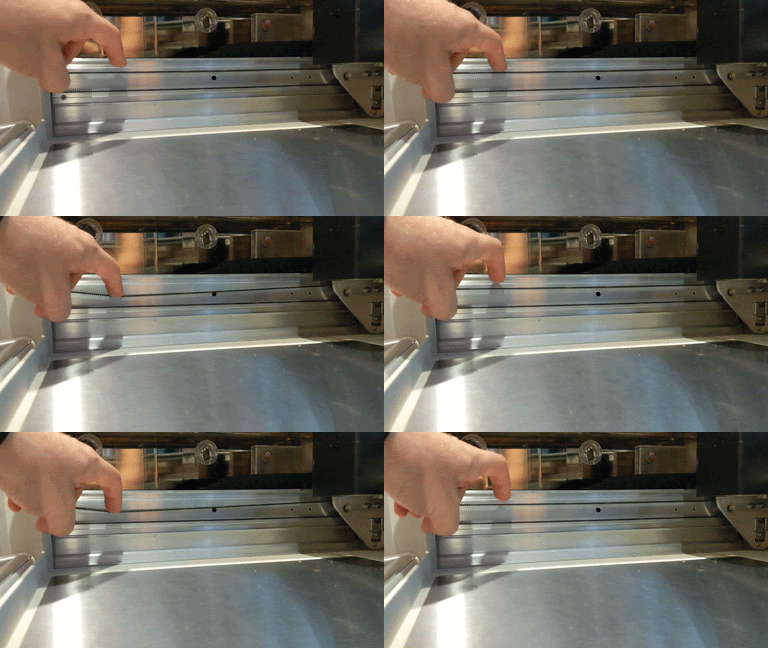
You can check your other side belt to compare for correct tension. When pressing lightly on one side of the belt, the other side should not move.
It may take a few tries to get the belt tension correct. The tension on each side should feel the same.

If you are satisfied with the tension on the belt, plug in your Glowforge, turn it on, and try a test print.
If you have any trouble, please reach out to our team and we'll be happy to help!