Replace the Carriage Plate Belt
Glowforge Basic/Plus/Pro
Turn off your Glowforge, then open the front door and carefully remove the crumb tray.
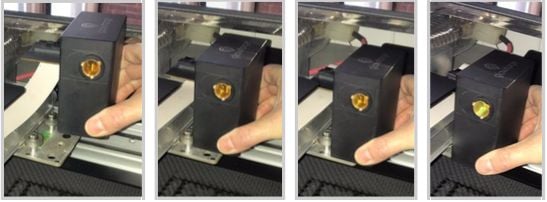
Holding only the finished black surfaces, grasp the printer head as shown. Pull gently up and back to disengage the magnets and remove the head.
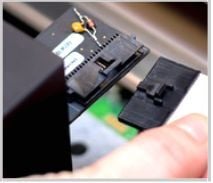
Push down fully on the wire ribbon tab to unplug the wire ribbon from the printer head. Pull the wire ribbon gently away and tuck it into the laser arm. Set the printer head to the side.
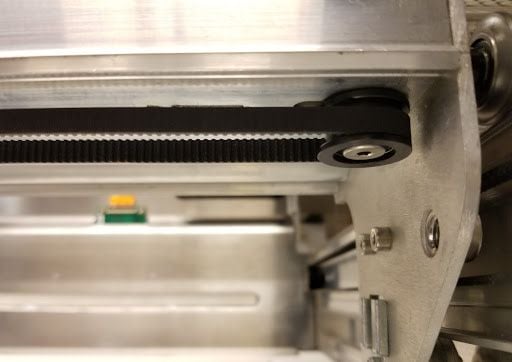
Placing your thumb between the belt and the laser arm near the right side pulley, push down on the belt while sliding the carriage plate to the right towards the pulley. The belt will slide off of the pulley. Unhook the belt from the left side.
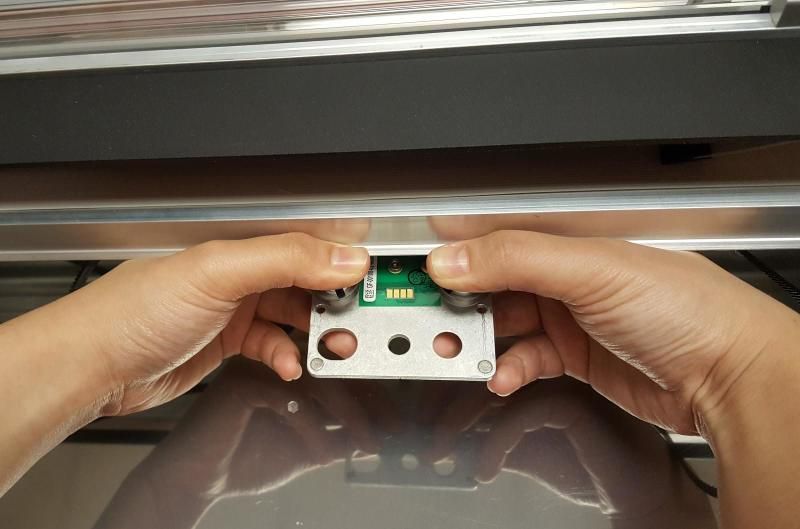
Place your thumbs on the top of the front wheels of the carriage plate. Support the base of the carriage plate and gently pull it towards you.
Once the front wheels clear the laser arm, gently pull the carriage plate downward and to the back and it will detach from the laser arm.
Turn over the carriage plate to locate the two socket head screws that hold the belt to the plate.
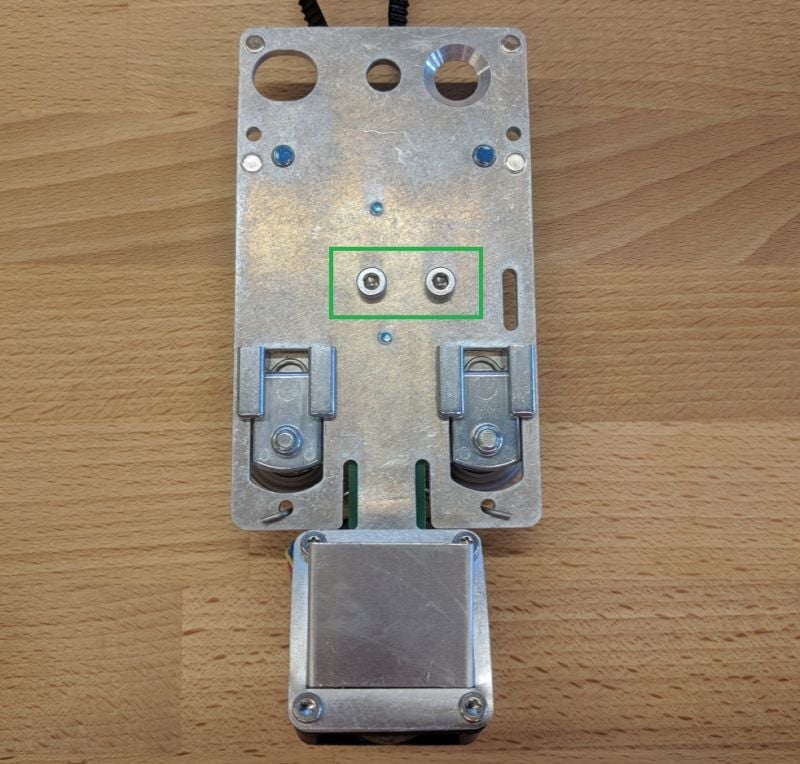
Using the 3mm hex key, unscrew both screws from the carriage plate and remove the old belt.
Attach the new belt using the screws you removed from the carriage plate with the hex key. Make sure the belt teeth point to the inside of the belt. The screw on the side of the belt clamp points away from the fan.
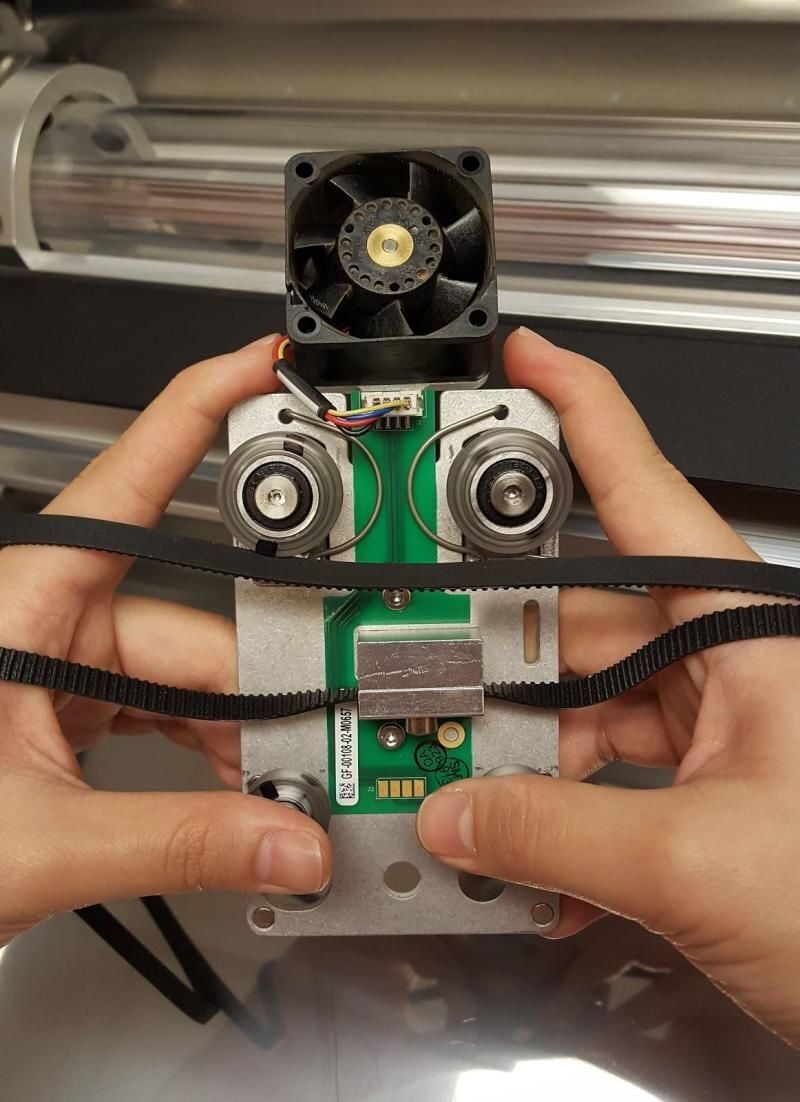
Make sure both sides of the belt are on the top of the carriage plate. Place your index fingers on the back corners of the carriage plate and your thumbs on top of the front wheels. Hook the rear wheels on the groove on the back of the laser arm. The front wheels should be mostly visible.
Pull the plate forward until the front wheels clear the laser arm then angle the plate up until the wheels are in line with the rail. Release the plate -- it should grasp the rail firmly.

10. Attach the belt to the laser arm pulleys
- Pick up the right side of the belt and make sure it is not twisted. The outside of the belt should be smooth and the inside should have ridges.
- Hook the belt onto the pulley on the right side and hold in place.
- Make sure that the left side of the belt is not twisted and is smooth on the outside and ridged on the inside.
- Using your left hand, loop the belt on the front half of the left pulley. The belt will not be fully on the pulley. Use your left thumb and fingers to hold the belt firmly in place and apply pressure.
- Still holding the belt and motor firmly with your left hand, use the pressure from your left fingers to guide the belt clockwise around the pulley as your right hand slowly pushes the carriage plate to the left. The belt should roll onto the pulley until it is secure.
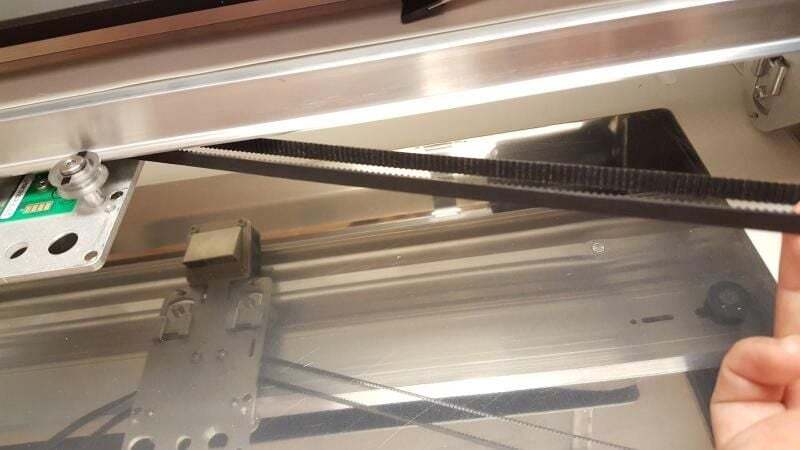
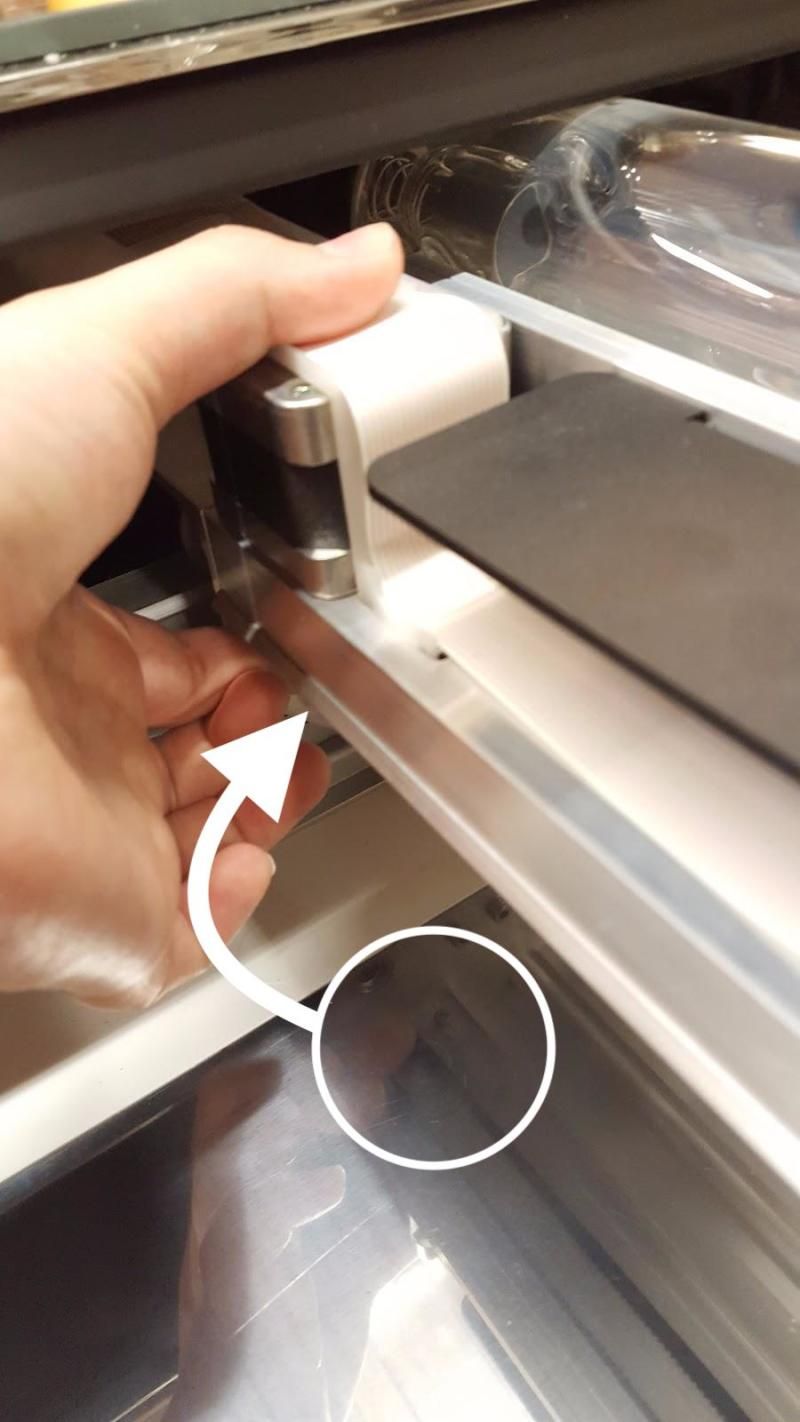
Once the belt is in place, check that it is snug and does not sag. When you press on one side of the belt, the other side shouldn't move. If the belt is too loose or too tight you can adjust the tension by following the instructions above.
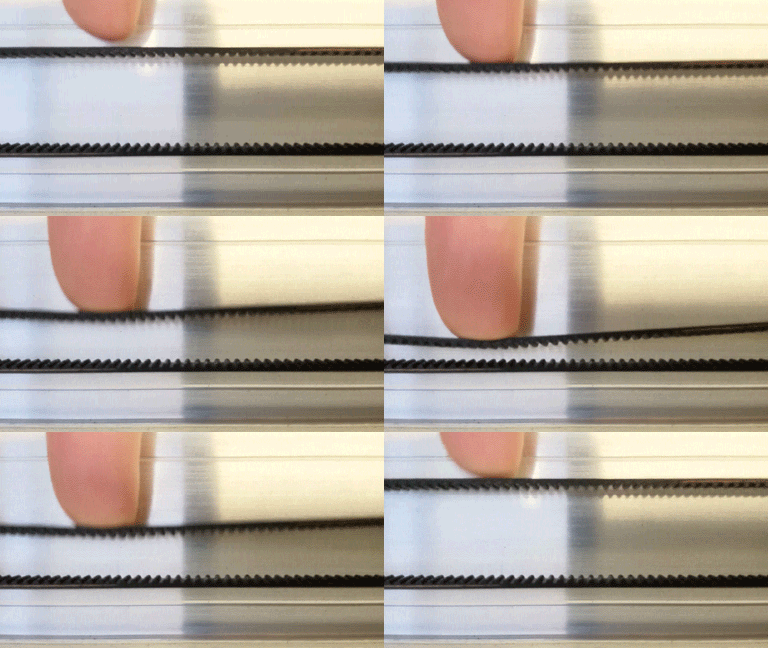
If you are satisfied with the tension on the belt, reconnect the printer head by connecting the white ribbon cable and placing it back onto the carriage plate. You can see the full instructions here: Snap in the Printer Head.


Once everything is reconnected, plug in your Glowforge, turn it on, and try a test print.
If you run into trouble, please contact our team and we'll be happy to help!