Glowforge Basic/Plus/Pro
If you can’t find your lens tool, you can still use these instructions to remove the lens. You can also order a new lens tool in the Glowforge Shop here.
- Power off your Glowforge and open the lid.
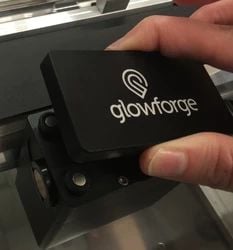
- Holding only the finished black surfaces, grasp the printer head as shown. Pull gently up and back to disengage the magnets and remove the head.

- Push down on the small tab in the center of the wire ribbon to release the wire ribbon, and gently pull the wire ribbon plug from the printer head.

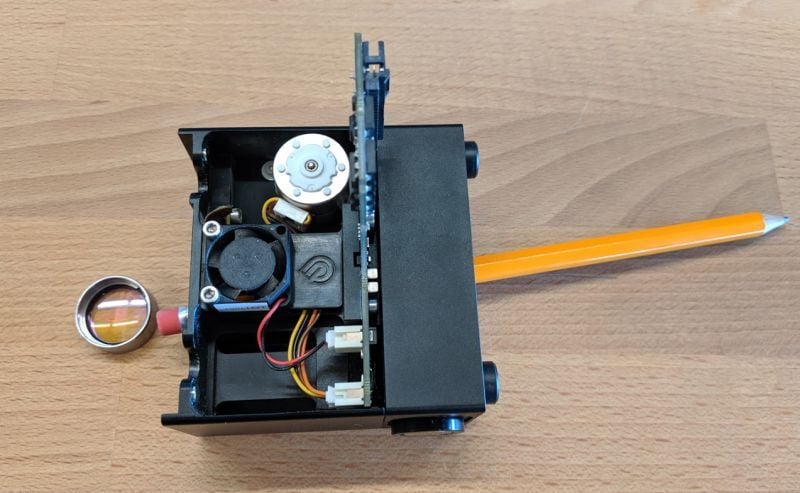
- The top of the printer head is held on by strong magnets. Grasping only the top, pull up carefully to remove it and set it aside.

- Gently pick up the mirror and set it aside.

- Set the print head down, and tip it slightly toward you.
Starting at the top of the head, where you just removed the mirror, use the eraser end of a pencil to gently push the lens out of the bottom of the print head.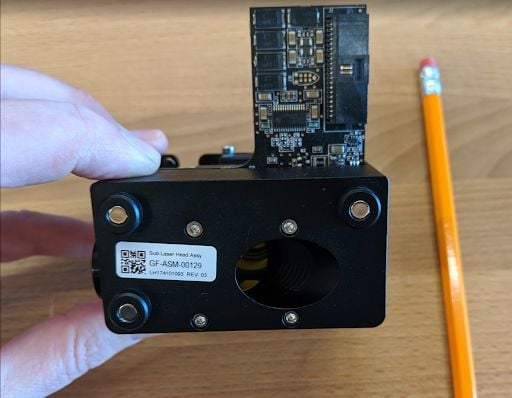
- You've successfully removed the lens.
If you run into trouble, contact our team. Send us a photo of anything you find out of place - we’re happy to help!