Stuck Printer Head Mirror
Glowforge Basic/Plus/Pro
If your mirror is stuck in the printer head or foam handle has been damaged, here's how to remove the mirror from the printer head.
How to remove the mirror from the printer head- Power off your Glowforge and open the lid.
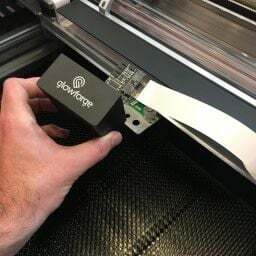
- Holding only the finished black surfaces, grasp the printer head as shown. Pull gently up and back to disengage the magnets and remove the head.
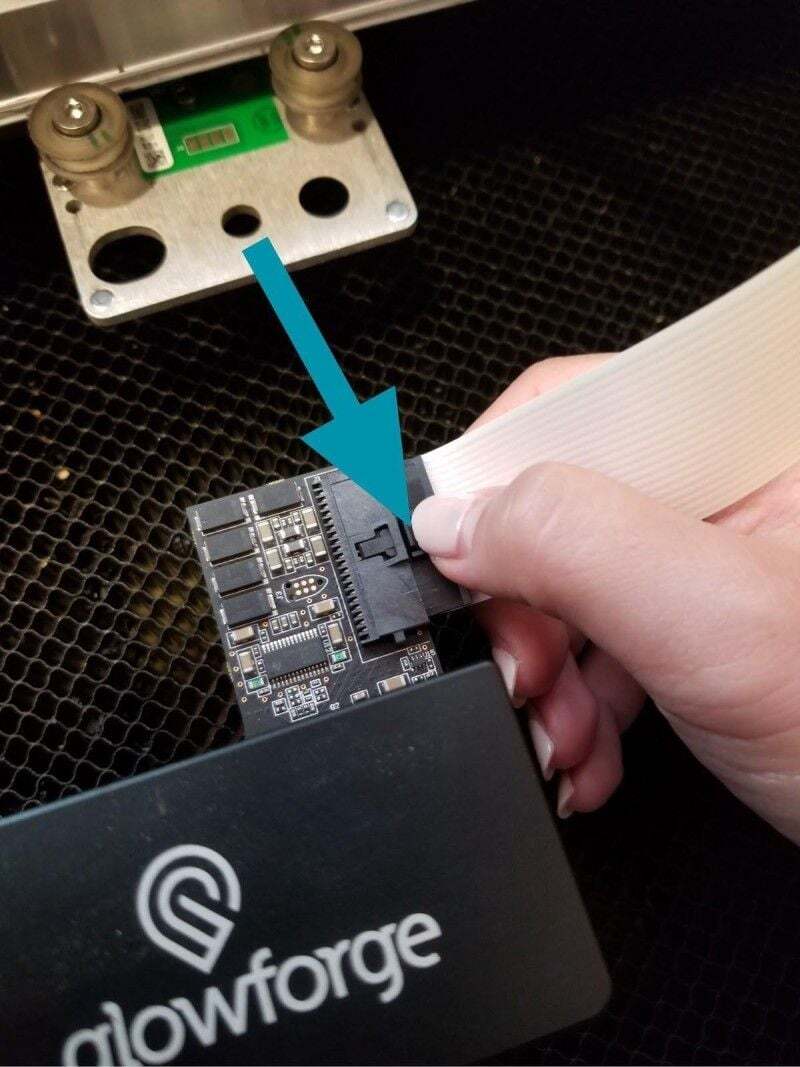
- Push down on the small tab in the center of the wire ribbon to release the wire ribbon, and gently pull the wire ribbon plug from the printer head.
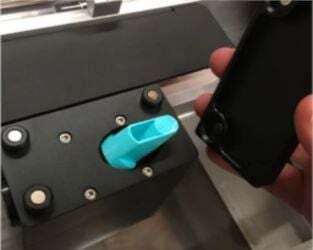
- The top of the printer head is held on by strong magnets. Grasping only the top, pull up carefully to remove it and set it aside.

- Turn the printer head over so you are looking at the bottom of it.
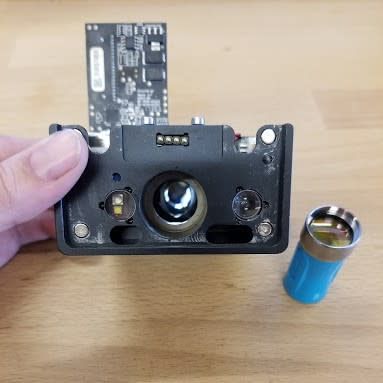
- Starting at the bottom of the printer head, use the eraser end of a pencil to gently push the mirror out of the top.
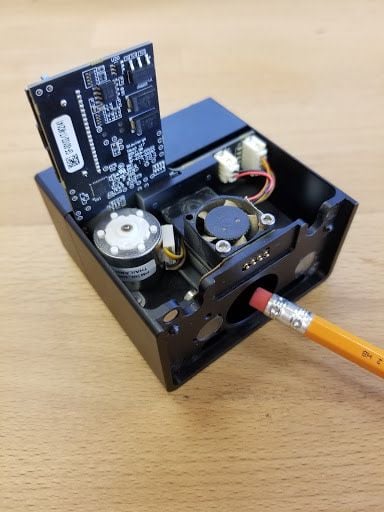
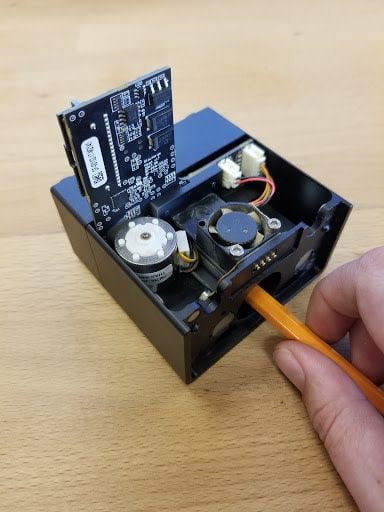
If the mirror has been damaged (for example, if the plastic handle has been melted), please check the print head interior for additional damage. If everything looks as expected, you can purchase a replacement printer head mirror through the shop.
If you run into trouble, contact our team. Send us a photo of anything that looks out of place; we're happy to help!