Glowforge Basic/Plus/Pro
Using your Glowforge, you may notice an odor during printing and when you open the lid. Typically, with your Glowforge venting outside or through an attached Performance Filter, this smell will quickly disappear. It's completely harmless.
If, while printing, you notice a strong unpleasant or irritating odor, or see smoke, turn off your Glowforge immediately. You may have a problem with smoke and fumes building up in the room.
Here's how to deal with this issue.
-
Make sure your Glowforge fan settings are correct
The Glowforge Performance Filter setting affects the fan speed in your Glowforge printer. If it's not set correctly, air will not flow as it should.
To change the setting:
-
Sign into the Glowforge App (https://app.glowforge.com).
-
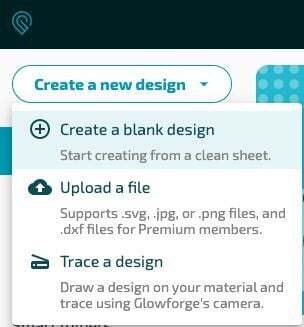
On the Dashboard, click Create, and then click New Blank Design.
-
Click the three-dots More menu.

If you are using a Glowforge Performance Filter, turn on the Glowforge air filter attached option.

If you are venting to the outdoors, make sure the option is turned off.

-
-
Ensure materials are laser-compatible
Materials that are not laser-compatible can emit chemicals that are extremely hazardous to you, to your Glowforge, or both. You must check with your materials vendor to ensure that your materials are laser-compatible.
-
See if the problem persists with Proofgrade® materials
Proofgrade materials produce low levels of smoke and fumes. Certain materials may be laser-compatible, but produce so much smoke and fumes as to become unpleasant or even hazardous.
-
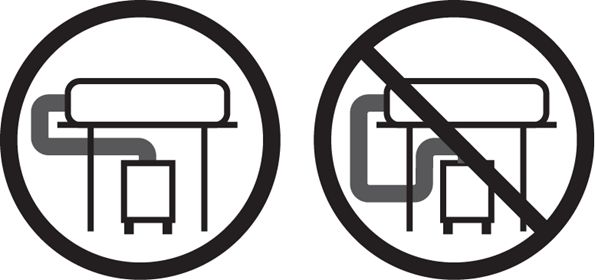
Make sure your setup adheres to safety and setup guidelines
-
Vacuum your exhaust connection and hose
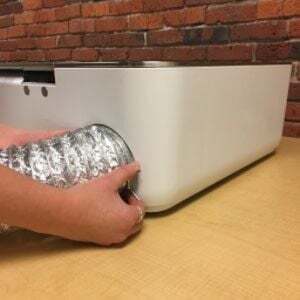
- Remove hose from printer
Squeeze the two ends of the ring clamp together, then pull the clamp and the hose away from your Glowforge. - Vacuum exhaust connections
Use a vacuum to remove dust and debris from the exhaust connection and your outdoor exhaust vent. - Vacuum or replace exhaust hose
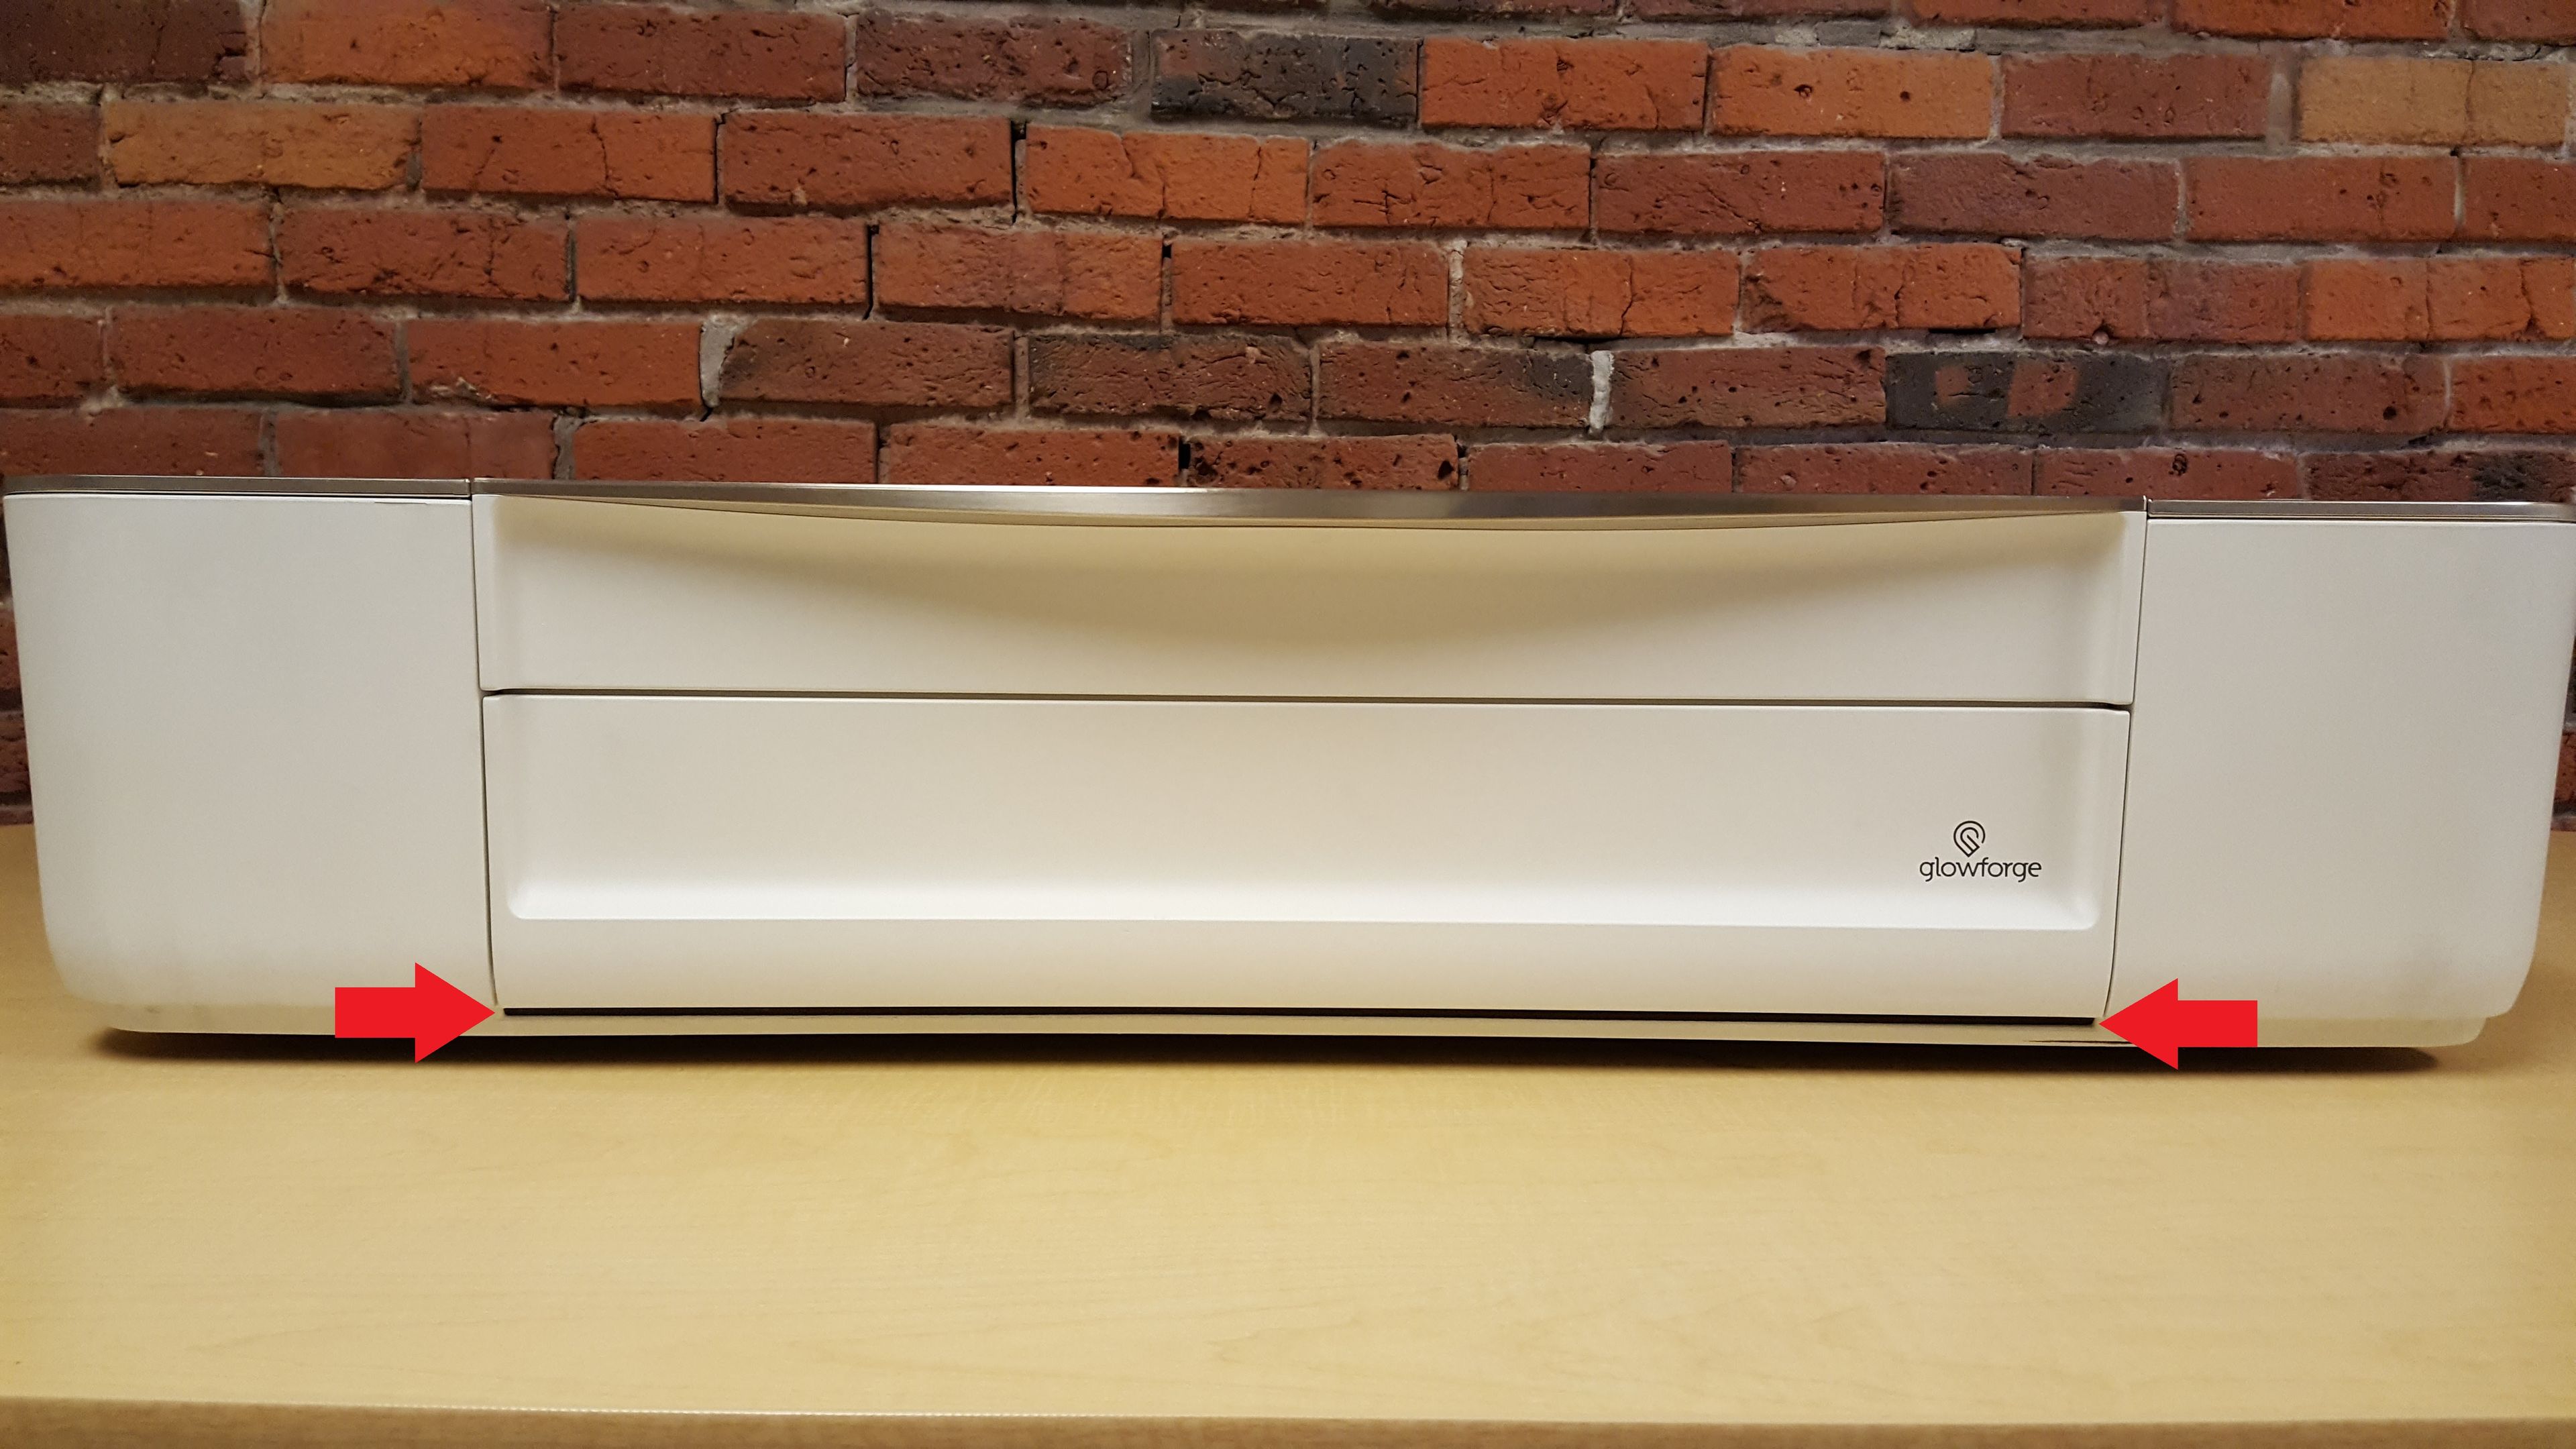
Replace your hose, or use a vacuum to remove dust and debris from the hose. The exhaust is a standard 4" exhaust vent, similar to what one would use with a clothes dryer. You can see it here.
- Remove hose from printer
-
Find and fix clogs, leaks, kinks, or bends in the exhaust system
- Check that the hose is not clogged.
- Make sure the hose isn't flattened or kinked.
- Confirm the hose has no more than two 90-degree turns if you vent to the outdoors, and three if you're using a Performance Filter.
- Ensure that the hose does not coil around or move while the Glowforge is running by securing the excess hose with tape
- While your Glowforge is running, feel for escaping air all along the hose, paying special attention to the connectors. If you find leaks, you can patch them with duct tape. You can also replace the hose.
- Check that the hose is not clogged.
-
Check for exhaust re-entry
Ensure that exhaust vented to the outdoors is not being drawn back into the building through other windows, doors, or air inlets.
-
Check the seals on the printer
Verify that the seals around the lid and door of the printer are intact.

-
Wait for fans to stop before you open the lid
Opening your Glowforge during operation or during the cool-down period may release smoke or fumes that have not yet been fully vented.
If you’re still seeing or smelling excessive smoke or fumes when using Proofgrade materials, we’re here to help. Contact Glowforge Support and send us:
- The name of the material you’re using
- A description of where the smoke/fumes are coming from: the door, lid, or hose
- When you smell the fumes: during the print or after it has completed
- The following photos of your Glowforge and your exhaust system:
- The exhaust fan from the inside of the unit. To capture this photo:
- Turn your Glowforge off.
- Open the lid.
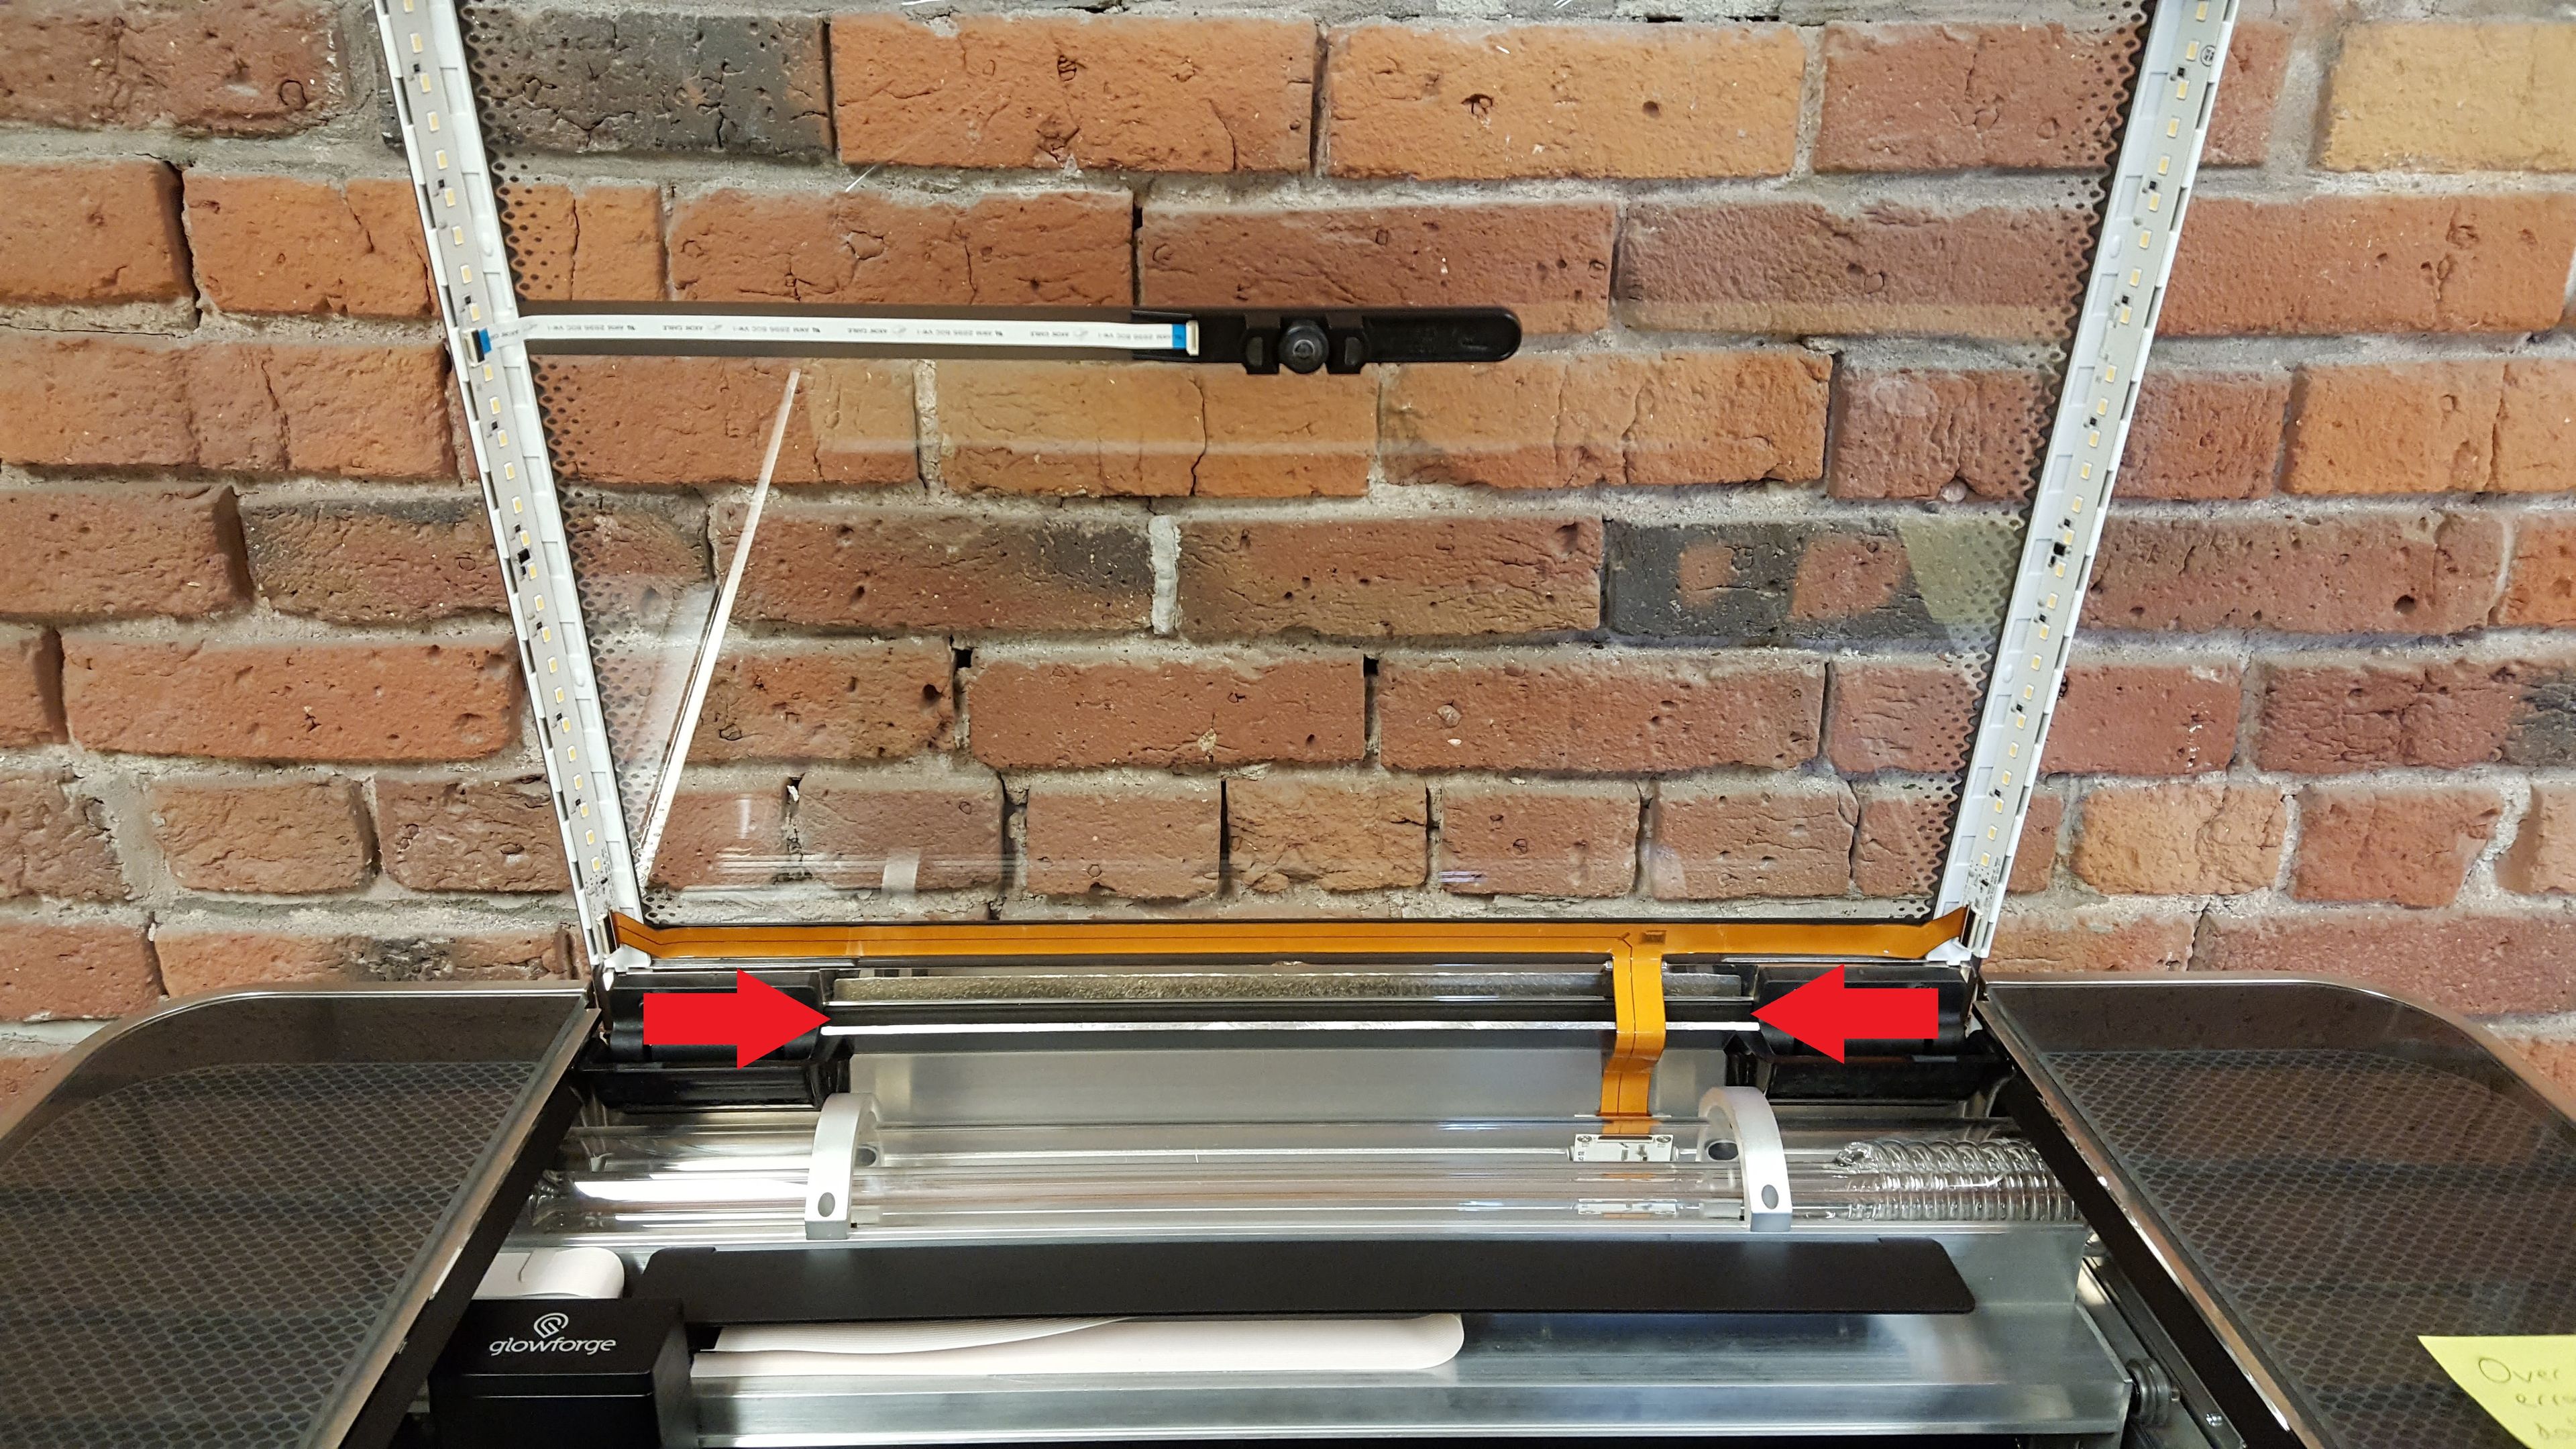
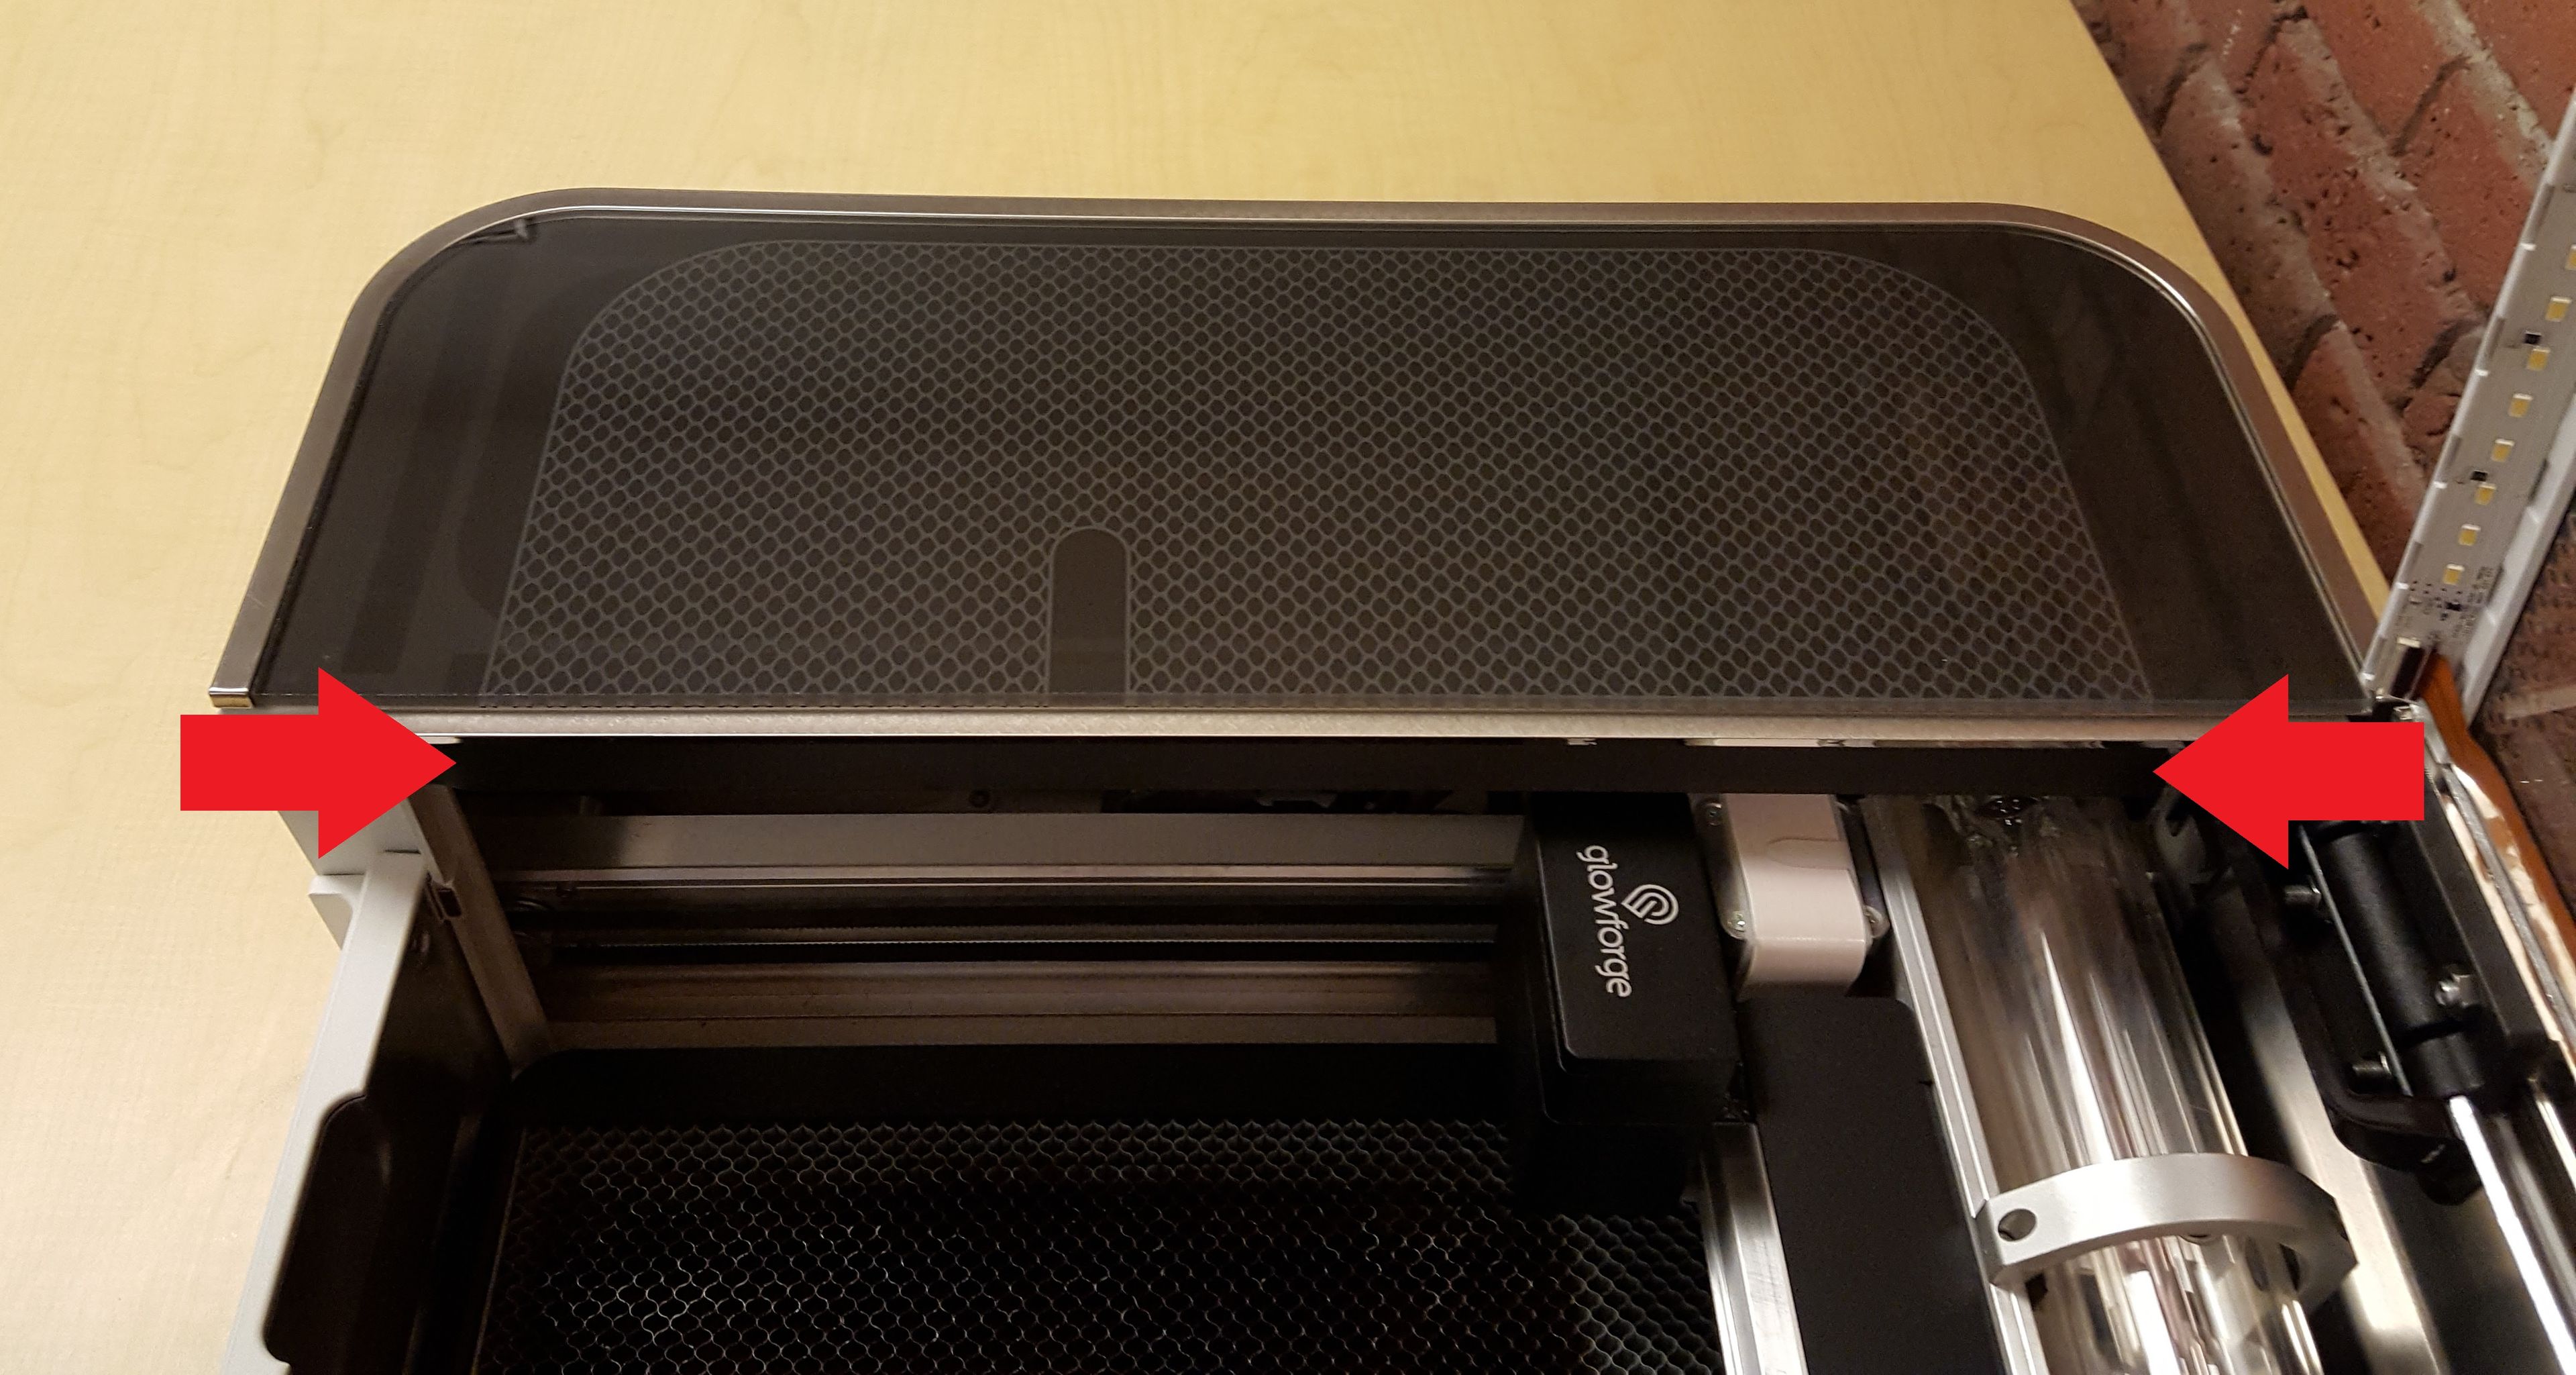
- Using both hands, gently pull the printer arm towards you as shown below:

- Aim your phone or camera inside the Glowforge on the left-hand side, past the metal rail, pointed away from you towards the exhaust hose. The photo should look like this:

- Turn your Glowforge off.
- Photos of (1) your exhaust hose attached to the Glowforge, (2) where the hose exits the room if venting outside, or where it connects to your Performance Filter, and (3) the path your exhaust hose takes from your Glowforge to the exterior vent or Performance Filter:


- The exhaust connection on the back of your Glowforge, with the exhaust hose removed:

- The exhaust fan from the inside of the unit. To capture this photo: