How We Troubleshoot
You should be delighted to use your Glowforge. You should be able to drag your design into place, add material, and get beautiful results every time. You should never hit a snag.
But problems do sometimes happen, and some of you have asked about how we solve them. Here's a brief overview of how we troubleshoot, making sure you get back to printing amazing things as quickly as possible.
Our first step is to gather information about your Glowforge and, if relevant, the print that gave you trouble. Information that we gather about your Glowforge and any designs that you have uploaded is treated as confidential and used only for diagnostic and troubleshooting purposes. Complete information about how we use and protect your data can be found in our Terms of Service and Privacy Policy.
Your Glowforge gathers information about what it’s doing when it encounters a problem and sends it to us so we can help you. For example, we can tell if your unit has ever connected successfully to Wi-Fi. If your unit has a temperature error, we can tell that too. We can also examine engineering details about what happened, which helps us help you get back on track.
How you can help
- Let us know what happened and what you expected to happen
- If you saw an error message or your machine behaved in a way that’s unexpected, describe what you saw
- If there is something unusual on screen, like an error, send us a screenshot or email us a photo of it
- If there’s something unusual on your machine, send us a photo or a video of it
If you were able to upload your file, we can do some research to extract it and examine it for problems. Once it’s been printed, we can also examine the actual data sent to your Glowforge.
How you can help
- Let us know the date and time of your file upload or your print so that we can identify the specific file to extract and examine for potential problems.
- If your file didn’t upload, email or post your file so that we can examine it.
Our troubleshooting tools let us know whether your print finished as expected, or whether it was cancelled. If it was cancelled, we might see an error message, like an indication that your fan isn’t working properly. We can also research our logs of what actions you took before the print, such as resizing or copying designs, to help us see where things may have gone awry.
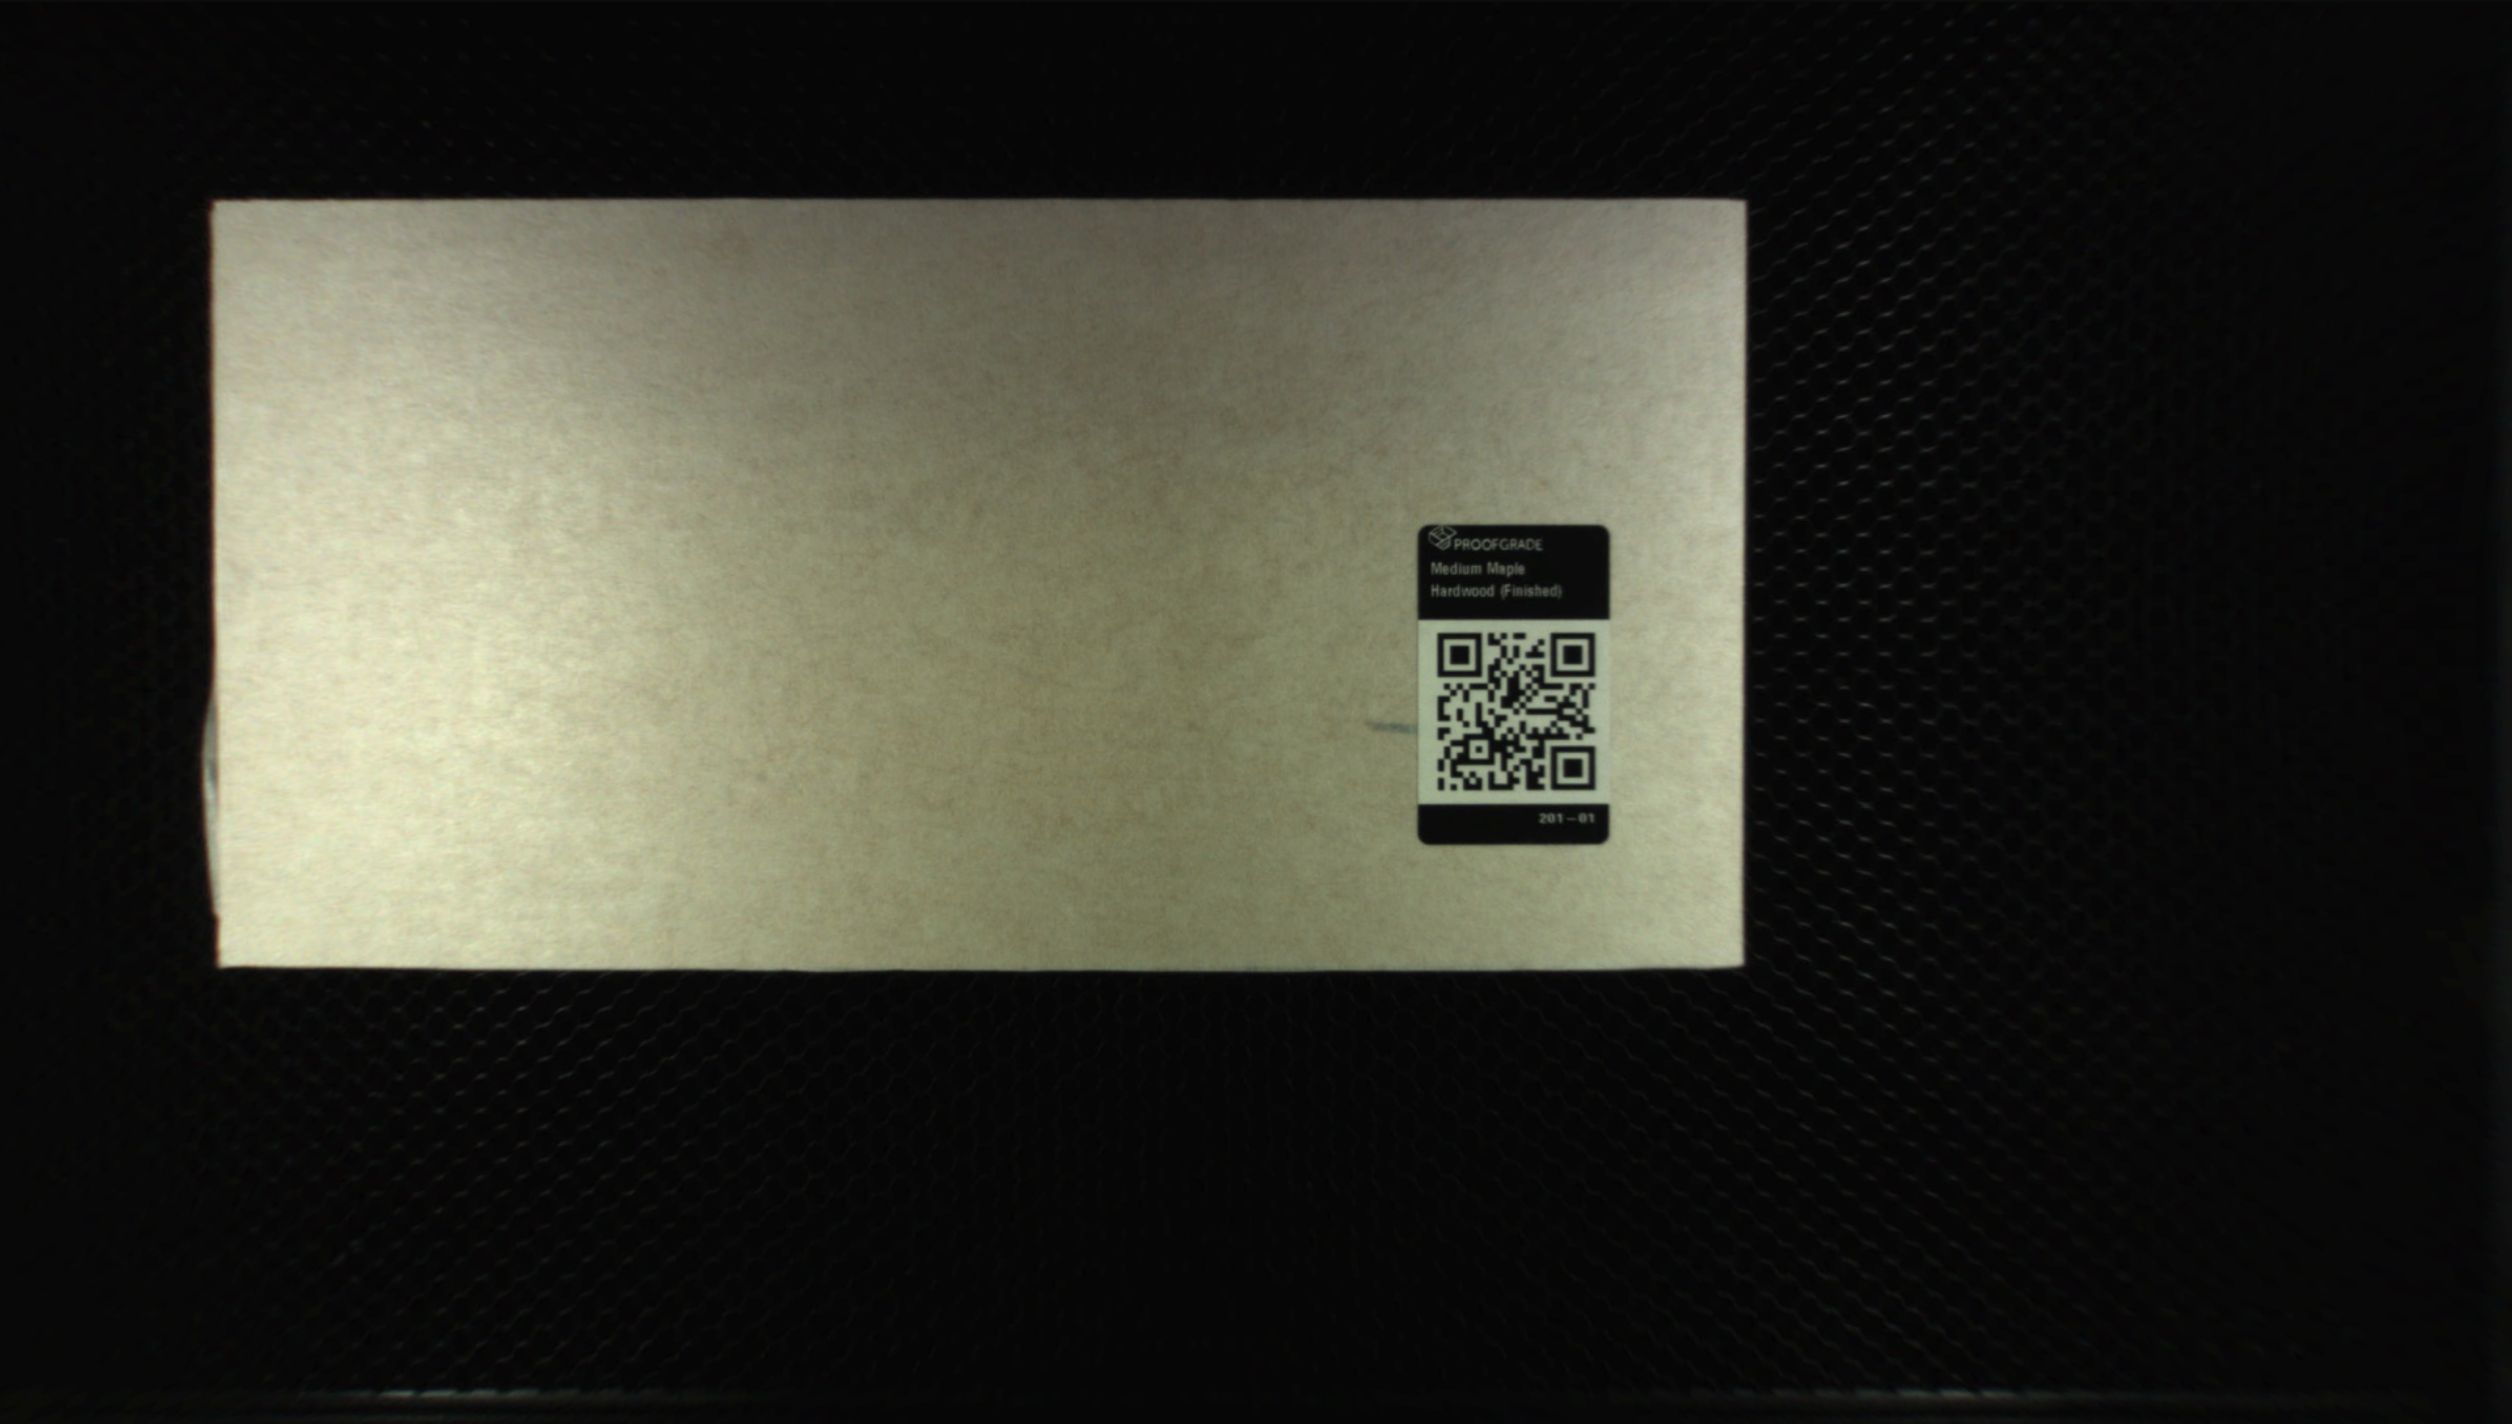
Also, your lid camera takes two pictures as part of every print job: once before the print starts, and again after the cooldown process completes.

These images are normally transformed and used in the interface to help you see your design. When you contact us for help, though, we may extract the raw, wide-angle images to assist in diagnosing your problem. Images like this help us understand the state of your unit and the material before and after the print. This lets us explore whether the material is too far to one side, for example, or if it shifted during a print.
These pictures, obviously, don’t tell us a complete story. We can’t see if cuts went all the way through, and we can’t tell what engraves look like once the masking is pulled away.
How you can help
- Let your Glowforge finish the cooldown cycle before you open the lid; otherwise we will not get the post-print photo. The cooldown cycle should typically take less than a minute or two.
- A wide variety of problems can crop up from material that doesn’t work well with your Glowforge. If your problem occurred on non-Proofgrade material, try re-printing it on the extra piece of Draftboard we sent (or any other Proofgrade material) to see if it still happens.
- Photos of your print are very helpful. For example, photos of the top and underside of a print that didn’t cut well, or a photo with the masking removed if your engrave wasn’t satisfying.
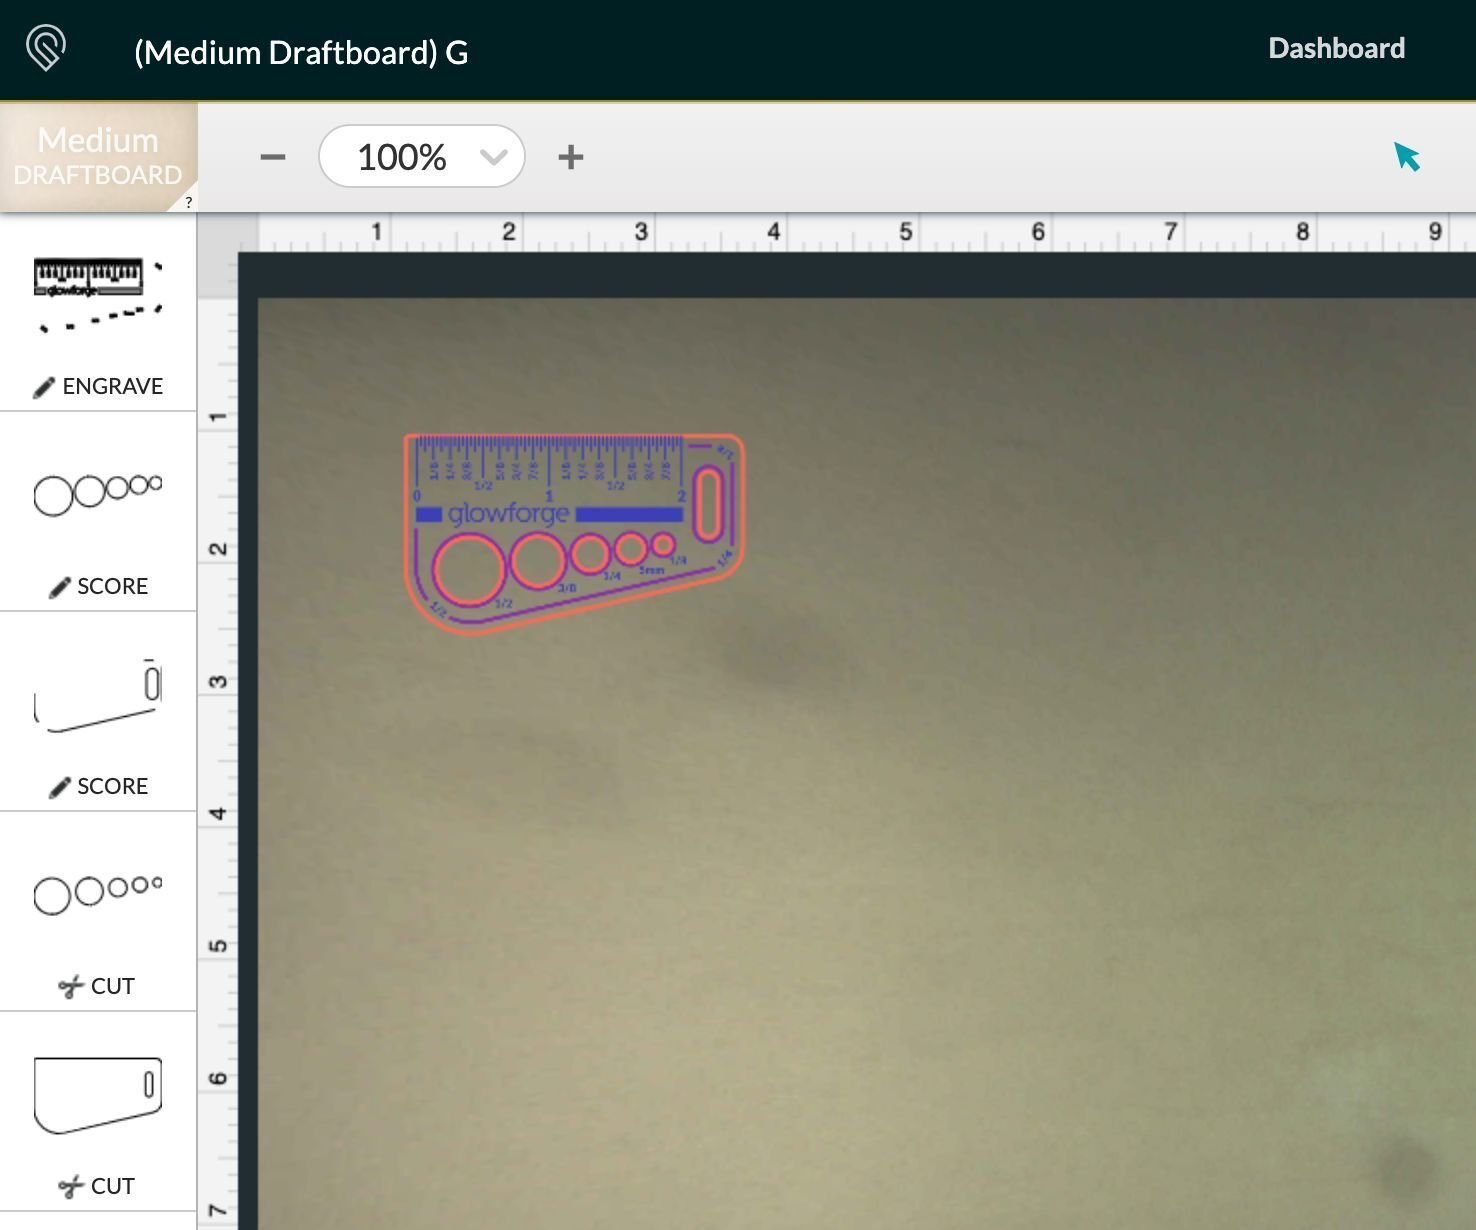
- If your print turned out differently than it appeared on the preview before you started, for example if the cut was more than ¼” offset from the preview, a screenshot of the Glowforge app showing your completed project is very useful. To take a screenshot:
-
- Mac: Press Shift-Command-4 and click and drag a box around your image. You’ll find the screenshot file saved on your desktop
- Windows: Click on the Start Menu and search for the Snipping Tool. Open the Snipping Tool > New then click and drag a box around your image.
- Make sure to include the rulers in your screenshot and show as much of the bed as possible.

-
- Try printing something small with a variety of straight and curved lines, engravings, and other features on a piece of Proofgrade material. We recommend the Gift of Good Measure keyring, which you’ll find free on your dashboard. Tell us if you see the problem with that print.
For some problems, the customer success team may need to reproduce your machine’s actions in-house. In this case, we extract the data from the print and repeat the printing process confidentially in our office. When we’re done, we destroy the results, since we have a confidential obligation to you regarding the information you send to us. This is very time consuming and requires us to take special confidentiality precautions, so we don’t do it often, but it is useful in some troubleshooting cases.
We're here to make sure you’re delighted with every print you make. We hope you never have to contact us, but if you do, we hope this helps you understand more about what we do to help!