Moving Your Performance Series Glowforge
Glowforge Basic/Plus/Pro
To move your Glowforge, you'll first need to package it properly. That means using the original boxes, foam blocks, and important orange and red bits. The box is specially designed to protect your Glowforge, whether it’s for a big move, going to an event, or temporary storage.
Ignoring any pieces can endanger your Glowforge. For example, moving it without including the red knobs that secure the laser arm can damage the laser tube.
If you need replacements, you can find both the shipping box and the orange and red bits in our shop.
Turn off and unplug your GlowforgeTurn your Glowforge off before packaging. Unplug your printer and set the power cord aside.
Remove the printer head-
Position the laser arm
Gently push the laser arm to the back of the Glowforge.
-
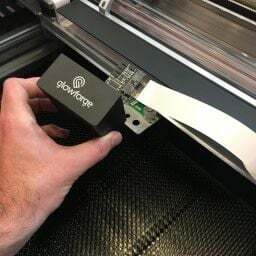
Remove the printer head
Holding only the finished black surfaces, grasp the printer head as shown. Pull gently up and back to disengage the magnets and remove the printer head.
-
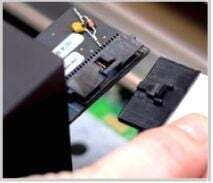
Unplug the wire ribbon
Push down fully on the wire ribbon tab to unplug the wire ribbon from the printer head. Pull the wire ribbon gently away and tuck it into the laser arm.
-
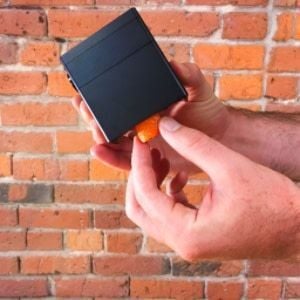
Insert the orange foam
Being careful to only touch the finished black surfaces, insert the orange foam into the printer head.
-
Place the printer head and power cord in the foam block
Remove all the packaging pieces stored in the white rear foam block. Gently lay the printer head and power cord into the foam as pictured.
Note: Do not return power cord during a repair or warranty replacement.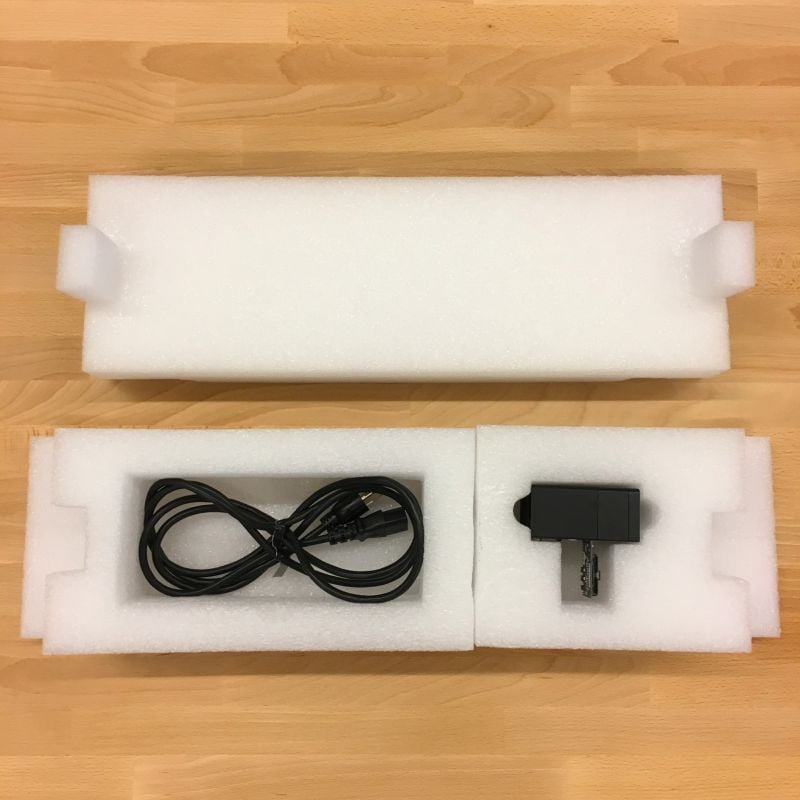
Remove the crumb tray and exhaust vent by following the instructions below. The crumb tray, exhaust hose, and lens tool are packed in the accessories box.
-
Lower the front door and remove the crumb tray
Lift the lid, then lower the front door. Lift the crumb tray slightly and slide it towards you. Be careful not to tilt the crumb tray up, or it will knock into the laser arm and rails.
-
Empty the crumb tray
Lower the front lip of the crumb tray and dump the contents of the crumb tray catch area. Flip the crumb tray to remove any leftovers.
-
Wipe the floor of the Glowforge
Wipe the metal floor of the Glowforge with a soft cloth to sweep away any bits.
-
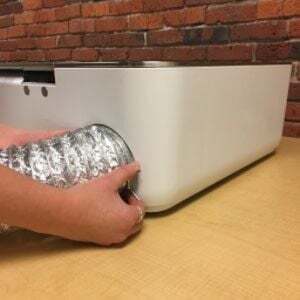
Remove the exhaust hose
Squeeze the ends of the ring clamp together and pull it and the hose off the exhaust vent with a gentle tug.
-
Pack the accessory box
Place the crumb tray, exhaust vent, and lens tool in your Glowforge accessory pack box.
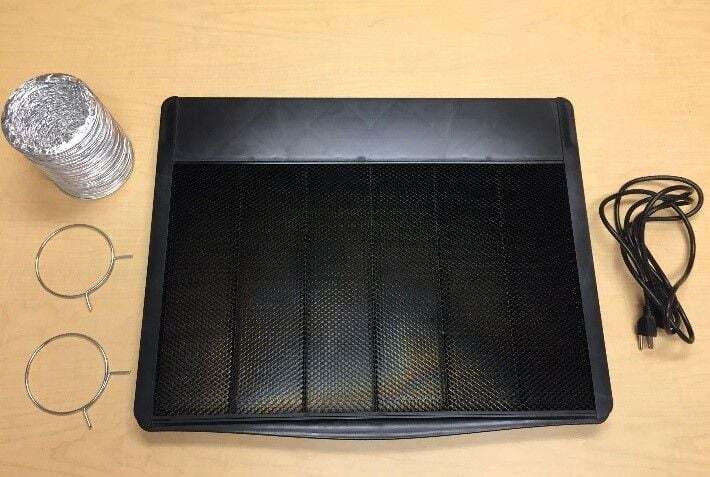
It’s important to package your Glowforge properly with the original boxes, foam blocks, and important orange and red bits.
-
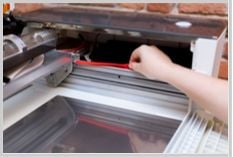
Place red strip on both rails
Push the laser arm to the back of the printer. Set the red silicone strips on the rails near the center of the printer, with the knobby bit close to you as pictured.
-
Position the laser arm
Slide the laser arm forward so that it’s resting on the silicone strips. You’ll need to pick it up just a bit at the front, then the back.
-
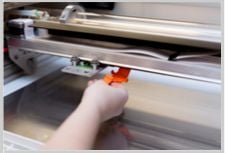
Attach the clip
The clip snaps onto the bottom of the laser arm and pokes up into the metal plate. Align the left tab of the clip with the hole on the right side of the plate, then hook the back of the laser arm and pull the clip towards you and up. (It’s much easier than it sounds.) When the clip is in place, the metal plate will no longer slide from side to side.
-
Insert the rear foam block
With the lid removed, insert the foam block containing the printer head and power cord into your Glowforge. The bottom will lay flat against the floor of your printer.
Note: Do not return power cord during a repair or warranty replacement.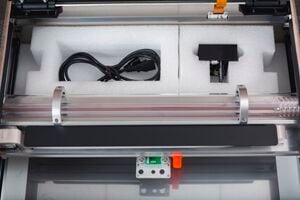
-
Screw in the red knobs
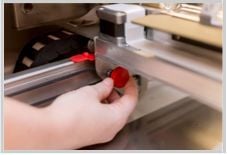
Locate the holes near the center of each rail. On both sides, screw the red knob through the hole in the laser arm to secure the laser arm to the rail. Screwed in as tight as you can with your fingers, but don't use a tool to tighten them.
-
Insert the rear foam lid and front foam block
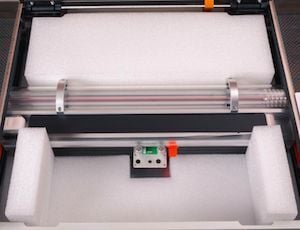
Place the lid of the rear foam block, covering the printer head and power cord. Place the final foam block in the front of your printer and close the front door.
-
Close the lid and tape it shut with packing tape or duct tape in the area highlighted in orange below:

-
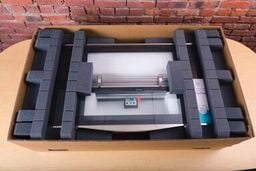
Put the Glowforge in the box
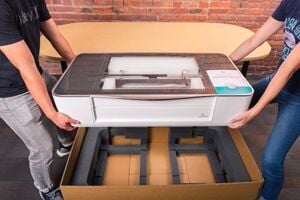
Make sure the two black foam shells are in the bottom of the box. Have two people lift the Glowforge into the box. It will fit snugly into the foam inserts.
-
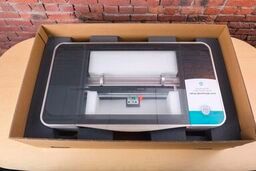
Place top foam
Place the top layer of foam over your Glowforge. These pieces lay flat on your Glowforge.
If your accessory pack shipped in the same box as your Glowforge, insert the top pad above the protective foam and place the accessory pack on top of the pad.
-
Return materials authorization slip
If your printer is on its way to Glowforge, set the Return Materials Authorization slip on top of the top foam.
-
Add the lid and finish up!
Place the lid on the box and tape it securely.
If your Glowforge came with handle locks, you can see how to place them, or simply cover the holes with tape to keep dust out of the box.
If you're moving your Glowforge to a new space, you may need to login to a new Wi-Fi network. Here's how to do that.
-
Sign in
Using a device that connects to the internet via Wi-Fi, go to setup.glowforge.com and sign in.
-
Turn on your Glowforge
Turn on your Glowforge and wait until all motion has stopped for 30 seconds.
-
Start Wi-Fi setup
Hold down the button on your Glowforge for ten seconds, until it glows a teal color.
-
Connect your Glowforge to Wi-Fi
Follow the instructions on screen to connect your Glowforge to Wi-Fi. For more information, see "Connect Your Glowforge to Wi-Fi."