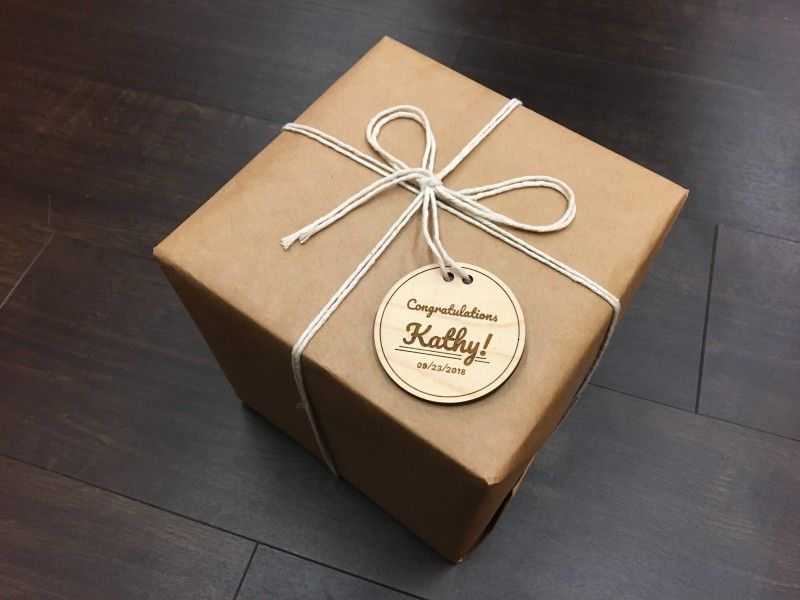
Make a Gift Tag from Scratch using Inkscape
To create a great design for your Glowforge, it’s useful to understand the three things your laser can do.
- Cut: The laser moves slowly along a path, at full power, to cut all the way through the material.
- Score: The laser moves quickly along a path, at lower power, to draw a line.
- Engrave: The laser moves quickly back and forth, turning on and off thousands of times per second, to create an image on the surface.
If you’re not familiar with vector design, it starts with two simple ideas: a stroke (which is an outline) and a fill (which is a filled-in shape). When you upload your file, strokes become cuts and fills become engraves. You can then switch a stroke to a score.
Each color is a different step in the printing process. You can assign different settings to each color.
For example, if you want one shape to be engraved lightly and another more deeply, fill each shape with a different color. Before printing, you can choose a light engrave setting for one and a dark setting for the other.
There are many vector graphics editors out there, but we’ll use Inkscape for this example because it’s free and available for both Mac and PC. Note that we can provide support for customers who are using either Inkscape or Adobe Illustrator.

Inkscape is a free professional quality vector graphics editor. We’ve provided a little information about Inkscape and how to install it for those who aren’t familiar with it. Once you’re done installing, go ahead and open Inkscape.
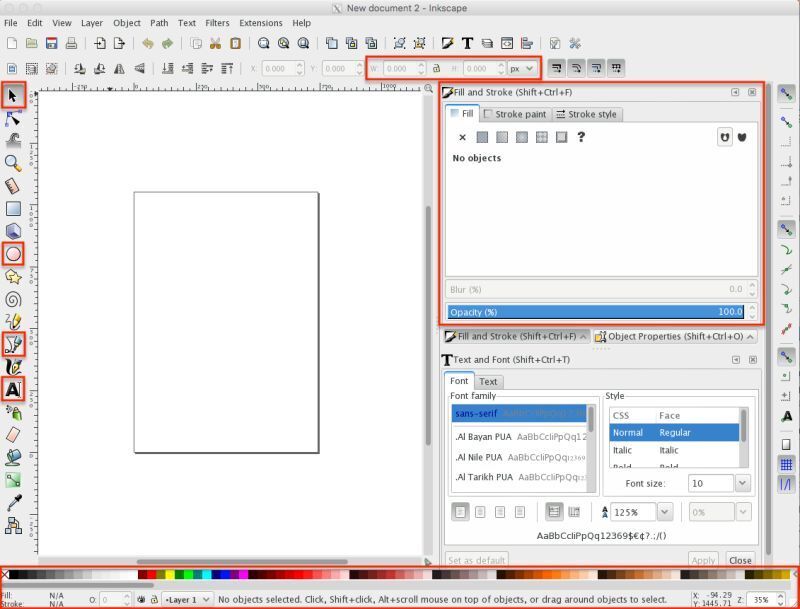
You’ll see a screen with a lot of icons and menus. It might look a little different, so find the items we’ve circled in red that we’ll use for this tutorial.
- Along the left side in this picture, the tool menu offers the select tool, the circle tool, the pen (or Bezier) tool, and the text tool.
- Near the top, you’ll see some boxes for adjusting the height and width of shapes.
- On the right, there’s room for several dialog boxes. If you don’t see these, you can click “View” in the menu, then “Show/Hide Dialogs.”
- At the bottom you’ll see the Palette. If you don’t, go to the “View” Menu, click “Show/Hide,” and then select the “Palette.”
- In the middle, there’s a picture of a blank page – that’s where you’ll draw!
To cut, the laser moves slowly along a path at full power. When you want a cut, you’ll create a path that has a stroke of some color and does not have a fill. Other stroke settings like thickness or opacity don’t matter and are ignored.
-
Click on the the Circle Tool on the left side of your screen

-
Click and drag on the blank document to draw a circle
Don’t worry about the size - we’ll adjust it later.

-
Choose a Color
Hold the Shift key and click a color in the palette. It doesn’t matter which you choose; let’s say a nice dark blue. If you look at the bottom left corner of the screen, you’ll see the current settings for your new circle: Fill (None) and Stroke (Blue).
If your circle doesn’t turn blue when you click the color, make sure that the box next to the O (just to the right of the blue bar in the image) says “100.” O stands for “Opacity,” and if your Opacity is 0, your stroke or fill will be invisible.

-
Adjust the Size of the Circle
Adjust the size of the circle near the top of the screen. First change the measurements from “px” (Pixels) to “in” (Inches), then type 3 in the W (Width) and H (Height box)

-
Click and drag to create a second circle
Choose the same color as before, so it will use the same cut settings as the first one. Set the size to .2 in wide and high.

-
Duplicate the Small Circle
Click the black arrow for the Selection tool in the upper left, then click on your smaller circle, and choose Edit > Duplicate from the menu. (If you’re on a Mac, resist the temptation to use copy and paste; duplicate works better!)

-
Place Your Circles
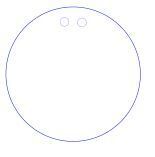
Drag the newly created circle off of the top of the original so it looks like this design. You’ll now have three blue circles.
In an engrave, the laser moves quickly back and forth, turning on and off thousands of times per second, to create an image on the surface. Engraving lets you customize the things you make with words, drawings, or art. To define an engrave, create a fill without a stroke. We’re going to start with text.
-
Click the Text Tool

-
Type a Message
Click on your drawing (it doesn’t matter where), and then type a short message.

-
Choose a Font
You can choose a font for your text to make it more special. While you have the text tool selected, you’ll see the this menu at the top of the screen. If you’ve typed text that you want to change, highlight it first. Now click the arrow to the right of the font name to choose a new font. Change the number to make it bigger or smaller.

If you want to make your design stand out, Google Fonts has a host of choices that you can download and print for free. Using more than one font size adds a little elegance, too.
To change the spacing between lines of text, edit the number in this box.

-
Convert Your Text
Click and drag inside your text box to select all of your text, then choose “Path” from the menu bar and click “Object to Path.” You can’t edit your text any more, but now it will print properly.
To score, the laser lowers its power and moves quickly along a path. It’s like a cut that doesn’t go all the way through. It’s a nice quick way to create a bold visual effect and scoring is much faster than engraving.
-
Duplicate Your Circle
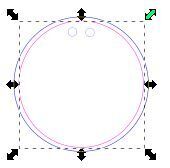
Click the black arrow for the Selection tool in the upper left, then click your large circle, and, once again, go to Edit > Duplicate. It won’t look like anything happened unless you pay very close attention – the blue line will appear a tiny bit thicker.
-
Pick a New Color
Hold the shift key and select a pink from the palette. Making it a different color means you can apply a different setting to it in the Glowforge App.

-
Shrink your Circle a Little
Hold the shift key, click a corner of the circle’s selection box, and drag it towards the center of the circle just a bit. Holding shift keeps the pink circle centered as you resize it.
Want a little emphasis? Add a line… or a few
-
Click on the Pen Tool

-
Create a Straight Line
Hold down the Control key (even if you’re on a Mac) and click and drag to create a straight line. When you’re finished, double-click on the end point of the line.

-
Pick a Color
Hold the Shift key and click a red color in the palette. Check the bottom left corner to see what you’ve selected: Fill (None) and Stroke (Red).

-
Finish your Score Lines
Use the selection tool (the black arrow) to select your line, then click Edit > Duplicate from the menu. This will create a new line right on top of the old one. Click and drag it to separate it from the original. We created four lines in our design.
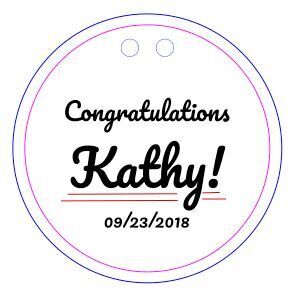
-
Position Your Gift Tag Elements
Use the Selection tool to click and drag each piece of your Gift Tag into place.

-
Finalize Score Lines
You can make your red lines longer or shorter by clicking and dragging their end points, or by changing the width, the way you changed the circle sizes above.
-
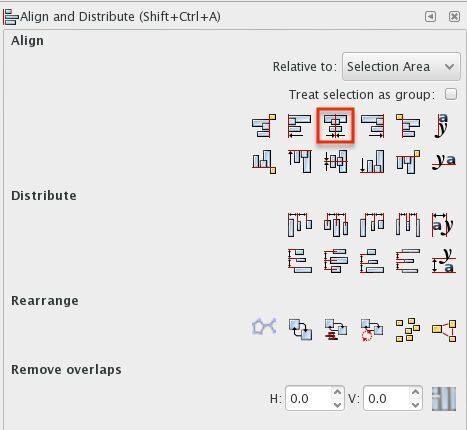
Align Shapes
To center things neatly, hold shift and click each element that you want lined up. Click Object > Arrange, then choose the “center” icon.
-
Congratulations - Your Design is Complete

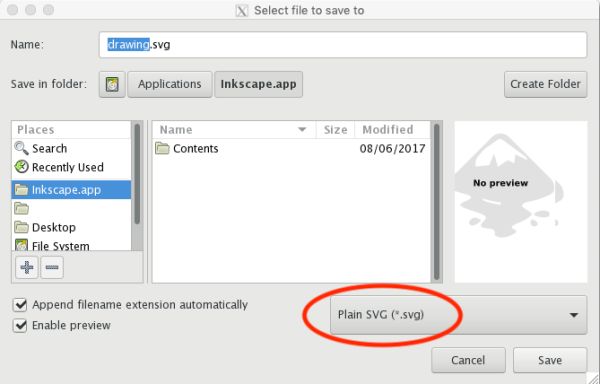
- Go to the “File” Menu and click “Save As”
- Type your File name
- Choose “Plain SVG”
-
Sign In
Go to https://app.glowforge.com and sign in.
-
Place Material in the Bed of Your Glowforge
The remaining hardwood you used for your Founder Ruler would be perfect. Make sure the barcode is whole and visible. (If it’s not, you can select the material manually after you upload your file - just click “Unknown” at the top left of the screen.)
-
Upload Your File
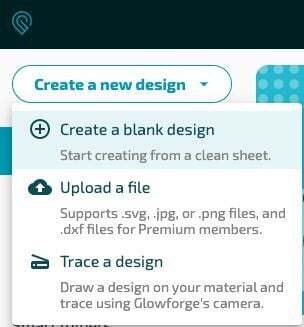
Go to app.glowforge.com to get to the Dashboard and click the “Create a new Design” button. Then, click the "Upload a file" option. Finally, choose the file you saved.
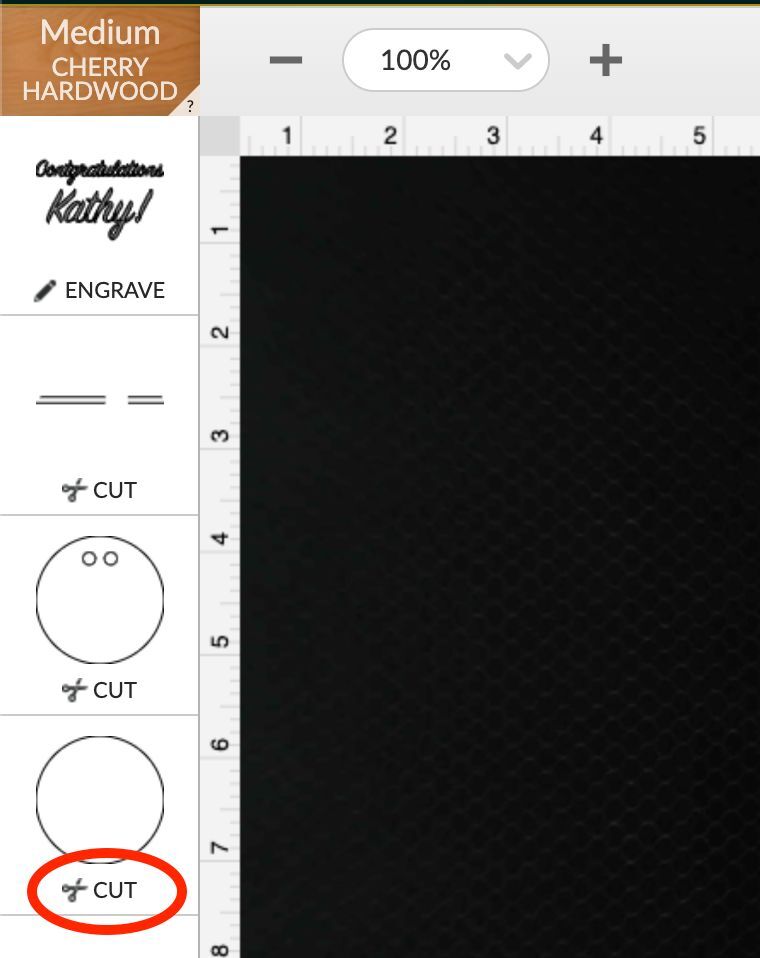
Your design will open in the Workspace. Each color in your drawing will appear as a separate print step on the left side of the screen.
-
Select A Step
Click on the step showing the single circle (the one that was pink). Then click where it says "cut" below the thumbnail of the circle.
-
Convert to score
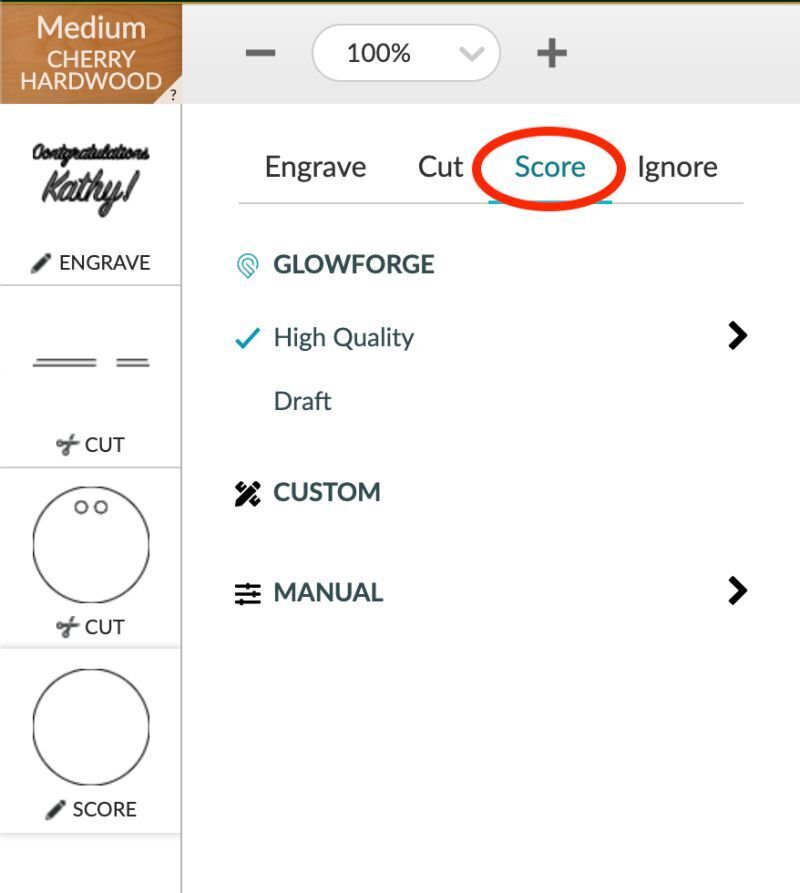
In the window that opens, click on “Score” near the top, so it prints this circle with a score line instead of cutting it out.
Repeat this process for the lines that you drew so they are scored as well
-
Place Design on Material
Drag your whole design to place it where you want it on your material. You can resize it if you want to, too.
- When you’re ready, press “Print”.
- The Print Window will show you an animation of your upcoming print, and will also display the estimated time for your print.
- When the button on your Glowforge starts blinking, press it and watch the laser go pew pew pew.
- Remove your print, peel off the protective layer and admire your creation!
