Print a Catalog Design
Make a Gift of Good Measure keychain
With this design, your first print will be both beautiful and useful. You can put this tool to work on your keychain or make several and hand them out to friends. And, you can make it in inches or metric.
-
Go to https://app.glowforge.com and sign in.
-
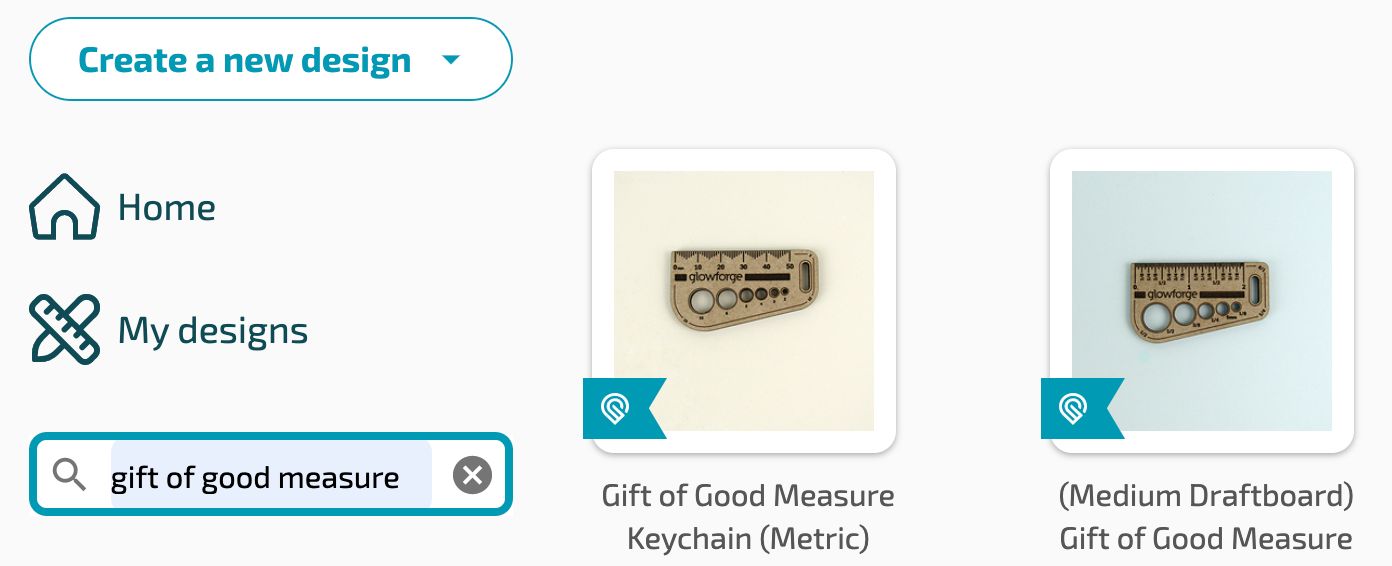
On the Dashboard, point to the Gift of Good Measure keychain design that you want (inches, or metric), and then click on it to open it. If you don't see it on your dashboard, you can search for it by typing "Gift of Good Measure" into the search bar below "My designs".
-
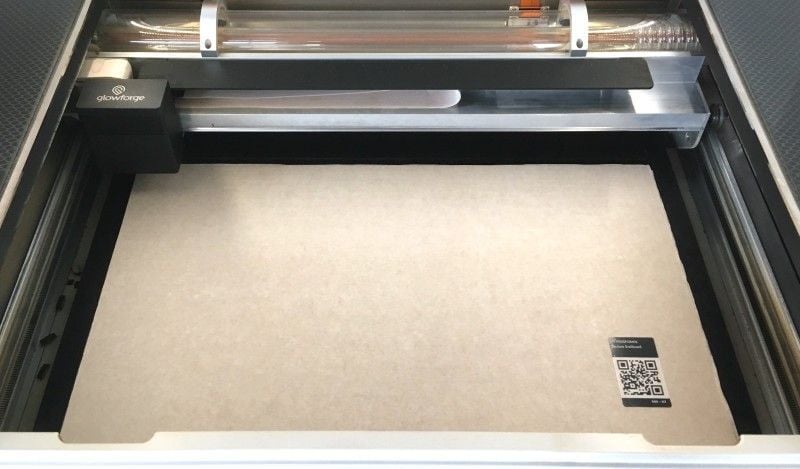
Place a piece of material from your Proofgrade starter kit in the bed of your Glowforge.
Make sure the QR code is whole and visible. If it’s not, you can select the material manually after you upload your file, just click Unknown at the top left of the screen, and then select from the list.
- Place and size your design.
You will see an image of your material in the workspace of the Glowforge app. Click and drag your design to place it where you want it on your material. The design will print approximately where you place the outline on the workspace. It's easy to resize designs, just grab a corner and drag. But don't resize this one so the measurements in the design stay accurate.
Notes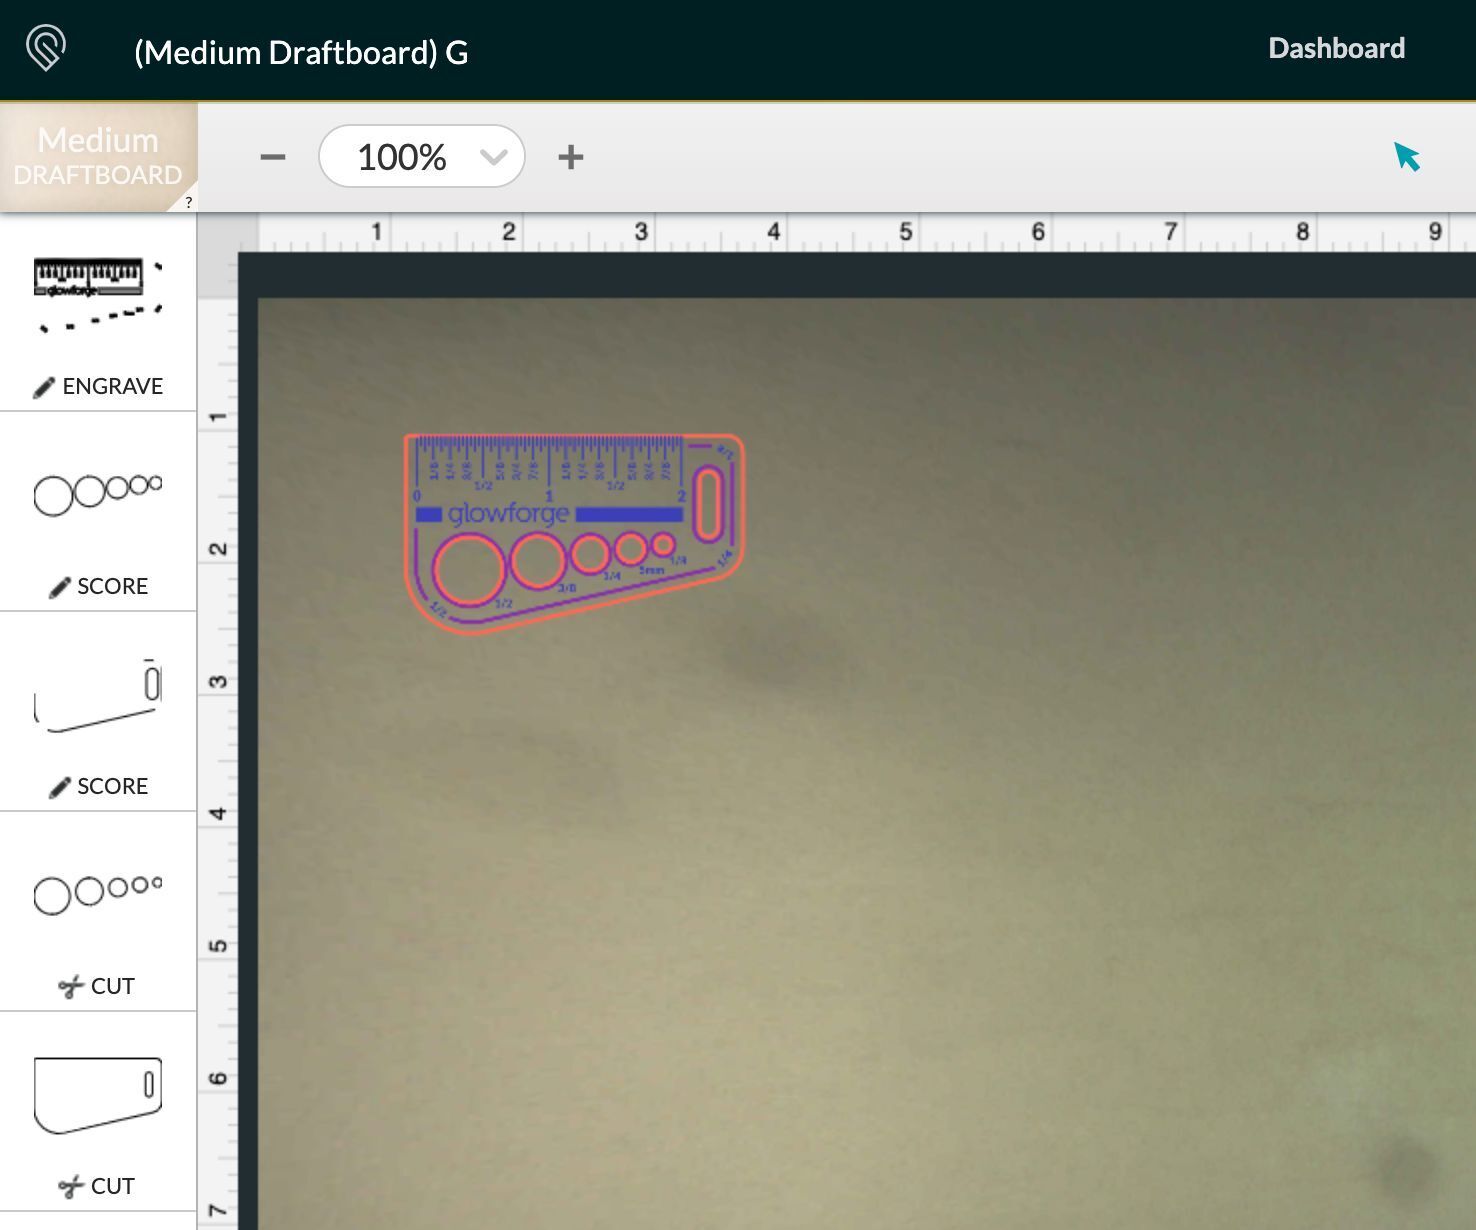
-
- To get the best print, it’s best to leave a bit of space between the edge of the design and the edge of the material.
- If you’re using a large piece of Proofgrade material, you will not see the entire piece of material. That’s ok as long as you can see the design.
-
-
Time to print.
When you’re happy with the placement and size of your design, in the app, click Print in the upper right-hand corner.
The printer head will move to the approximate center of your design and use the autofocus system to calculate a precise laser focus for your material. Once that is complete the print sidebar will open. You’ll see how long your design will take to print, and the button on your Glowforge will begin blinking. - And now, the laser!
Press the blinking button on your Glowforge. It’s important that you keep watch on your Glowforge while it is printing – luckily, it’s really fun to watch a laser in action. - Need to walk away?
If you need to walk away, you can pause printing any time by pressing the white button. To resume, just press the button again and the print will continue. We take care of all the magic so that there’s no visible interruption.
Note: If you open the lid or click Cancel it will cancel the print.
Just remember, don’t leave your Glowforge unattended while it is printing. -
Reveal your Gift of Good Measure.
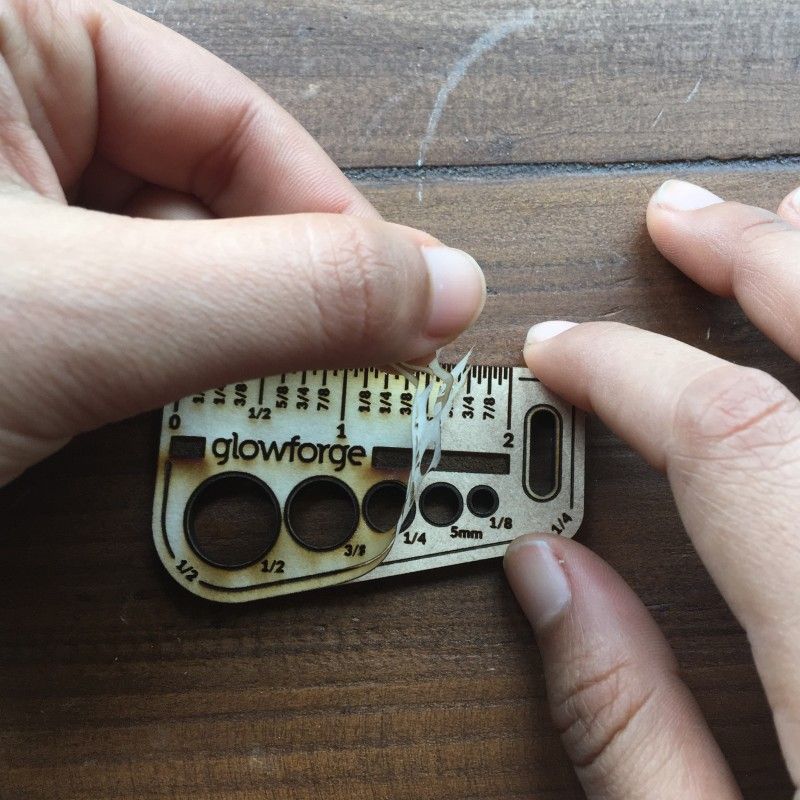
When the laser finishes, the fans will continue to whisk away the last wisps of exhaust for a few moments. Wait for the fans to stop, remove your print, and then peel away the protective layer to reveal the engraved material underneath.
Tip: To make this easier, you can put Gorilla Tape over the protective layer, and then peel both away. -
Put your keychain through the slot and you’re ready to measure anytime!
Learn more about Glowforge Premium.