Simplify Strokes
This article will show you how to simplify your vector designs for faster loading in the app, using Inkscape and Adobe Illustrator.
When to simplify strokesWhen creating or using a design in a vector format, such as an SVG file, objects in the design are created using strokes, fills and images. A stroke is an outline and a fill is just a filled-in stroke. When you upload your file, strokes become cuts and fills become engraves. You can then switch a stroke to a score so that your Glowforge will draw a line instead of cutting.
Nodes are the points which connect strokes together. When a design is very complex or contains a high number of nodes, this can increase loading and print processing times in the Glowforge app, or even cause a print to fail. If a print fails for this reason, it will stop during the “Preparing your Print” stage. Both Inkscape and Illustrator can simplify a design by decreasing the number of nodes.
Knowing how to simplify strokes is especially handy for people who export designs from CAD software packages, as exporting a sketch or profile often results in many nodes. This guide will help you reduce the number of nodes for the best results when uploading to the app!
Simplify strokes in Inkscape- Click the selection tool
 and then select an object from your design.
 - Switch to the node tool by pressing F2 to view the nodes in the design

- In the menu bar, click Path > Simplify

- Repeat for any other objects or strokes you wish to simplify
- Click View > Outline to switch to the outline view.

- Click on the Selection Tool
 and then select an object from your design to see its nodes.
- Click Object > Path > Simplify.
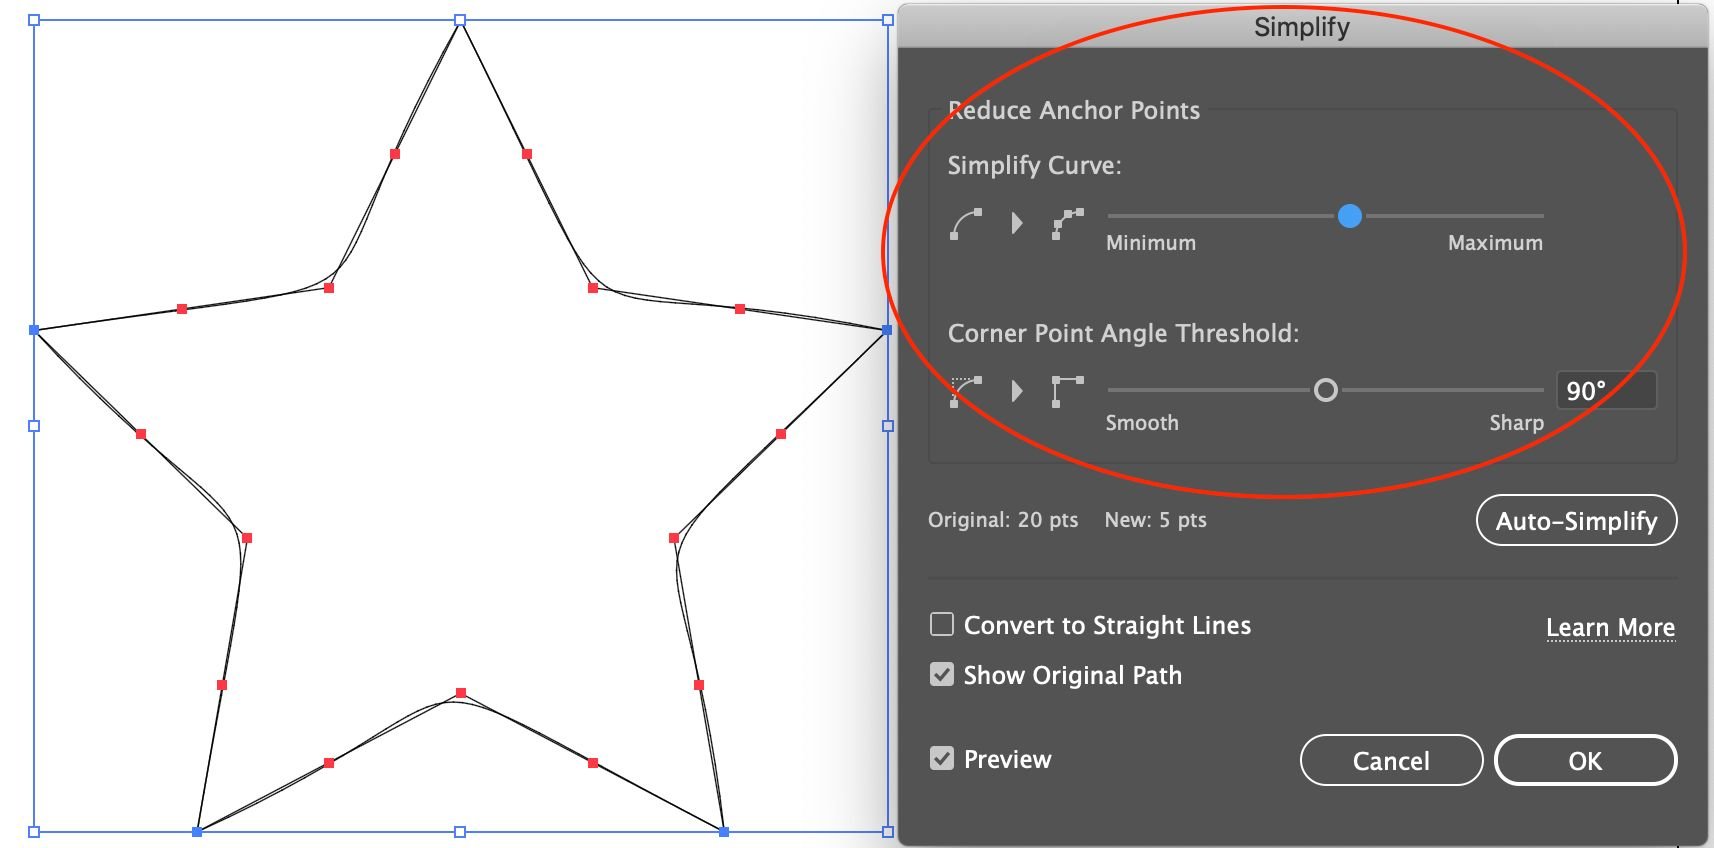
- Click the 3 dots on the right to expand the settings.

- Click “Show Original Path” to compare your changes to the original shape.

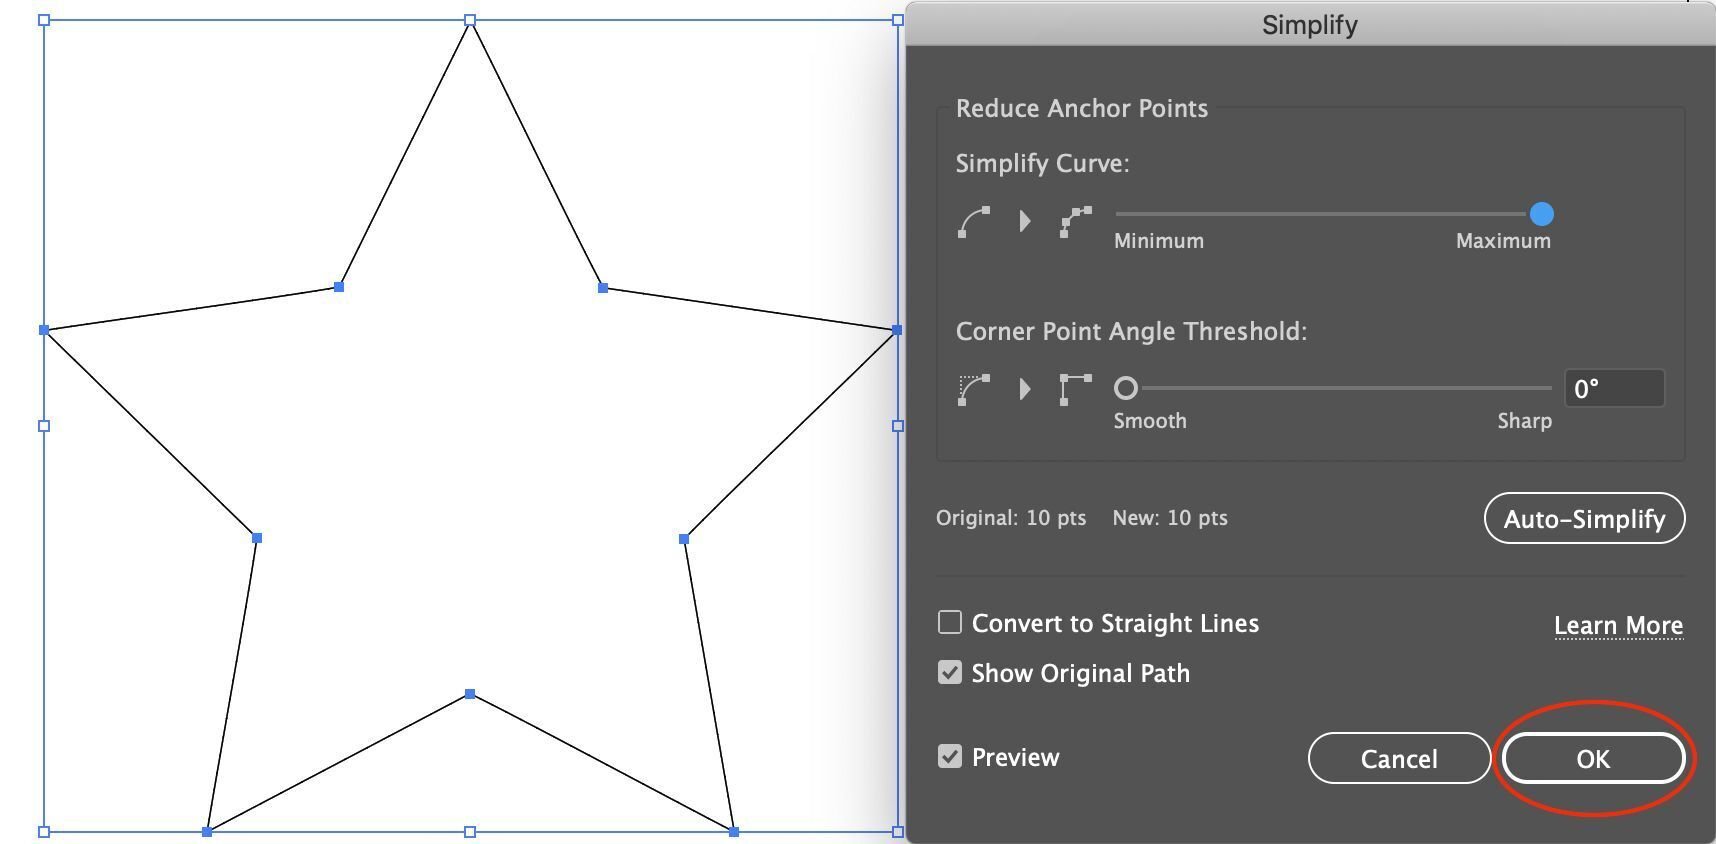
- If your design doesn’t look as expected at first, don’t worry! Illustrator will remove nodes when you simplify a path, and it might not choose the right ones to remove at first. If it doesn’t look right, adjust the sliders until you’re happy with the result.

- Click “OK”
- To return to the default view, in the menu bar, click View > Preview
Repeat this process for any other objects or paths you wish to simplify.