Moving your Glowforge (Craft Series)
Whether it’s for a big move, taking your Glowforge Craft Series Laser to an event, or for a warranty repair, you’ll need to package your printer properly with the original boxes, cardboard blocks, and foam. The box is specially designed to protect your Glowforge Craft Series Laser.
- Unplug your Glowforge Craft Series Laser from the outlet. Then, unplug the power cord from the Glowforge Craft Series Laser, and set it aside.
- Remove any material from your Glowforge Craft Series Laser, and lift out the cutting tray. Put the cutting tray into the cardboard envelope. Then, place the envelope into the slot at the bottom of the box.
- Holding onto the laser end caps, move the laser arm to the middle of the Glowforge Craft Series Laser bed.
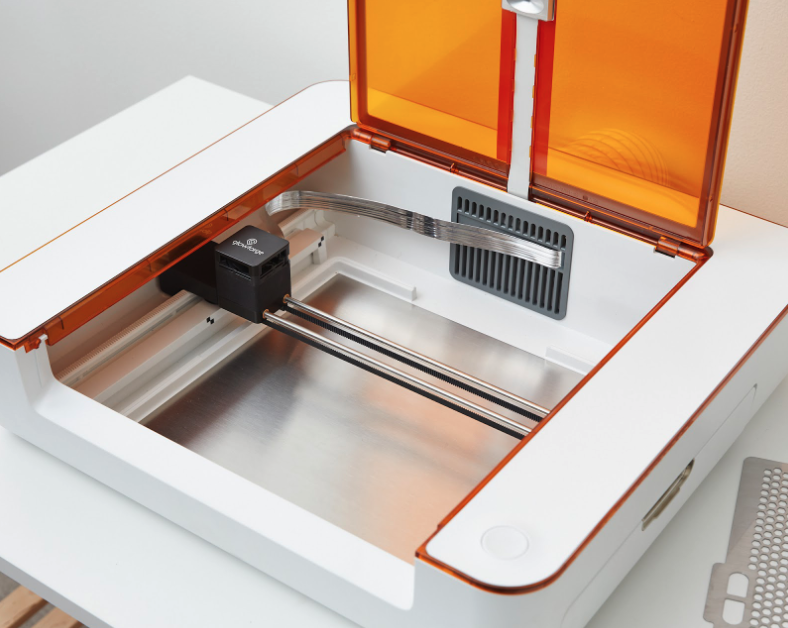
- Carefully move the laser head to the center of the laser rails.
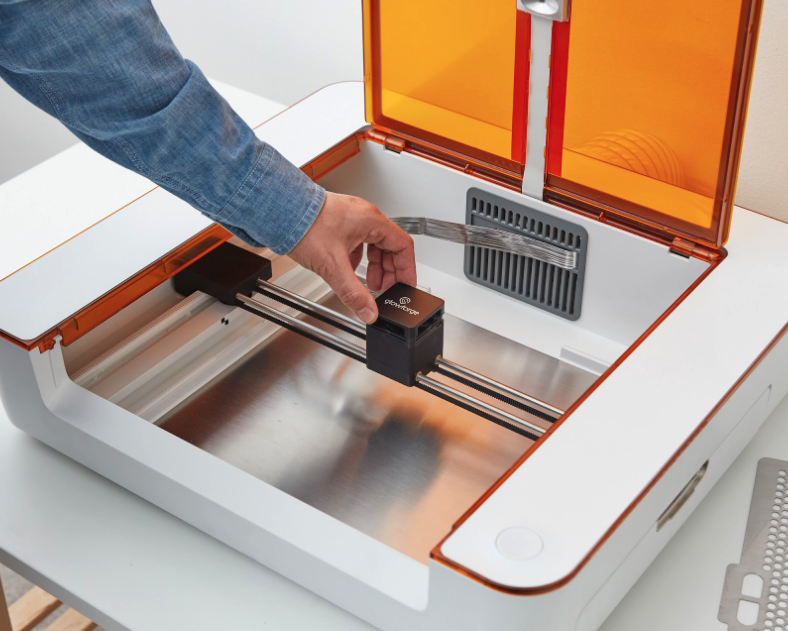
- Find the two foam pieces that fit against the laser arm caps. They each have a cut-out corresponding to the shape of one end cap. Place each foam piece over the laser rails, then slide it to the side until it fits over the end cap.
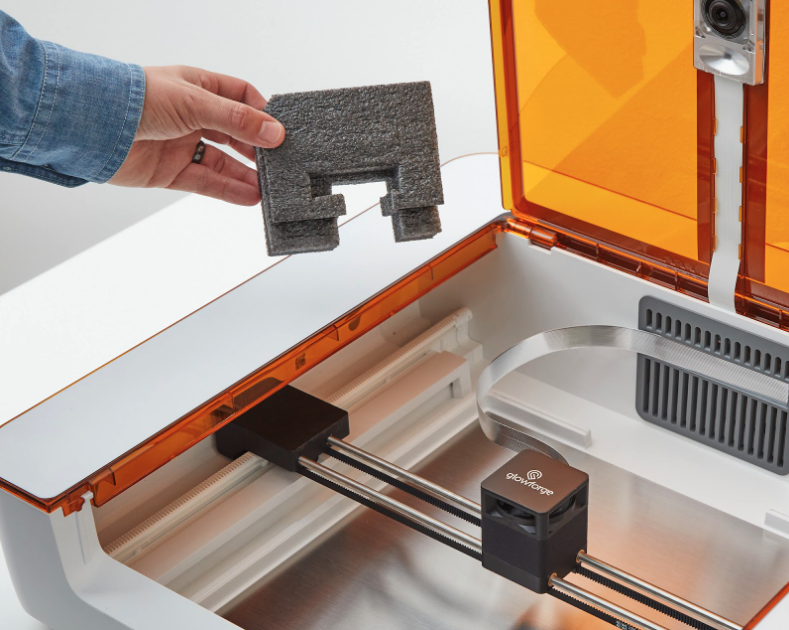
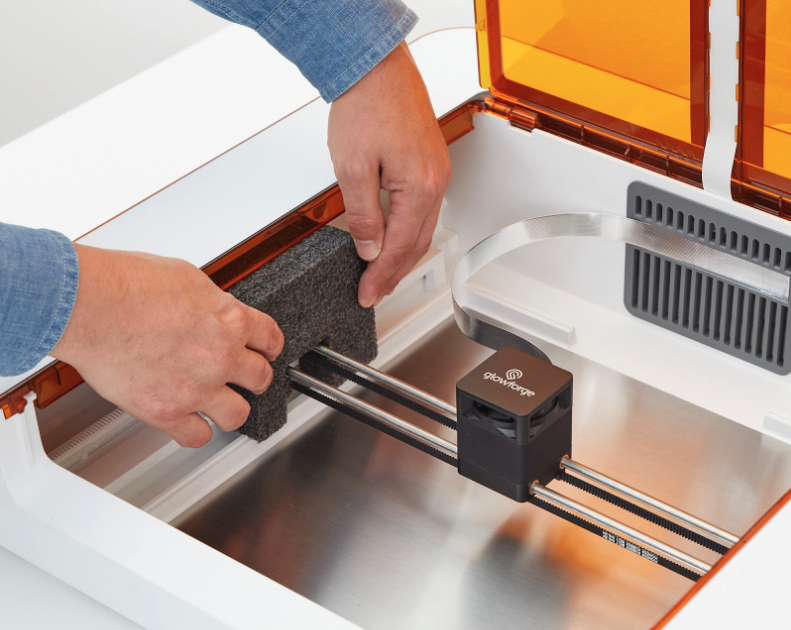
- Lift the laser head, separating it from the magnetic dock. Slide the laser head into its foam piece with the logo facing up. The laser ribbon cable will slide through the slot at the top of the foam piece behind the head.
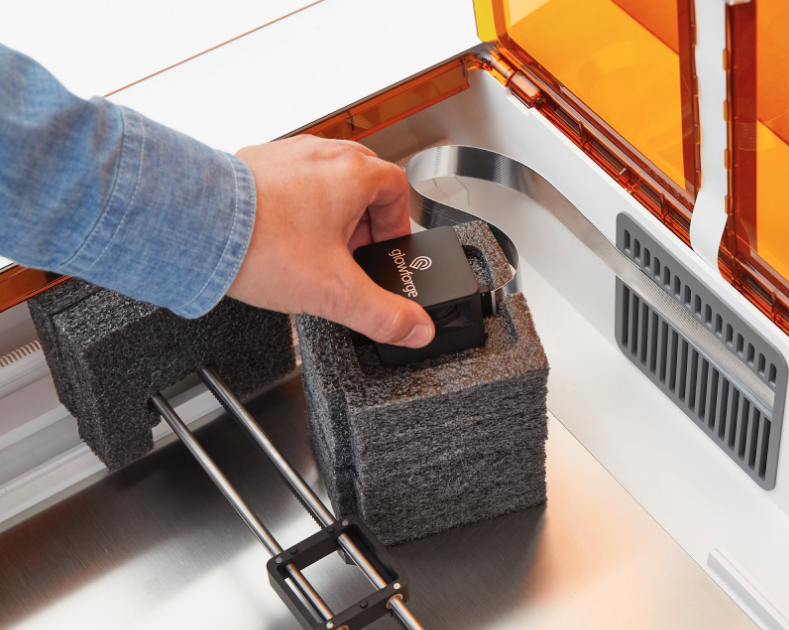
- With the secured laser head in one hand, use your other hand to place the top cardboard insert into your Glowforge Craft Series Laser.
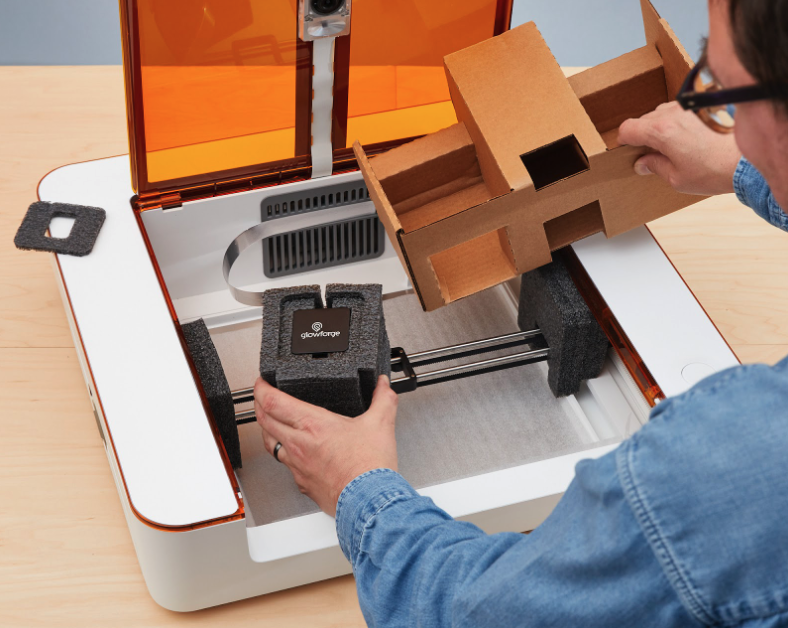
- Put the packed laser head into the left-hand side of the cardboard insert. Then, place the square foam piece over the laser head.
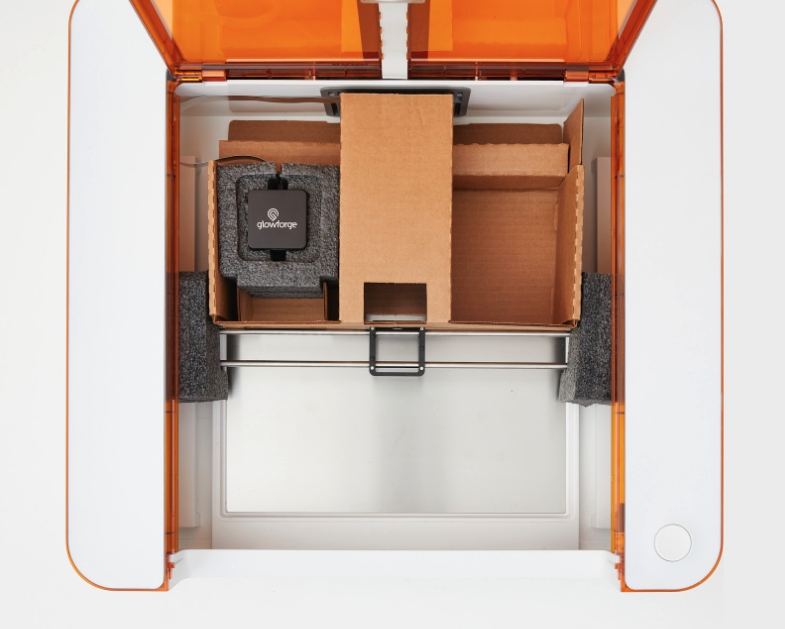
- Put the bottom cardboard insert into your Glowforge Craft Series Laser.
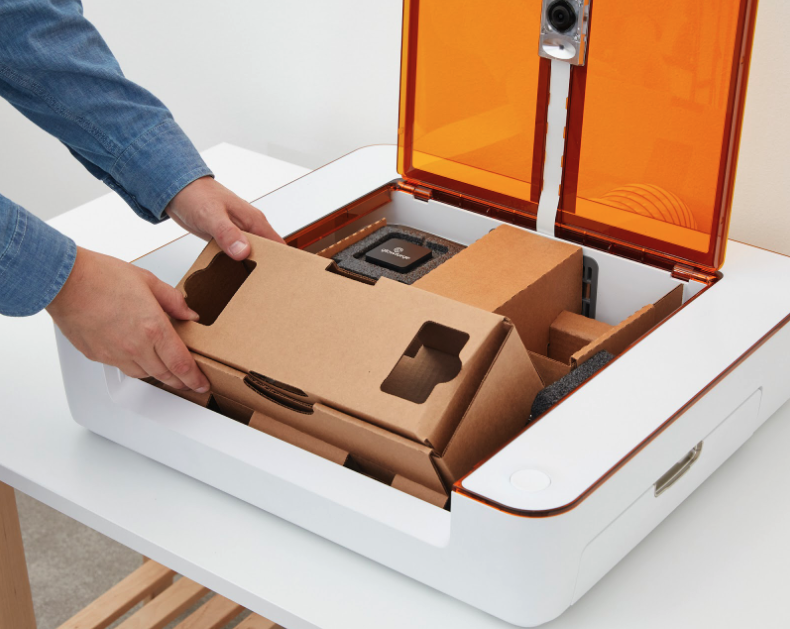
- Close the lid on your Glowforge Craft Series Laser.
- Place the Glowforge Craft Series Laser back into its box.
- Put the top piece of foam over the printer.
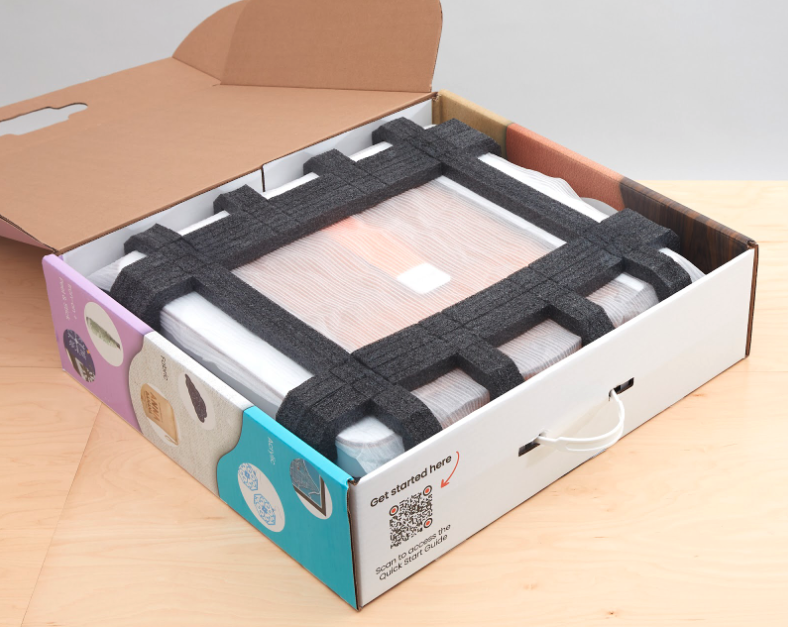
- Close the box. Your Glowforge Craft Series Laser is now snug and ready to move!