Change the Craft Filter Cartridge
Glowforge Aura
If printing produces smoke and fumes (a strong, unpleasant, or irritating odor) while using the Air Filter, it may be time to replace the cartridge.
You can purchase a replacement filter cartridge at shop.glowforge.com.
Follow these steps to make the change.
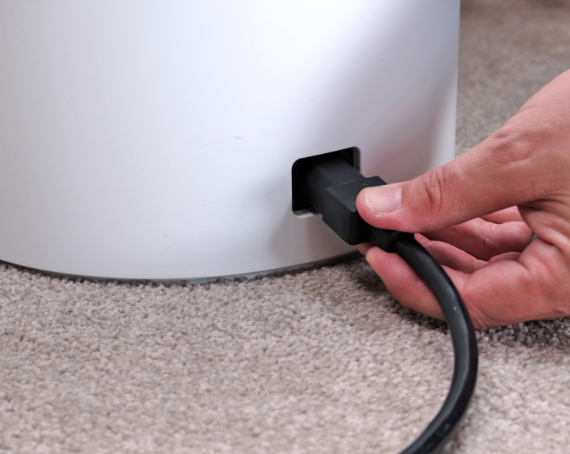
Always turn your Glowforge Craft Filter and Glowforge Aura or Spark printer off by unplugging it before cleaning or moving.
- Unplug the Glowforge Craft Filter

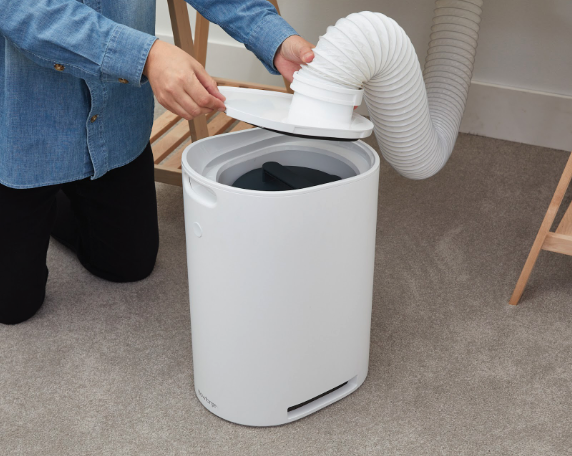
- Open the Filter
The lid on top of the Glowforge Craft Filter is held in place by magnets. Lift the Glowforge Craft Filter lid. You do not need to remove the exhaust hose to change the filter cartridge.
- Remove and dispose of old filter cartridge
Have a plastic bag on hand (you can use the plastic bag your new filter cartridge comes packed in). Grab and lift the handle on top of the full cartridge to remove it. Carefully place the full cartridge into the bag without shaking it. Tie or otherwise secure the bag, and dispose of it in the garbage. - Install the new filter cartridge
Remove the clear plastic bag from your new filter cartridge, and dispose of the small, white moisture-absorbing packet.
Hold the new filter cartridge by the handle. Insert it into the filter, lining up with the green mark on the filter case. The cartridge will slide into the notch at the bottom. To make sure it’s inserted correctly, try to turn the cartridge using the handle. It should stay firmly in place.
- Check the hose
Ensure that the exhaust hose has not become disconnected from either the lid or the back of your Glowforge Aura.
That’s it - you can get back to printing with a fresh filter cartridge!