Create a Customized Gift With Proofgrade Eco Iron-On
Let’s get creative! Premium tools in the Glowforge App make it easy to bring your ideas to life, and our Proofgrade Eco Iron-on can transform an everyday textile into a one-of-a-kind creation!
In this tutorial, we’re going to make a customized pencil bag for a friend.
You’ll learn about:
- Designing for, printing on, and completing a project using Proofgrade Eco Iron-on
- Creating a design from scratch in the Glowforge App
- Using Premium tools to add text to a design
- Adding graphics from the Premium tools graphic library
- Get to Know the Material
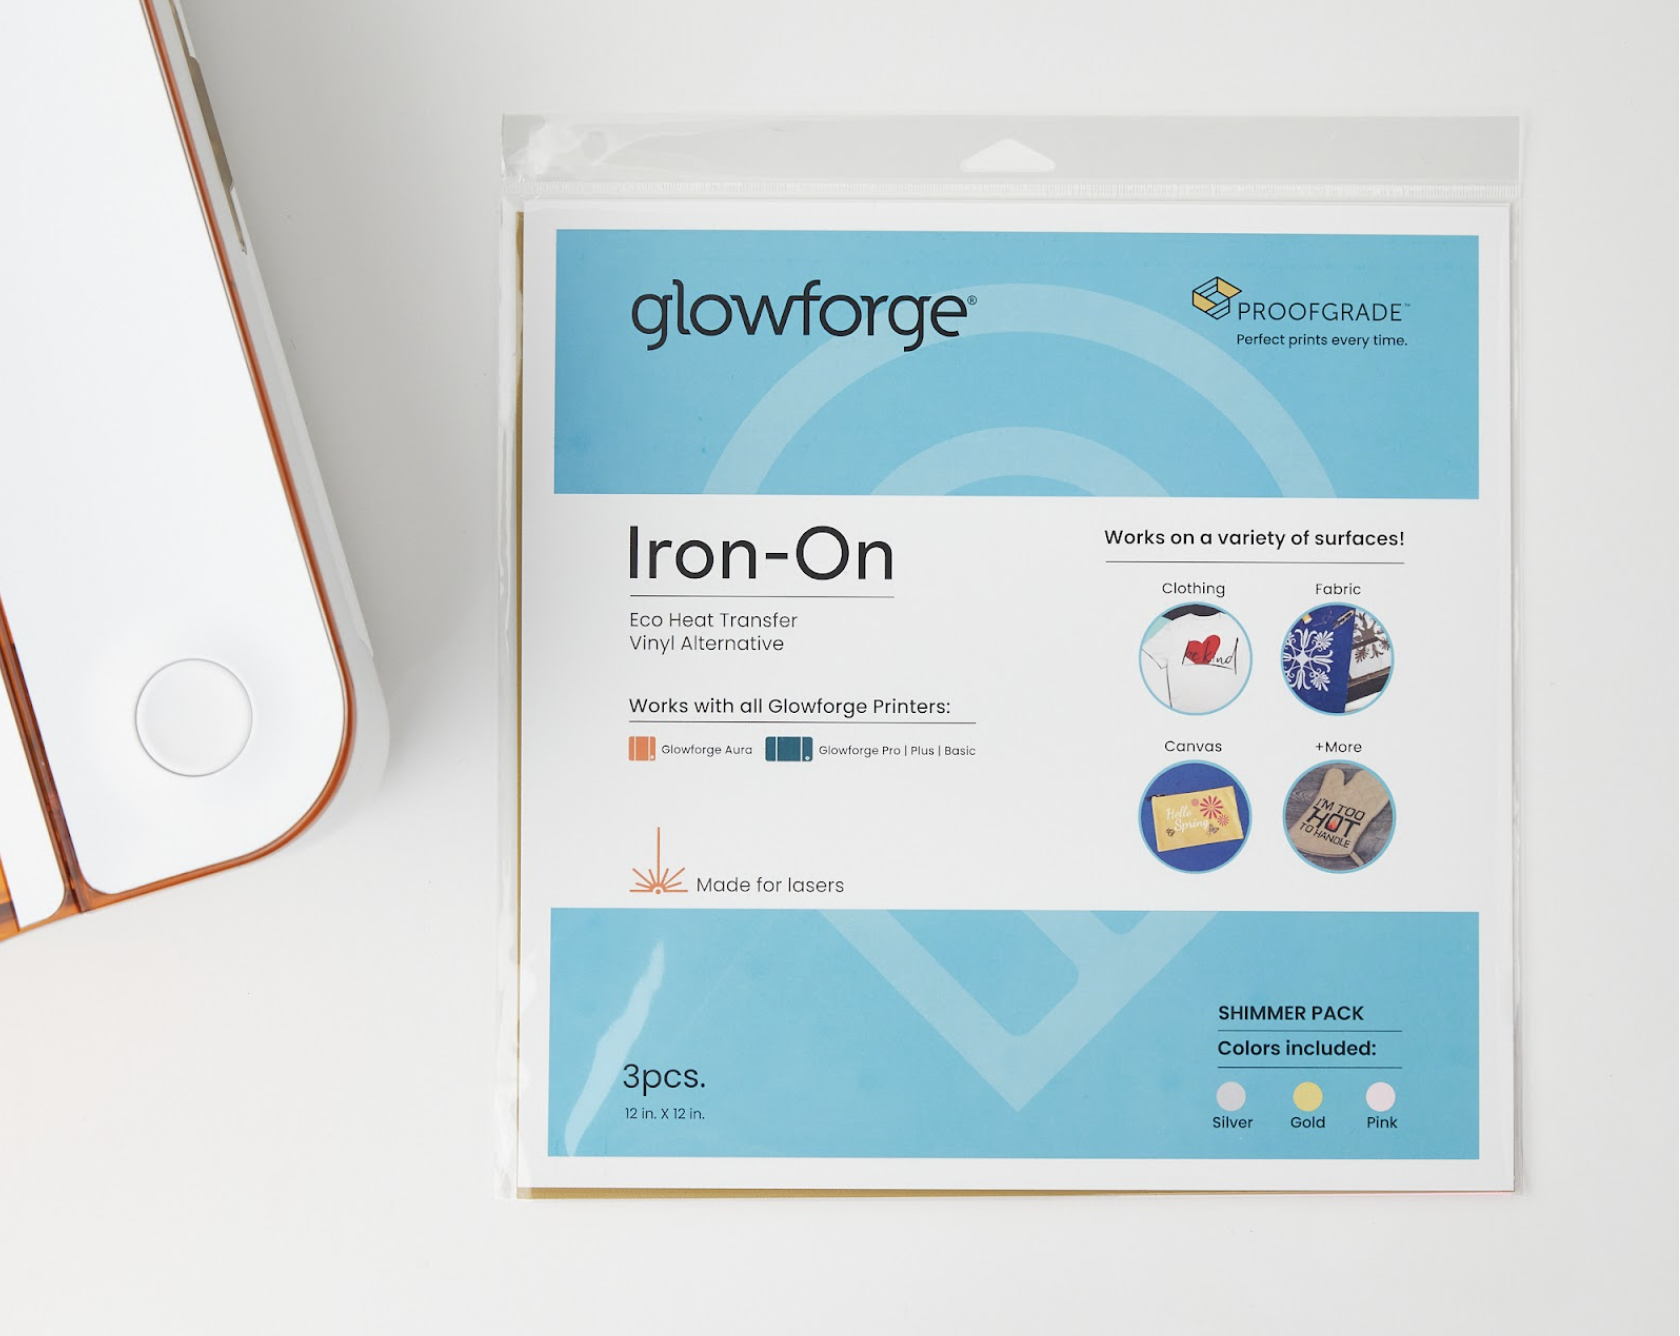
Proofgrade Eco Iron-On material makes it easy to bring brilliant colors and personal designs to tote bags, T-shirts, pillows, hats, mugs, & so much more! Proofgrade Eco Iron-On is a chlorine-free alternative to heat transfer vinyl that’s lab tested for creating perfect prints at home with your Glowforge.
There are two sides to the material. The first part, the transfer material, adheres to the second part, the shiny backing material.
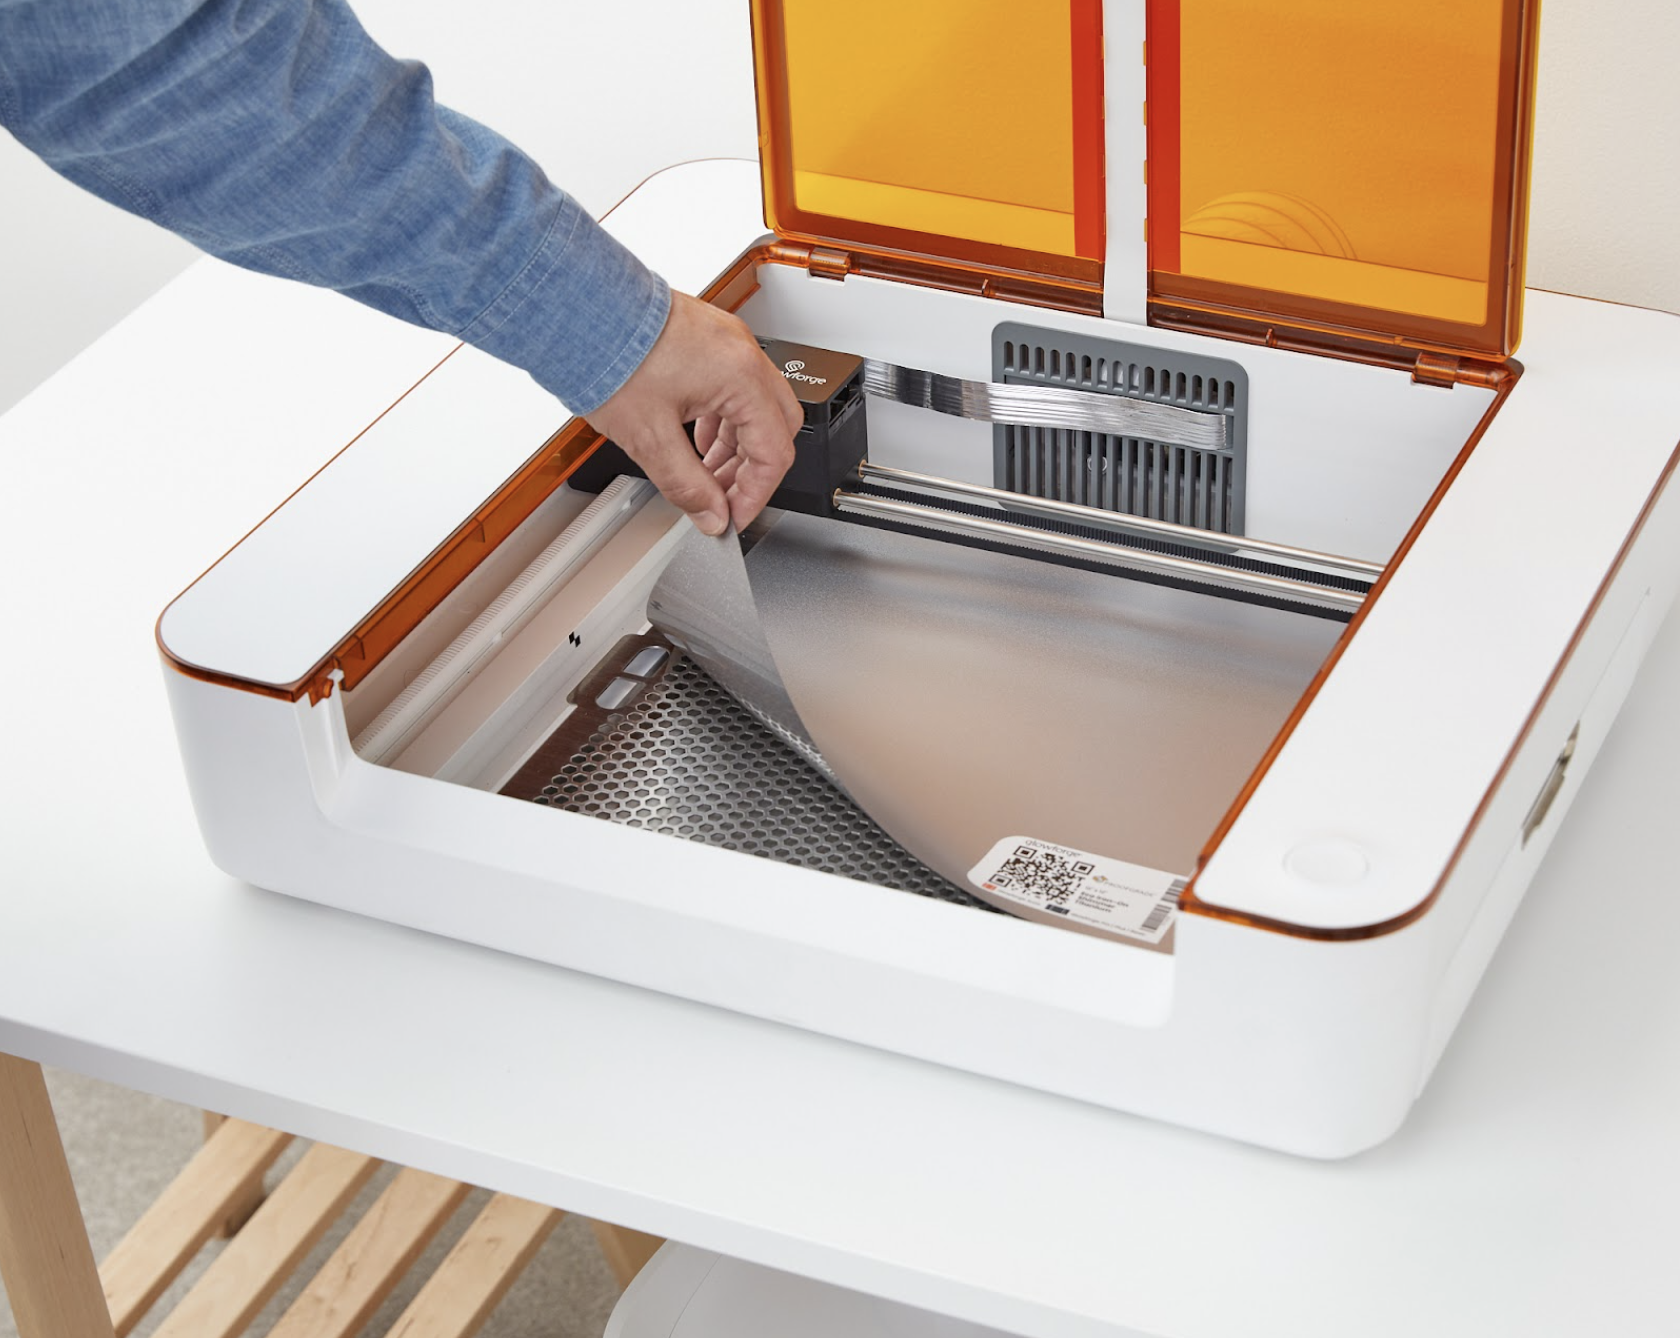
When you put the material in your Glowforge Aura, place it flat with the QR code facing up.
Once your design is printed, you’ll put the transfer material face-down on your fabric, apply heat, and then remove the backing material.
This means the design you’re about to make will need to be mirrored to look right once it’s applied to fabric. It also means that you’ll be scoring through the transfer material, without cutting the backing. (Sometimes this is called a “kiss cut.”) You’ll still have the backing intact to help your design keep its shape until you transfer it to fabric.
Let’s walk through the process step-by-step.
- Start from Scratch
To start, head to your Dashboard at app.glowforge.com. Click on “Create a New Design,” then choose “Create a Blank Design.”
- Add some pizzazz with artwork
Click the “+” button in the middle of the top toolbar to add artwork to your blank design.
With Premium tools, you have access to a graphic library with over 5 million pieces of vector art.
Type in a keyword in the search bar, and click “Search.”
Click on a graphic you like, and it will be added to your Workspace. - Personalize it with text
Let’s add a bit more customization with a name.
Click on the Text tool in the top toolbar.
Type the name into the text box at the top, and then use the options to customize the look of the text.
- It’s All Coming Together…
Using the Select tool, drag and select parts of your design and move them right where you want them. - Add a Cut-Out
Click on the Insert Shape tool, and insert a square.
Click and drag the white dots at the sides and corners of the shape to resize it. Then, using the Select tool, move the shape to fit around your design. Give yourself enough room around the edges to peel the backing away later.
- Flip that!
Once you have the design and cut-out just right, you’ll want to mirror everything so the iron-on looks right. Otherwise, you’ll have backwards letters on your final project.
Select everything in the Workspace by pressing Ctrl+A (Cmd+A on a Mac).
Then, from the toolbar on the right side of your workspace, select “Flip horizontal.” That’s the pair of triangles pointing up.
Now, the entire design is mirrored!
- Check your Steps and Settings
This project has three print steps - the graphic, the text, and the square.
You want the graphic and text to be set to “Score,” and the Square set to “Cut”. Click on the word to change the setting if it’s not right.
Click and drag the cut step to happen last.
- Make some Magic
Click “Print” in the top of your Workspace.
The software will take a moment to prepare your design. When everything is ready, you’ll see the estimated printing time.
The button on your Glowforge Aura will blink. If you’re using a Glowforge Personal Filter, its button will also blink when a print is ready to start.
Press the button on your Glowforge Aura to start your print.
- Watch the magic happen
Remember - never leave your Glowforge Aura unattended while it’s printing. If you need to walk away for any reason, press the button on your Glowforge Aura once to pause the print, and once again to unpause it.
When your print is complete, the App will show an updated image of the material in the Glowforge Aura, now featuring your printed design.
Lift the lid, and remove your finished print. - Bring Everything Together
Remove any material that isn’t part of your design. A small pick is best, although you can use a razor blade or fingernails.
Once it’s ready, place your design onto the fabric with the shiny side facing up.
With an iron or press at 340° Fahrenheit, evenly apply heat for about 20 seconds. Then let the design cool for a few minutes.
After it cools, slowly peel the backing away from your design.
And now you have a gift ready for that special occasion!
