Your First Glowforge Craft Series Print
In this project, you’ll learn about:
- Printing a design using your Glowforge Aura, from start to finish.
- Finding and opening a design from our extensive Glowforge Catalog.
- Proofgrade material settings.
- How to control where your design will print on your material using the Glowforge app.
- Pausing your print.
Let's get started!
- Start from your Dashboard
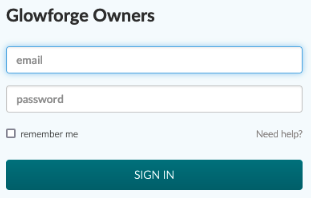
In your web browser, navigate to app.glowforge.com and sign in.
After you sign in, you will see your Dashboard, featuring designs you’ve recently worked with, as well as some designs from the Glowforge Catalog to get you started. - Open the Aura Ruler design
Using the search box on the left, search for the Aura Ruler. Click on the thumbnail to open the design.
-
Place Proofgrade Material on the Cutting Tray
We’ll be printing this design on Proofgrade Light Basswood Plywood. Open the lid of your Glowforge Aura. Take a sheet of Proofgrade Light Basswood Plywood, and place it into the printer bed. It should lay flat against the cutting tray, with the QR code facing up. Then close the lid.
Your app workspace will refresh, showing the material you just placed.
[screenshot]
The app has automatically detected the type of Proofgrade material in your printer thanks to the QR code, and automatically loaded the right settings for a perfect print.
[screenshot] - Place your Design
In the Workspace, you can decide where on your material you want your design to print.
Click on the Select tool in the top toolbar.
Now click on the design, and drag it wherever you want on the material. - Push the magic button!
Click “Print” in the top of your Workspace.
The software will take a moment to prepare your design. When everything is ready, you’ll see the estimated printing time.
[screenshot]
The button on your Glowforge Aura will blink. If you’re using a Glowforge Personal Filter, its button will also blink when a print is ready to start.
Press the button on your Glowforge Aura to start your first print! - Watch the magic happen
Remember - never leave your Glowforge Aura unattended while it’s printing. If you need to walk away for any reason, press the button on your Glowforge Aura once to pause the print, and once again to unpause it.
When your print is complete, the App will show an updated image of the material in the Glowforge Aura, now featuring your printed design. - Finishing touches
Open the lid, and remove your new Aura Ruler.
Remove the protective masking from both sides; a piece of Gorilla tape can speed this along.
Now you’ve got a measuring tool at your fingertips when you need one (and it was made with lasers)!
Congratulations, you’ve created your first Glowforge Aura print!