Unbox Your Glowforge Personal Filter
Glowforge Aura
Prepare Your Area
Your Glowforge Personal Filter must be on a flat surface, like the floor. It needs to be positioned so that the 8-foot (2.4384 m) exhaust hose can connect to the back of your Glowforge Aura without twisting, pinching, kinking, or flattening.
Your Glowforge Personal Filter blows air out, so ensure that there are no obstructions within two inches (5.08 cm) of the vents on either side.
Unboxing
- Carefully cut the tape sealing the top of your Glowforge Personal Filter box and open it.
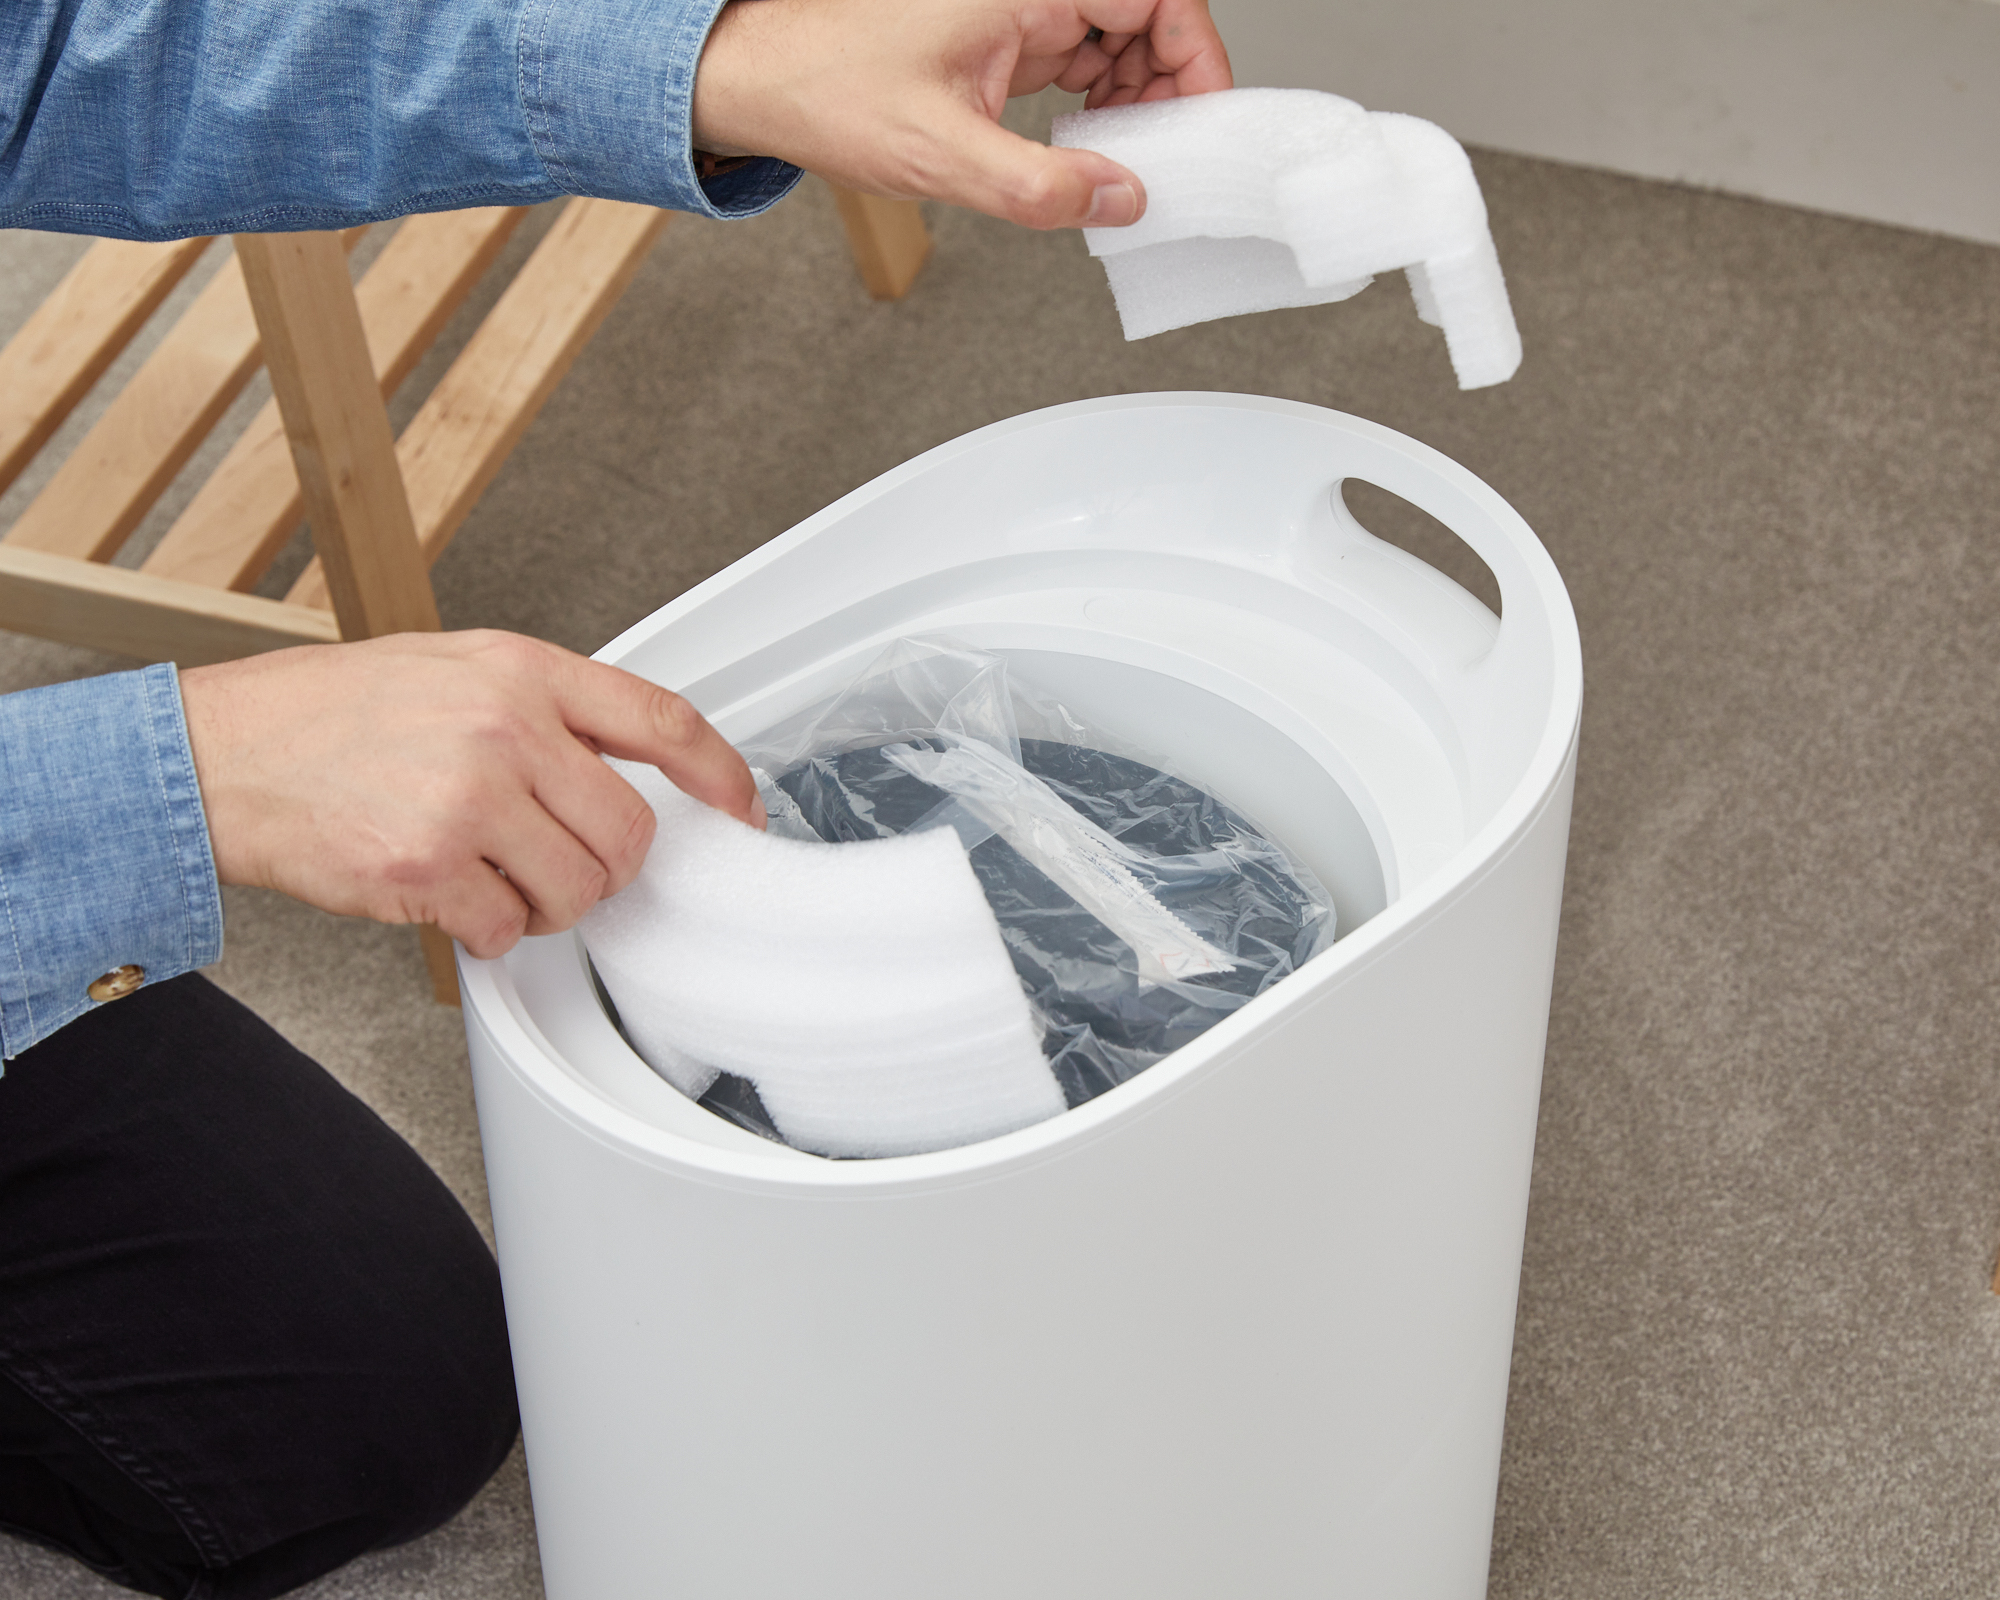
- Remove the power cord and set it aside, then remove the cardboard insert to reveal your Glowforge Personal Filter.

- Grasp the handle on the rear of the Glowforge Personal Filter through the clear plastic bag. Lift the filter out of the box, and place it on the floor.

- Open the bag, and remove it from the filter.

- Open the filter by lifting the lid at the notch. Remove the yellow warning notice.


- Grasp the handle on the filter cartridge through the clear plastic bag. Lift the filter cartridge out of the filter.

- Remove the filter cartridge from the plastic bag, and discard the desiccant pack.

- Save everything! Save the packaging material including the box, foam, and bags. If you need to move your Glowforge Personal Filter or ship it back for warranty service, you’ll need all the original packing materials. The Glowforge Personal Filter cannot be shipped safely without the original packaging materials.
- Put the cartridge back into the filter, lining up with the green mark on the filter case. It will slide into the notch at the bottom. To make sure it’s inserted correctly, try to turn the cartridge using the handle. It should stay firmly in place.


- Put the lid back on the filter, so the notch on the lid lines up and the lid fits snugly.

- Find the white hose that came in your Glowforge Aura printer box. Attach one end of the hose to the filter by sliding the rubber ring over the intake. Push it on as far as it will go. It should be a snug fit around the entire intake, and should not come off with a gentle tug.

- Attach the other end of the hose to your Glowforge Aura printer by sliding the rubber ring over the flange (the lip that extends over the exhaust area). Again, push it on as far as it will go. It should be a snug fit all around, and should not come off with a gentle tug.

- Verify the filter cartridge is installed and the lid is firmly closed.
Now you can move on to Pairing your Glowforge Personal Filter to your Glowforge Aura. Learn more here.