In this tutorial, we'll show you how to make fun, custom bubble wands in just minutes using Premium Creative Tools. Jump into summer with these personalized fun makers.
First, we’ll add some artwork.
- On the upper toolbar, click Import artwork.
- Find some art you like. We're going to search for “tuba”.

- Click the art you want. It will appear in your workspace.
Next, we’ll add a star from the Insert Shape toolbar to your workspace.
- On the upper toolbar, click Insert Shape, and then click Insert star.
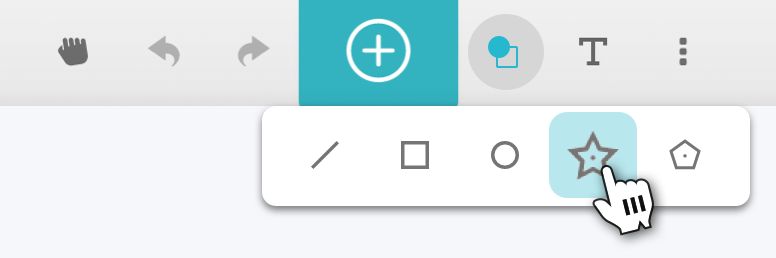
- When the star appears on your workspace, you’ll also see the Star settings window. Change the number of points to 50, and adjust the sharpness to 10.

- Copy and paste as many of these as you'd like to add to your design.
Now we’ll arrange all your shapes.
- Click and drag your tuba to place it where you want.
- Click and drag your star shapes to size and arrange them above the tuba.

Tip: If you want to fit your wand into a small bottle of bubbles, make your largest star shape about 0.75 inch (20mm). For big bubbles, go huge and pour your bubble solution into a dish!
For the last step in your bubble wand design, you'll create an outline.
- Click and drag a selection box around your artwork and shapes.

- On the toolbar that appears, click the Outline tool, and then click Create New Outline.
- To adjust the distance of your outline from the objects, drag the Adjust Outline slider. We recommend somewhere between 1/8th to 1/4 inch (3-6mm).
Finally, we'll make sure your Glowforge knows what to do with each of the shapes in your design.
- Place a piece of Proofgrade material in your print bed or click the material menu in the upper left and select your material.
- Make sure the tuba is set to Engrave.
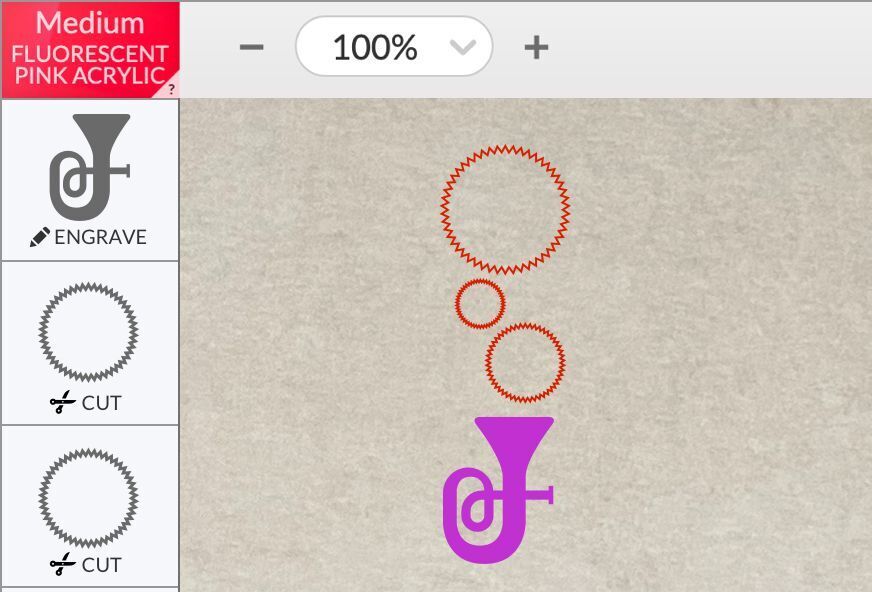
- Make sure the stars and outline are set to Cut.
- If everything looks good, it's time to print! Click the PRINT button in the upper right.
- Press the blinking white button on your Glowforge when you're ready to start your print.
Congrats, you've made a beautiful, one-of-a-kind bubble wand! Use this technique to create dozens of unique bubble wands for summer fun. You can even try making your own bubble solution!
See also
View the tutorial in the Glowforge app.
Learn more about Glowforge Premium.