Make a Garden Stake from Scratch using Premium Creative Tools
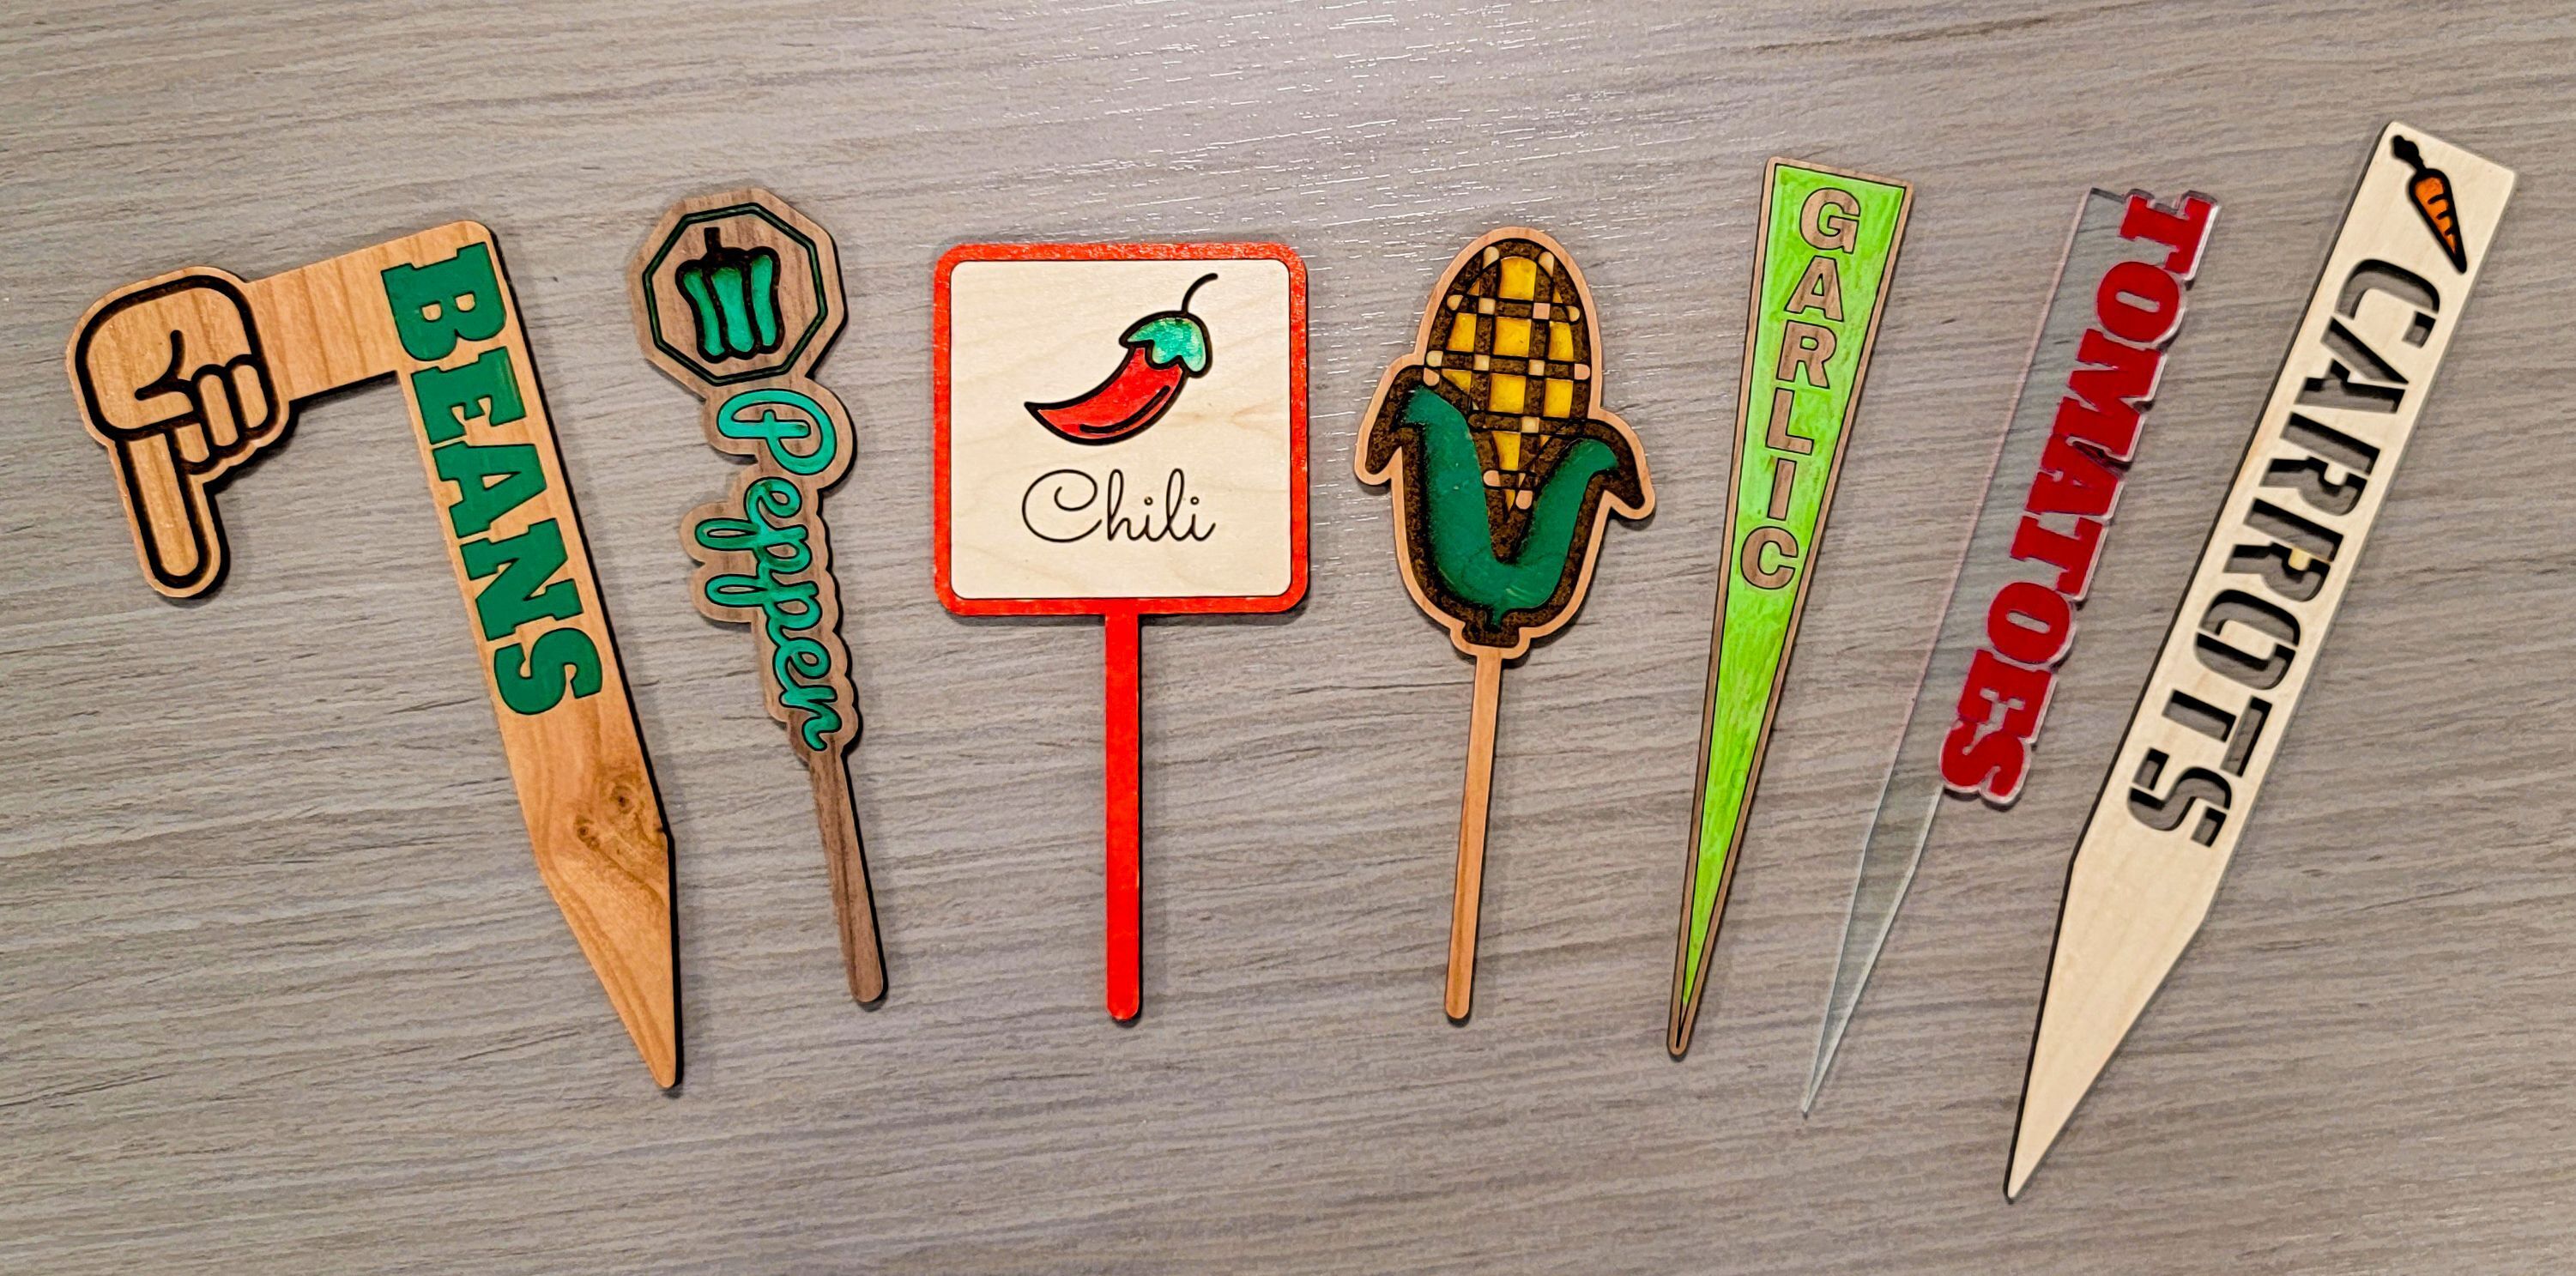
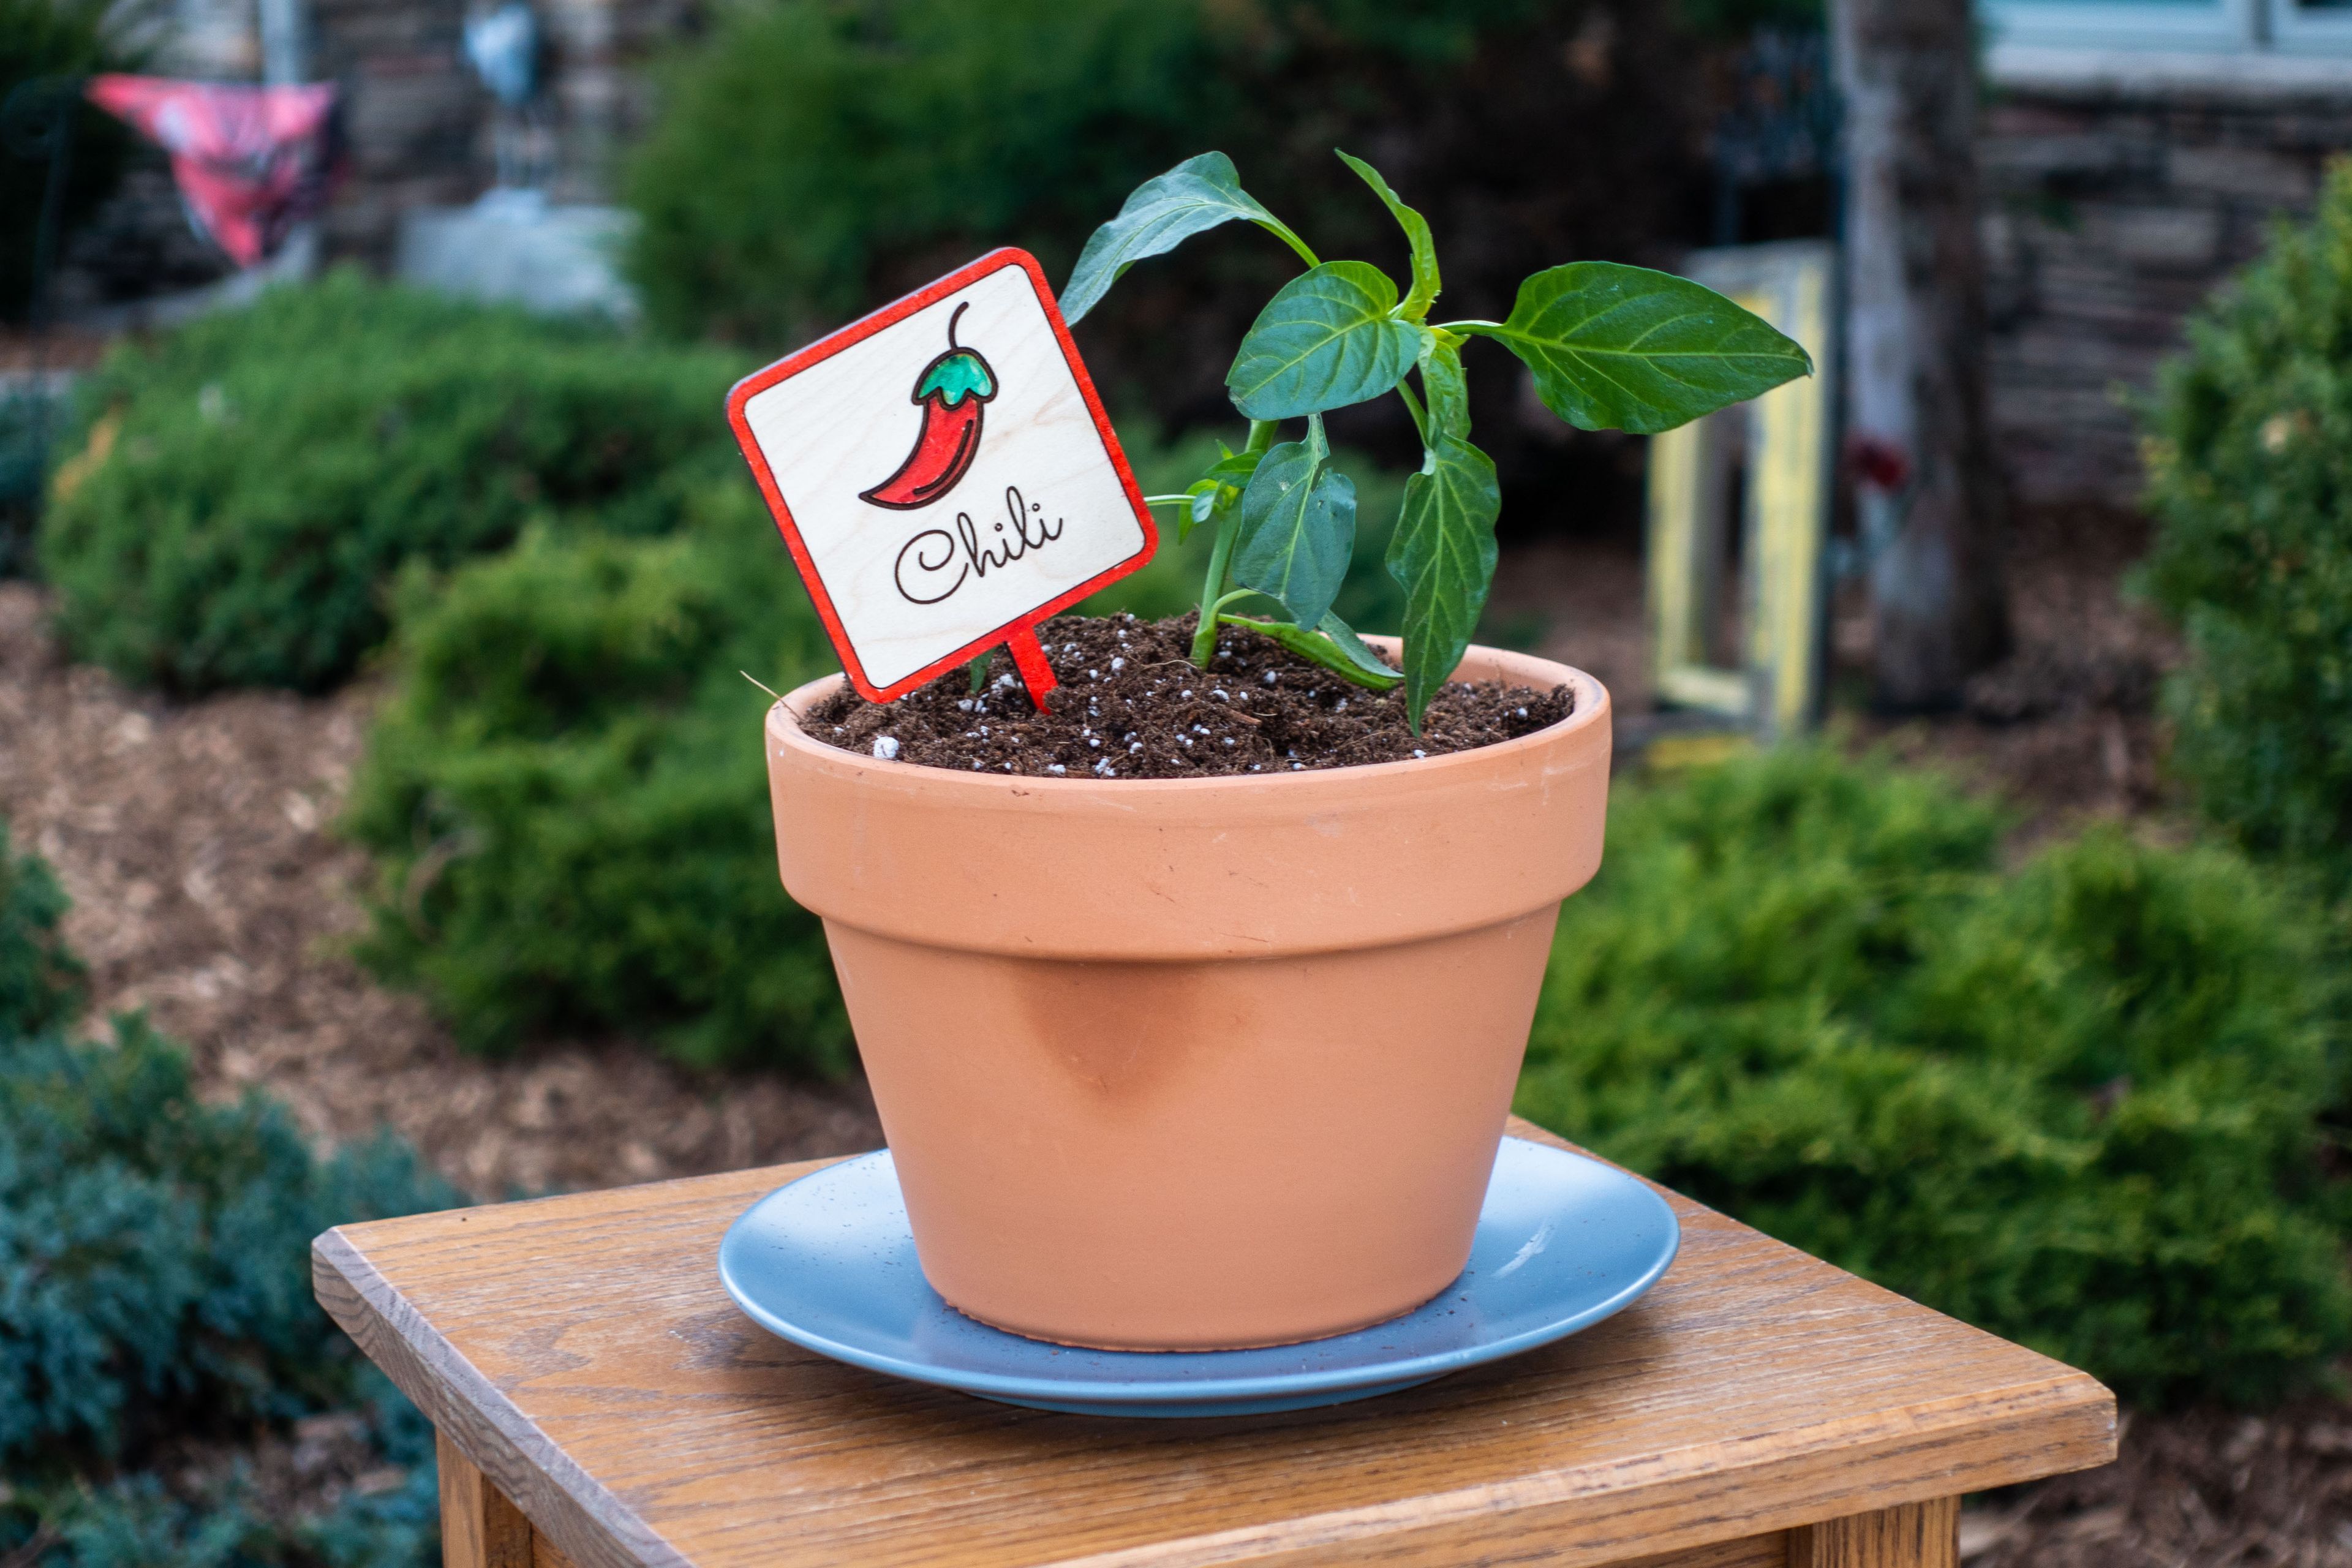
In this article we'll show you how to make a beautiful, personalized garden stake. In just a few minutes, you'll be able to keep track of every succulent, fruit, herb, and vegetable in your home and garden.
First, we’ll add a square from the insert shapes toolbar to your workspace.

- Click Insert Shape. (It's the button that looks like an overlapping circle and square.)
- Click the square. A square will be inserted into your design.
After a bit of processing, your artwork will appear in your workspace.
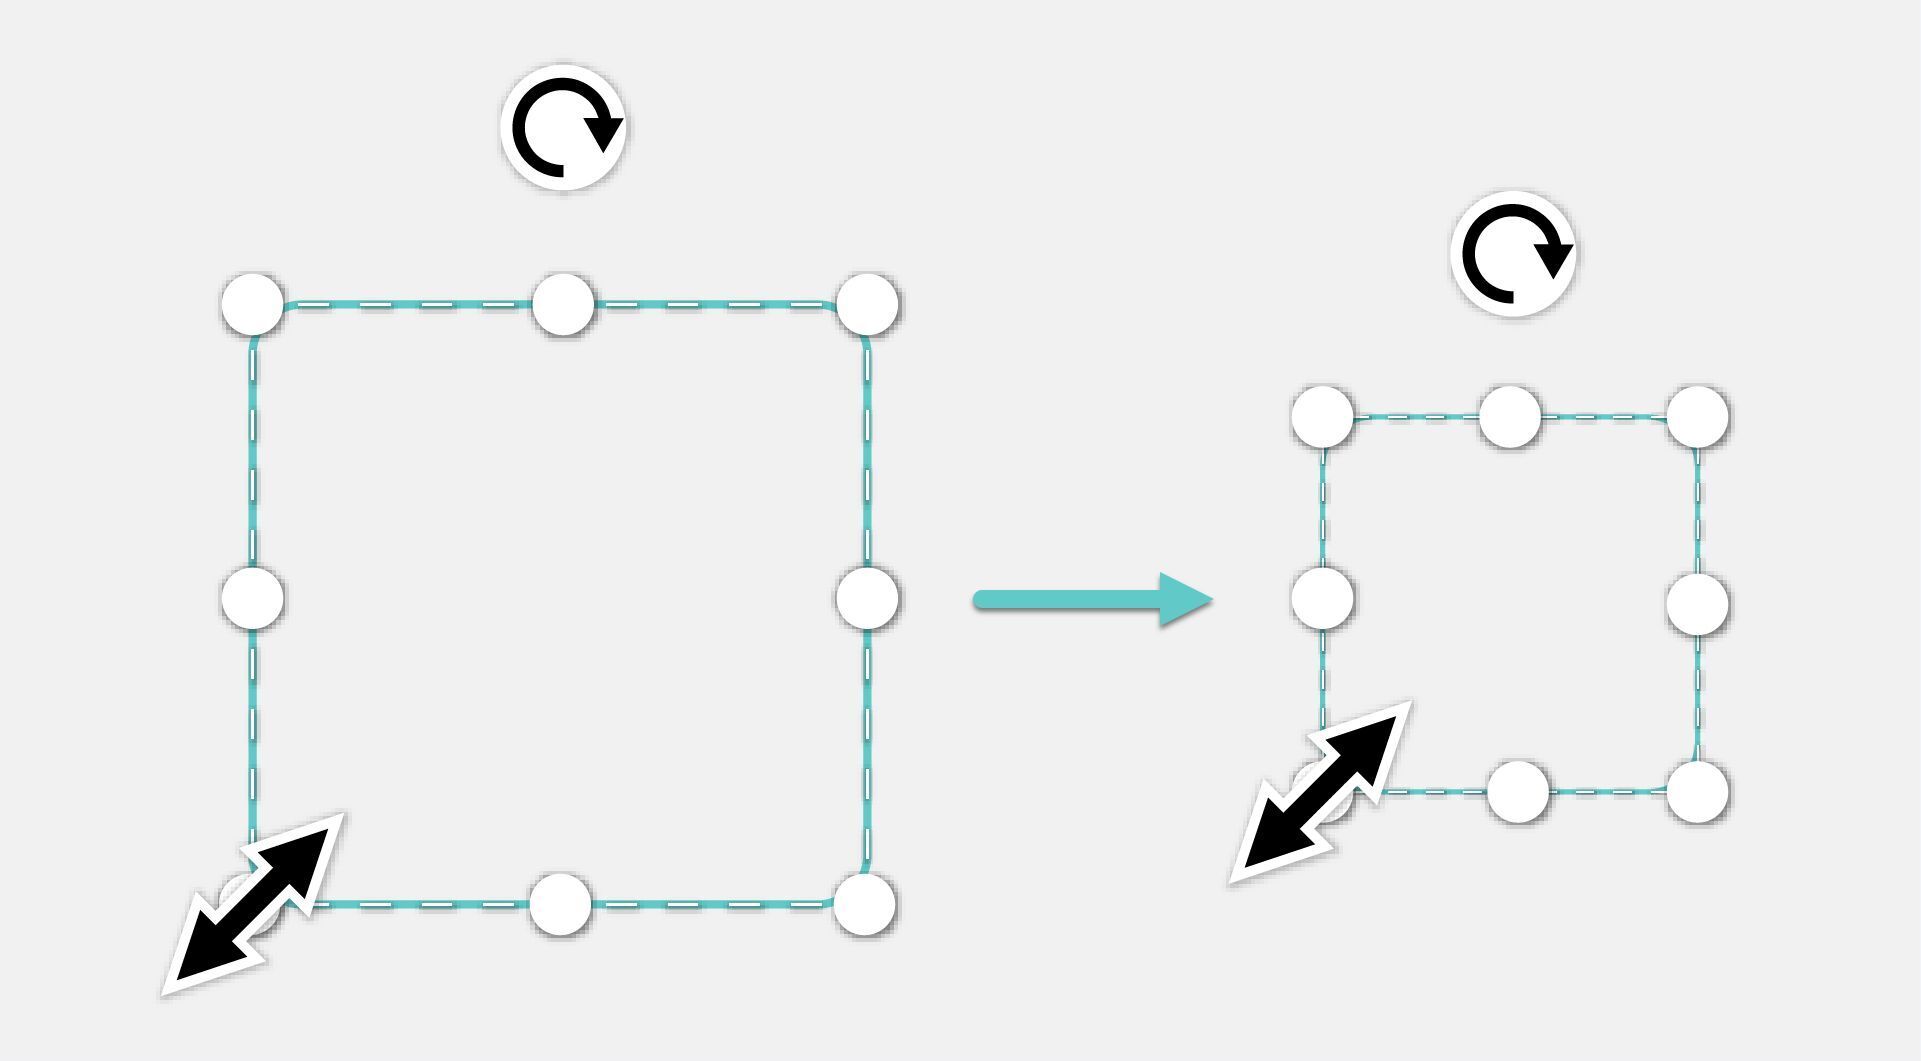
- Click and drag a corner to resize your square.
- Use the Round Corners option to soften your box. We recommend somewhere between 1/8th to 1/4 inch (3-6mm).
Tip: To see the exact dimensions of your artwork, click on the measurement tool in the lower left corner of the workspace. You can enter precise dimensions into this box!
Next, we’ll add the shapes from the insert shapes toolbar to your workspace.
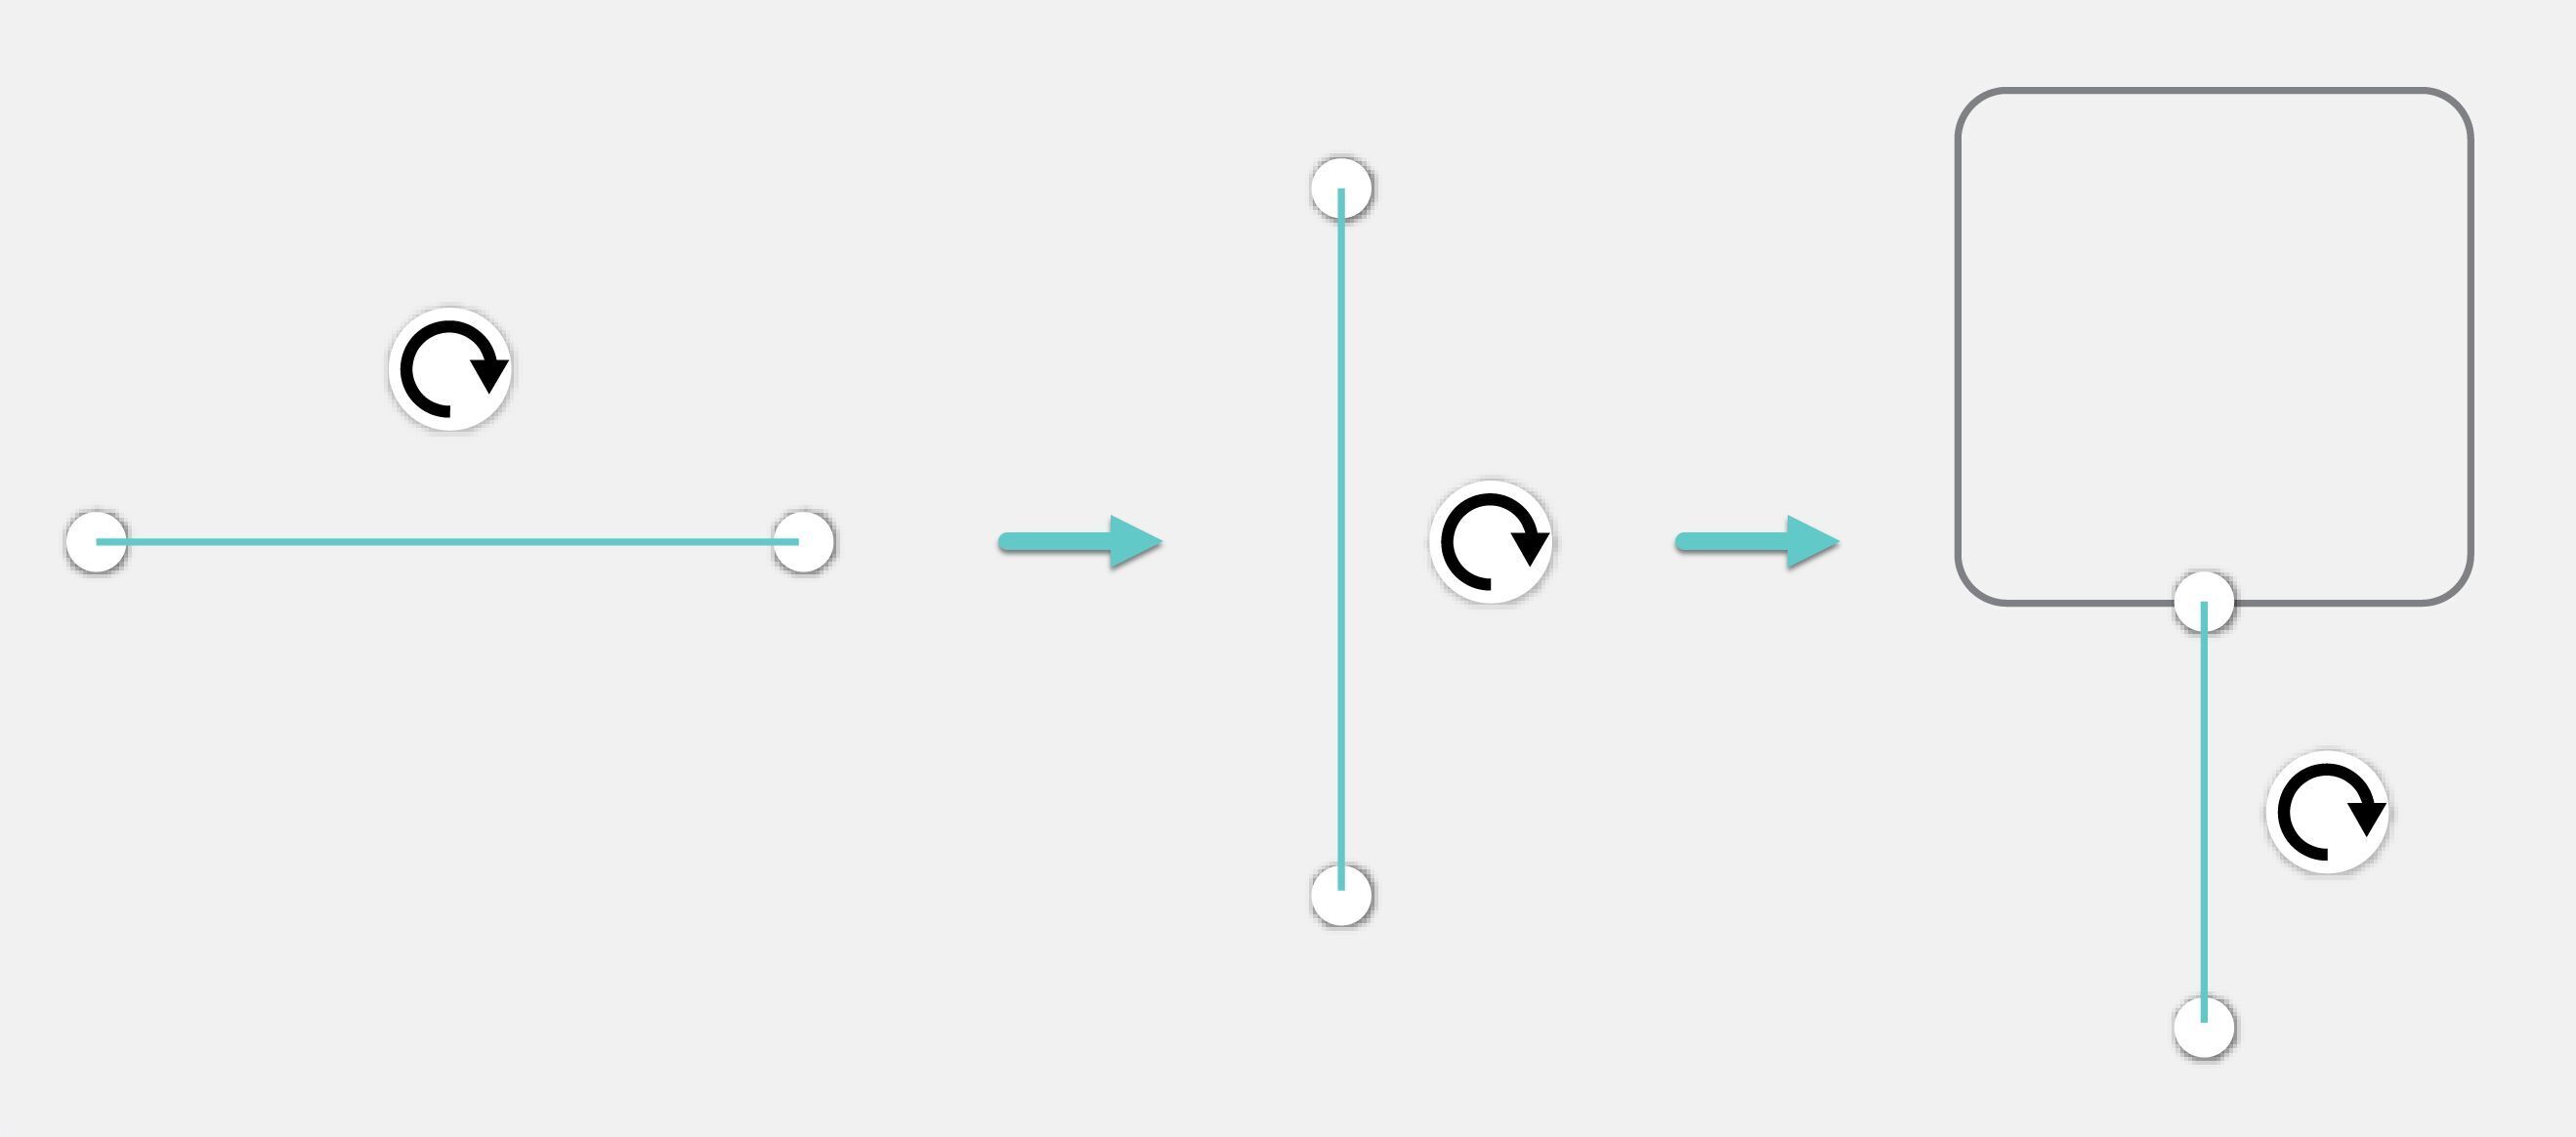
- Click on the Insert Shape icon.
- Click the Insert Line icon. A horizontal line will appear in your workspace.
- Click your line to select it.
- While holding down the shift key, click and hold the rotation handle. Rotate the line 90 degrees until it is vertical.
- Click and drag the line, and center it below the square.
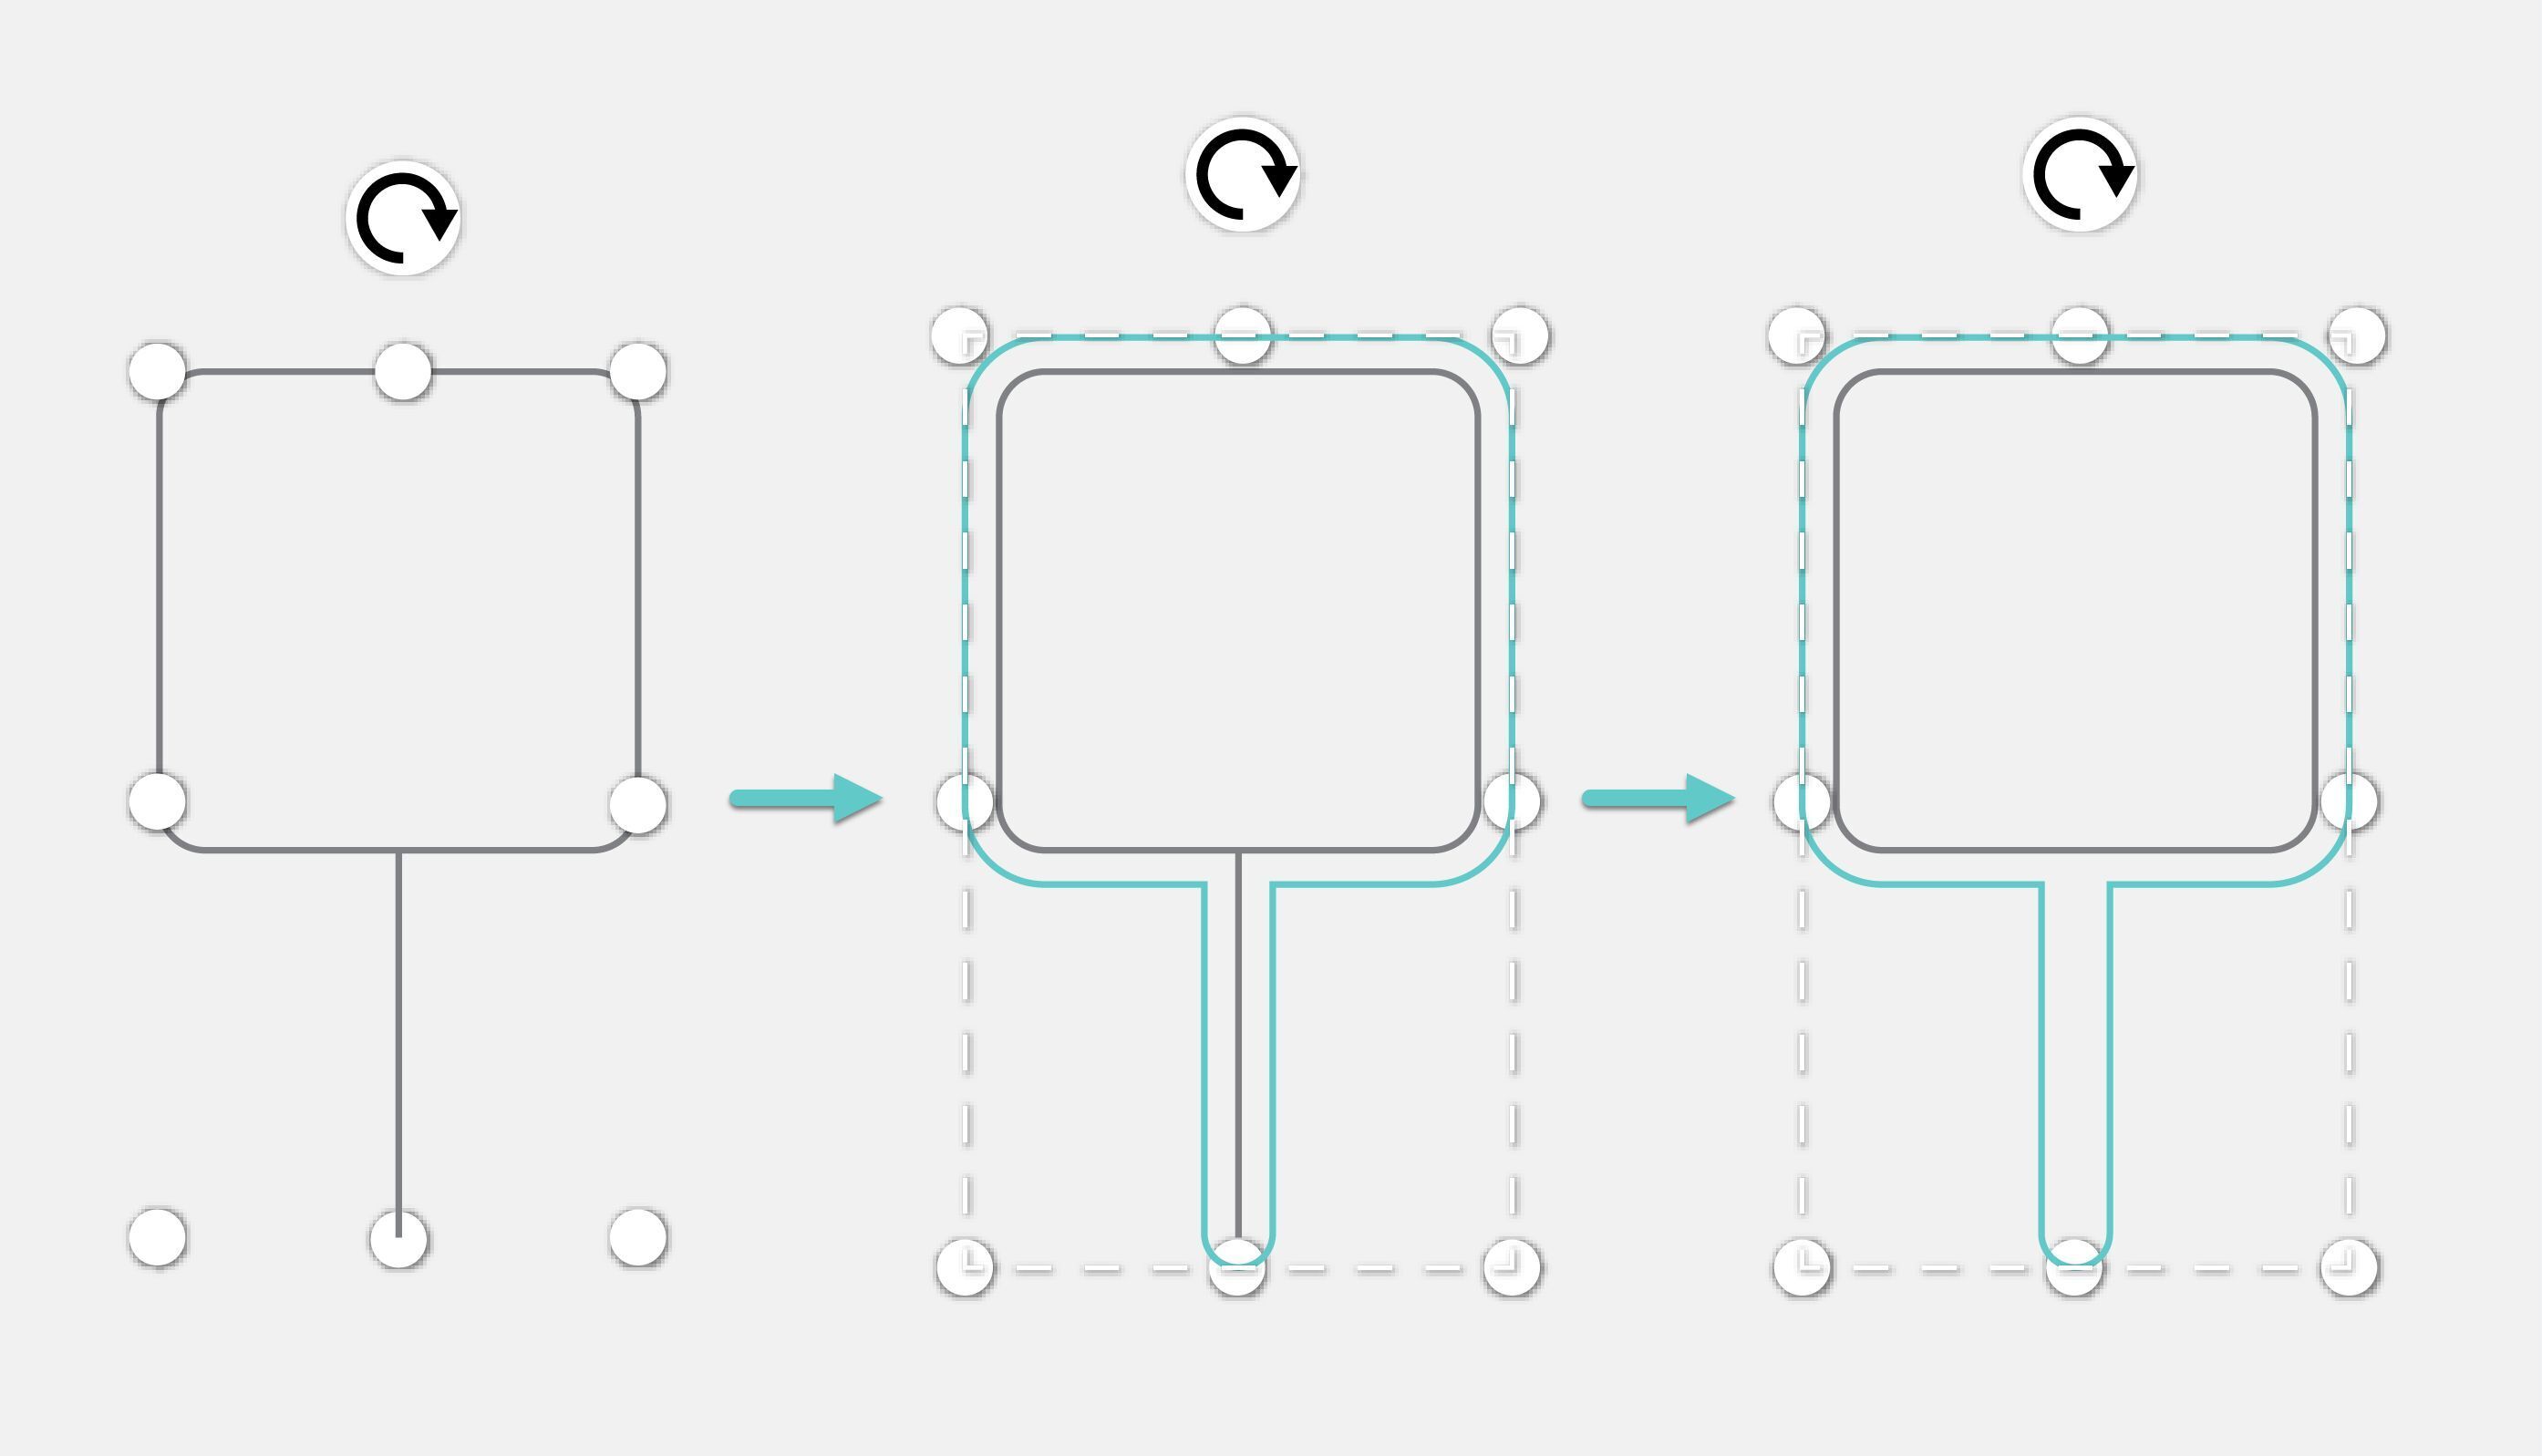
- Click and drag a selection box around both objects.
- Click the Outline tool.
- Click the Create Outline button. An outline will appear around your objects.
- Adjust the size of your outline. We recommend somewhere between 1/8th to 1/4 inch (3-6mm).
- Click the original vertical line you created and press the delete key to remove the line.
Add Artwork
Next, we’ll add a chili pepper!
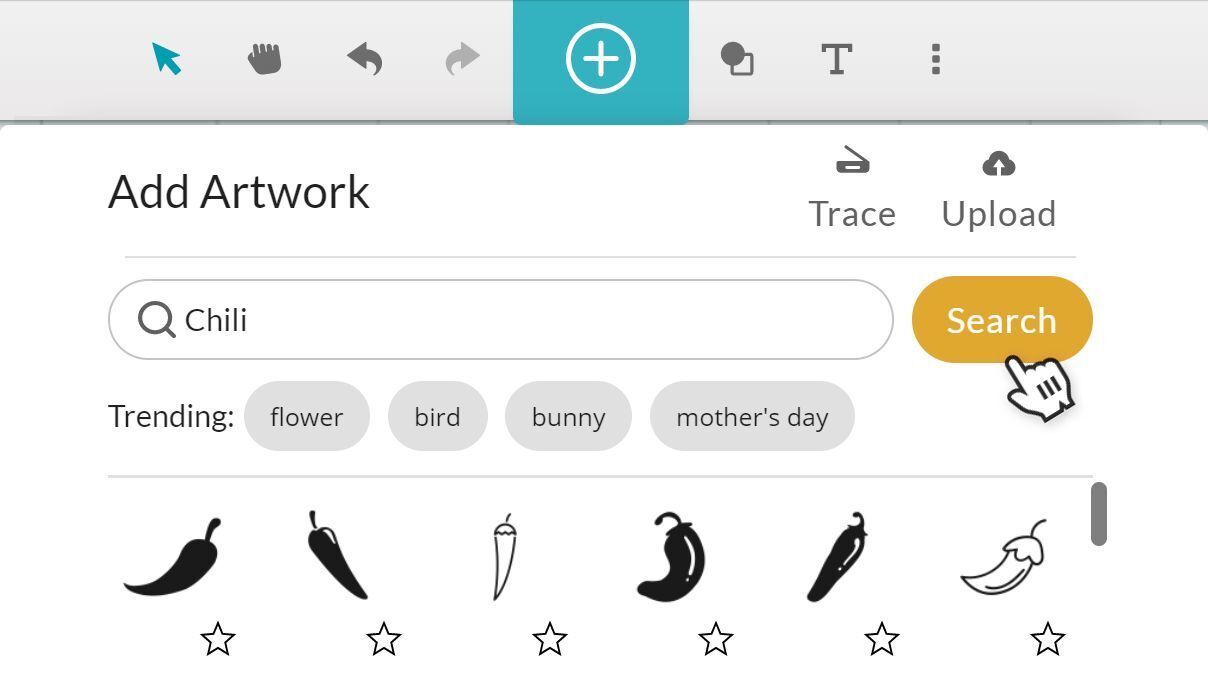
- Click the Import Artwork button.
- Search for Chili (or anything in your garden!).
- Click the graphic you’d like to use.
After a tiny bit of processing, the artwork will appear in your workspace.
Resize the Artwork
Now we’ll size the artwork to fit inside the square.
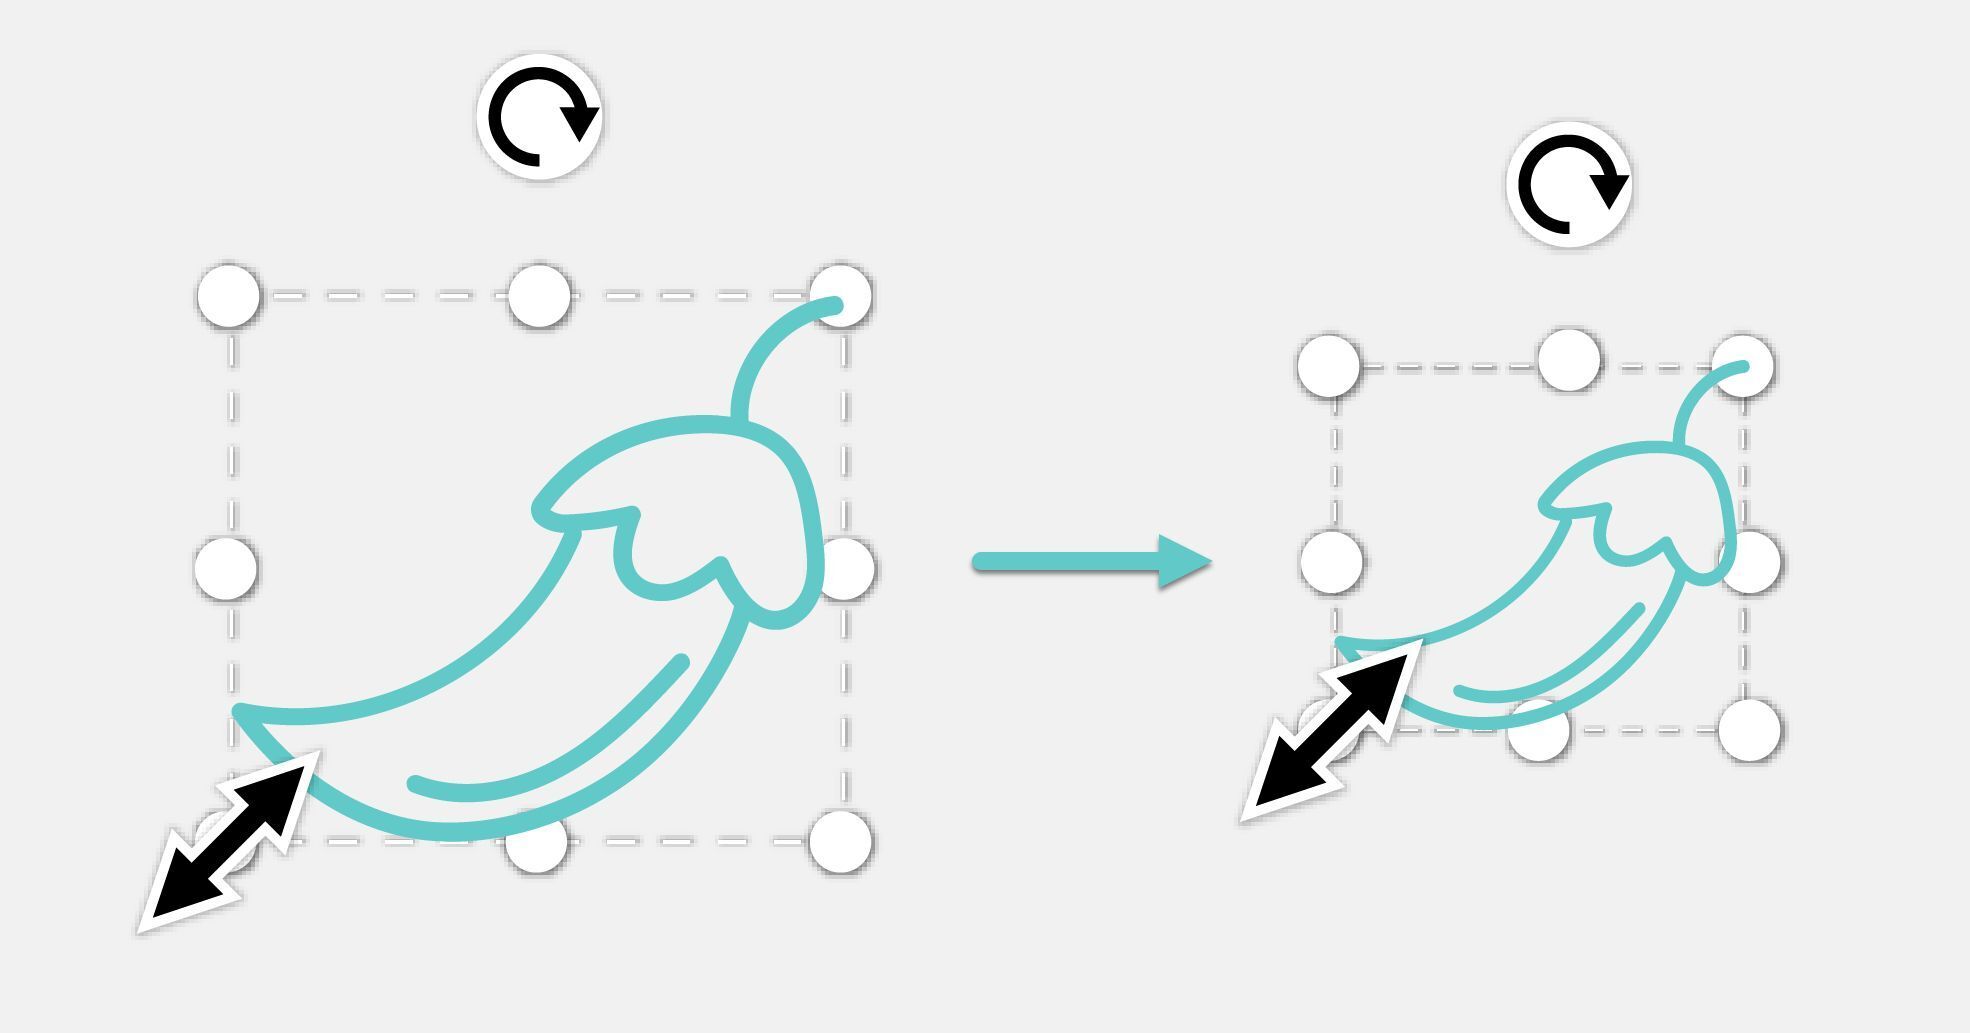
- Click your artwork to select it. A selection box will appear.
- Click and drag a corner of the selection box to resize your artwork.
- Click and drag the artwork, and position it inside the square, centered and towards the top.

Next we’ll add a text element.
- Click the Insert Text option from the toolbar.
- Type in "Chili" and select the font you’d like to use from the dropdown.
Resize the Text
Now we’ll size the text to fit inside the square.
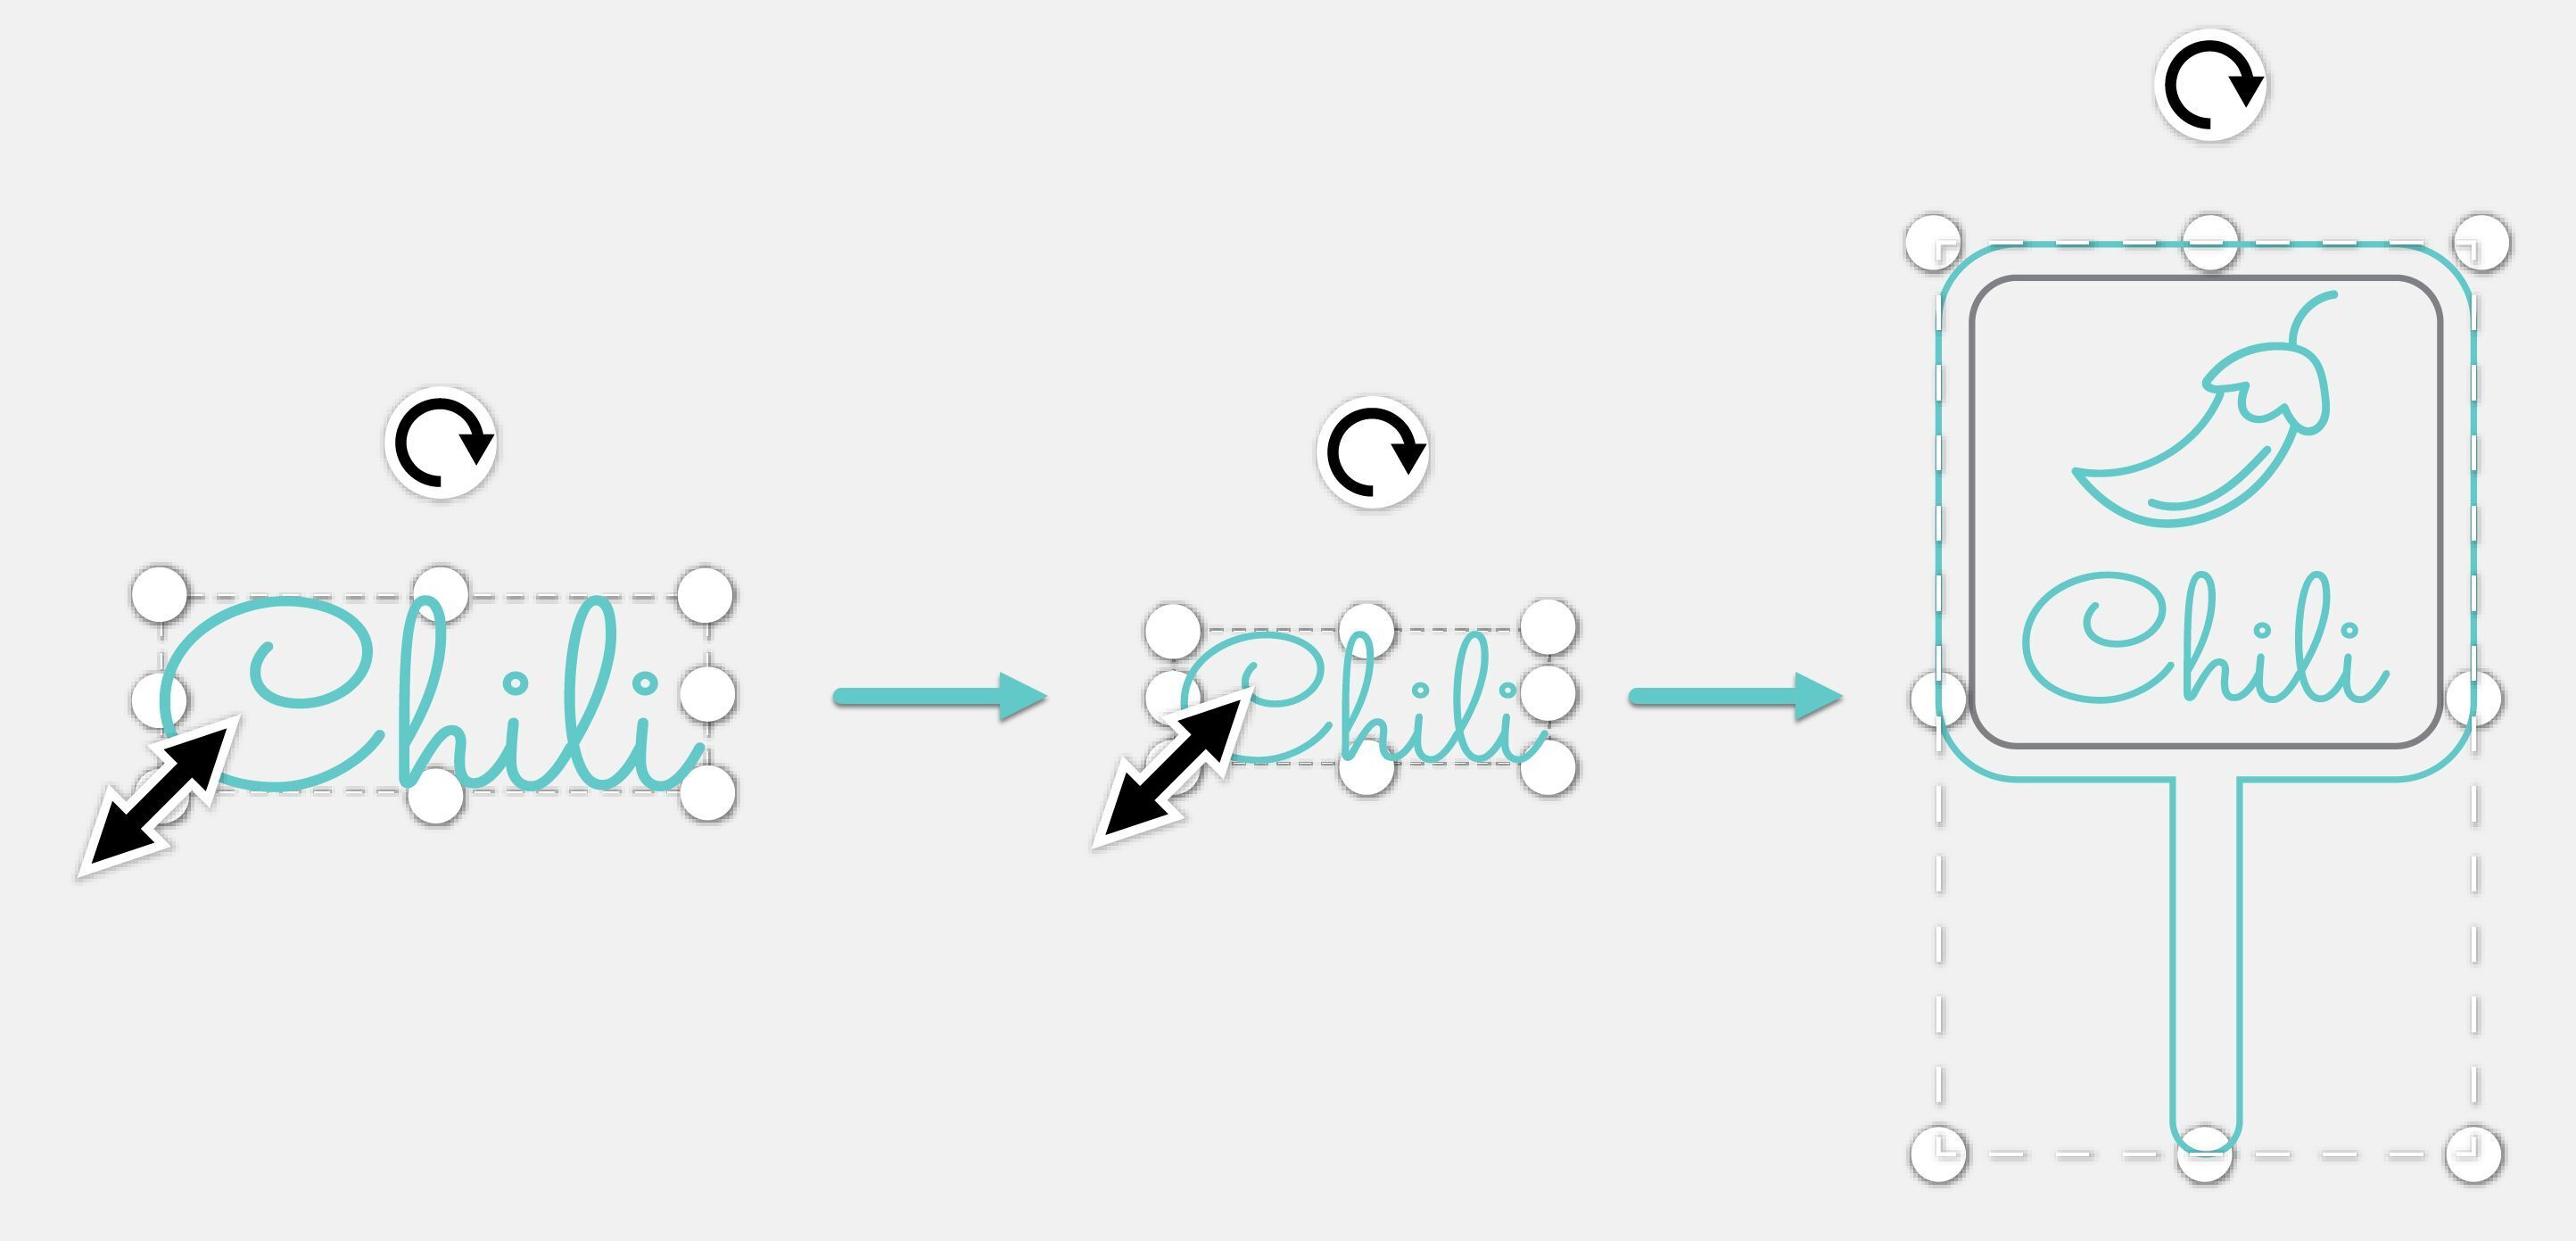
- Click your artwork to select it. A selection box will appear.
- Click and drag a corner of the selection box to resize your artwork.
- Click and drag the artwork, and position it inside the square, underneath the graphic.
Check the print settings
Finally, we'll make sure your Glowforge knows what to do with each of the shapes in your design.
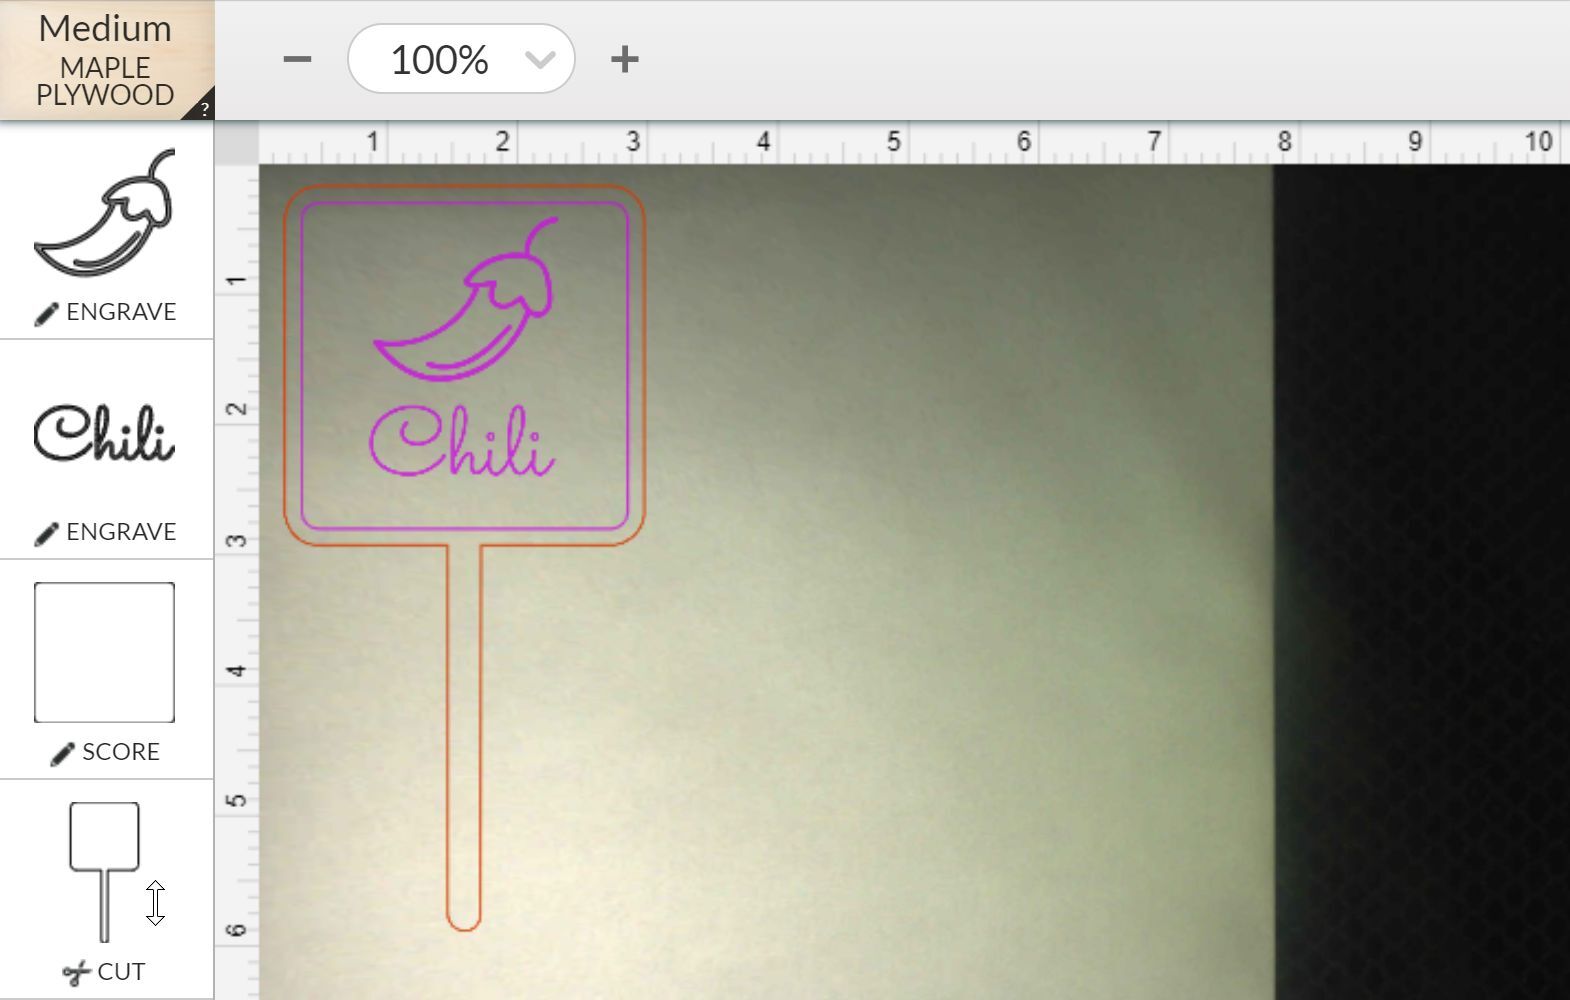
- Place a piece of Proofgrade® material in your print bed or click the Materials Menu in the upper left corner and choose your material.
- Make sure the rounded square is set to Score.
- Make sure the graphic and text are set to Engrave or Score.
- Make sure the outline is set to Cut.
- If everything looks good, it's time to print! Click the Print button in the upper right corner.
When ready, press the glowing white button on your Glowforge.
Enjoy your Creation
Congrats! You've made a beautiful, one-of-a-kind custom garden stake! And you don't have to stop there – use this versatile technique to label your rosemary, tomatoes, beets, and more this spring!
See also
View the tutorial in the Glowforge app.
Learn more about Glowforge Premium.