As you explore all you can create with the Glowforge app, you'll likely find there are times when you want to create a design with third-party design software (such as Adobe Illustrator, Inkscape, or similar) or purchase a pre-made design from another maker. In order to print or export those designs, you'll download them from their initial location, and then upload them to your Dashboard at app.glowforge.com. Here's how.
In order to print those designs, you’ll download them from their initial location, and then upload them to your Dashboard at app.glowforge.com. Here’s how.
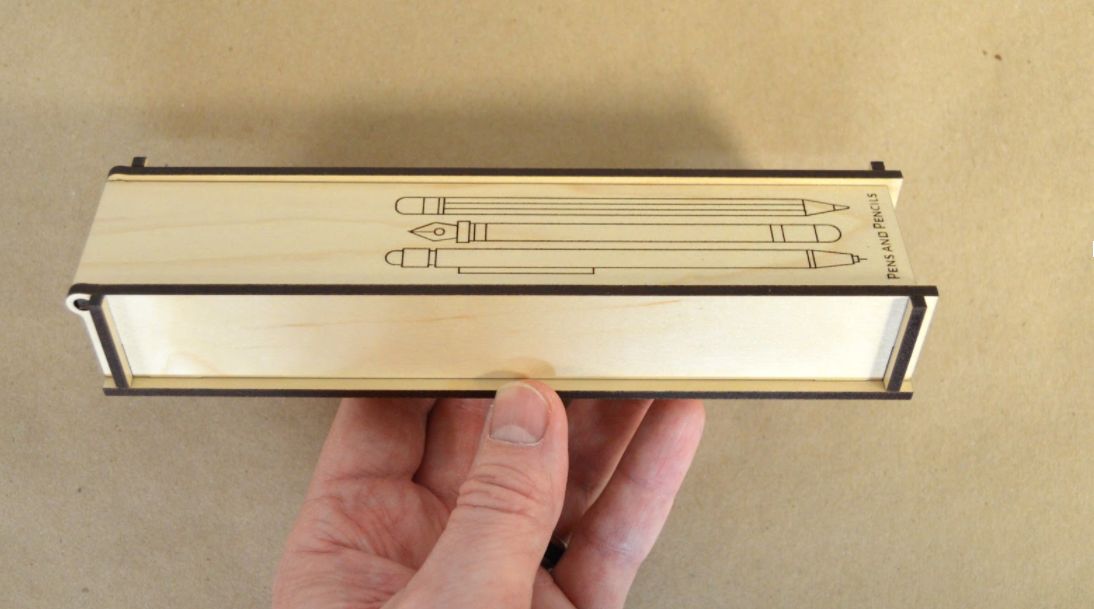
For our example, you’ll create a handsome and useful pencil case.
- Download and save the Pencil Case Design. (To download the design, click Download, Save as, or similar in your PDF viewer.)
If you have already purchased a design or created one using design software, just make sure it is saved to your desktop.
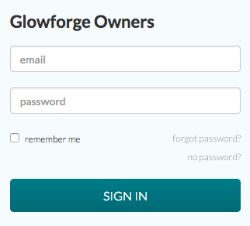
- Sign In.
Go to https://app.glowforge.com and sign in.
-
**Upload the design.** On the Dashboard, click **Create a New Design**, then click **Upload a File** and then select the pencil case design from where you saved it. Your design will open in the workspace. The design will appear as
separate print steps on the left of the workspace. - **Place your design.** Drag your whole design to place it where you want it on the workspace. Note: To make sure that assembling the box works, don't resize the
pencil box.
Assemble the pencil case.
Just follow these steps, and you'll have a handy place for your pens and pencils in no time.
Skills: None required
Assembly time: 5 minutes
Supples: Optional: Glue
Tools: No tools required
Material: Medium Plywood (approx ⅛ in, 1 sheet)
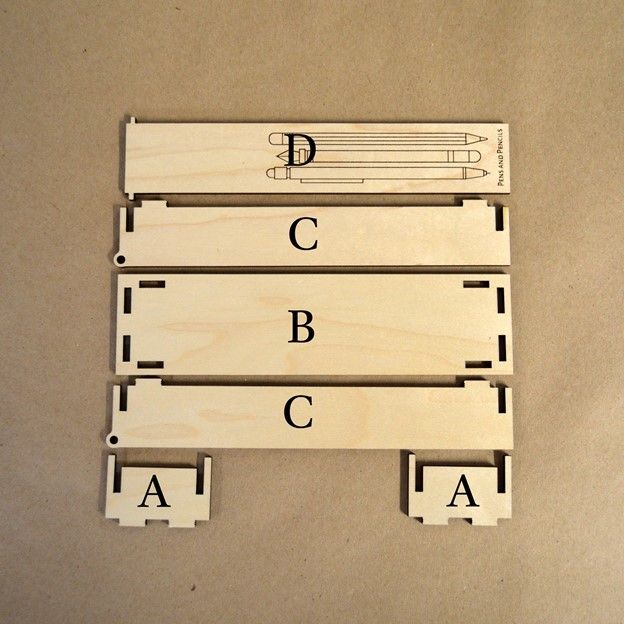
Step 1: Gather and identify your pieces
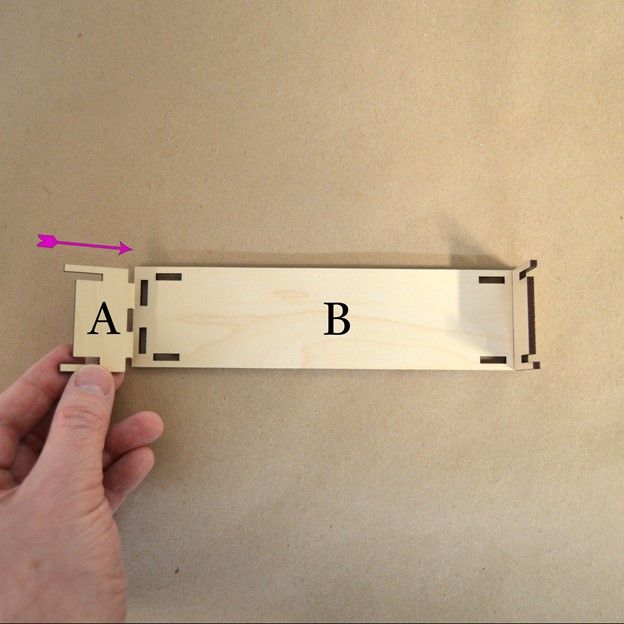
Step 2: Assemble the end pieces
Firmly push both parts A into the end slots of part B as indicated.
Step 3: Assemble the sides and lid
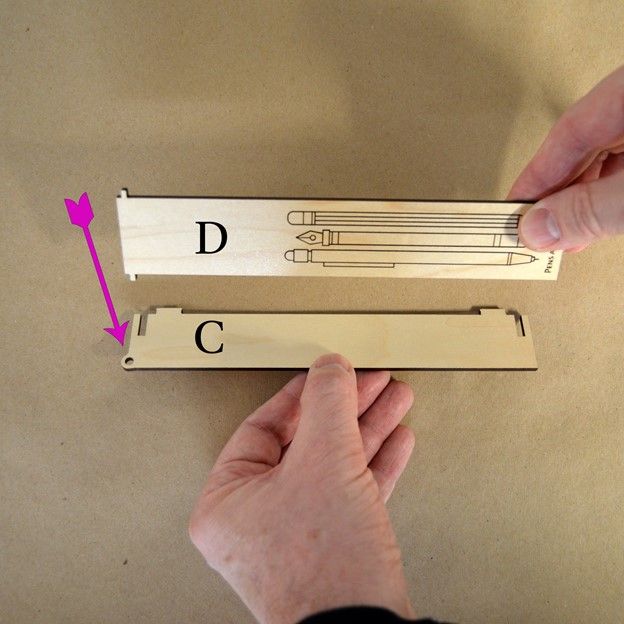
Insert the tab on part D into the hole in part C.
Step 4: Put it all together
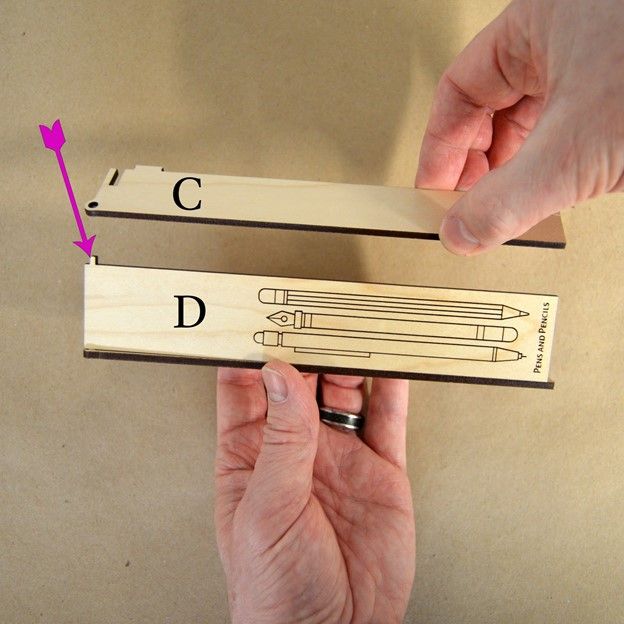
While holding the assembly, insert the other tab on part D into the hole on the other part C.
Join the two assemblies together by sliding the slots of both assemblies together as indicated and sliding the tabs into the holes firmly.
Gather your pens and pencils together and enjoy!
Learn more about Glowforge Premium