Make a keychain from scratch using Premium Creative Tools
In this tutorial, we'll show you how to make a beautiful, personalized keychain in just minutes. You can also make name tags, ornaments, gift tags, and more using the same techniques!
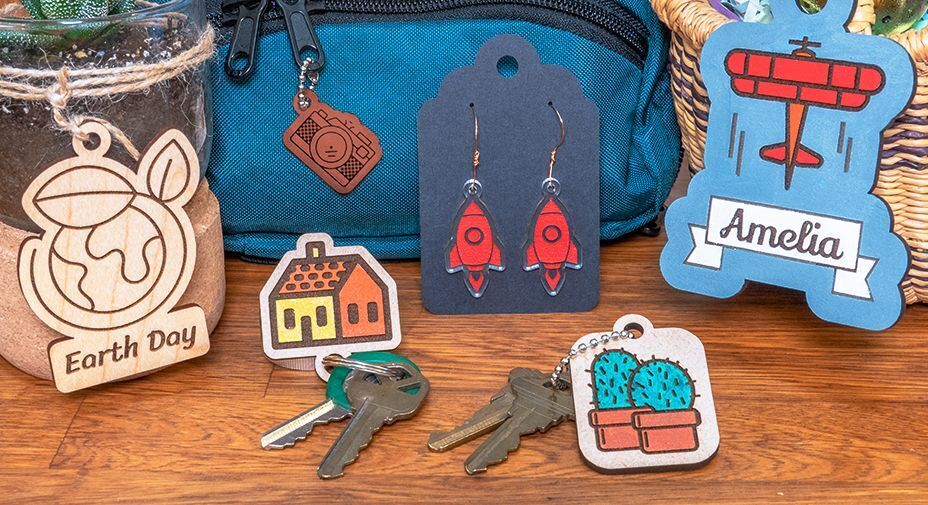
First we'll add some artwork to your design. In addition to browsing the featured artwork, you can also search from more than two million images, upload your own designs, or trace hand-drawn artwork.
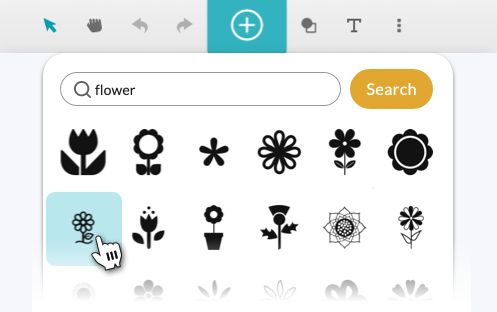
- Click the Add Artwork button. Search for a piece of artwork you like, or select one of the featured illustrations
After a tiny bit of processing, your artwork will appear in your workspace.
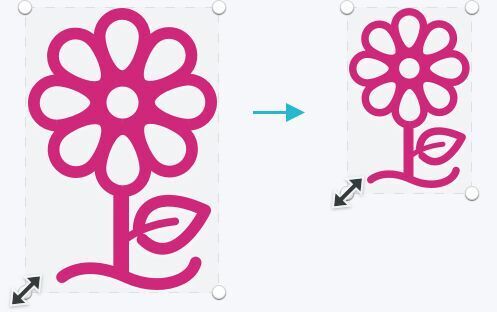
Now we'll size the artwork to suit your needs. Make sure to pick a size that's not too big or too small!
- Click your artwork to select it. A selection box will appear.
- Click and drag a corner of the selection box to resize your artwork.
Tip: To see the exact dimensions of your artwork, click on the measurement tool in the lower left corner of the workspace. You can enter precise dimensions into this box!
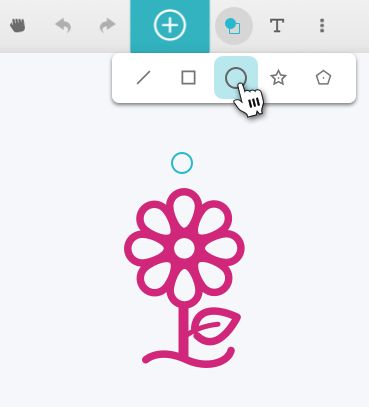
Next, we'll add the hole for your keychain.
- Click the Insert Shape button
- Click the Circle button. A circle will be inserted into your design; this will become the hole for your keychain.
- Resize the circle the same way you did the artwork. We recommend a width somewhere between 1/8th to 1/4 inch (3-6mm).
- Click and drag the circle, and position it above the center of your artwork.
We'll finish your design by making an outline. First, we need to select both the hole and your artwork.
- Click and drag a selection box around both objects,
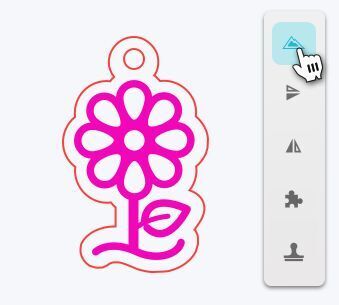
- Click on the Outline tool.
- Click the Create Outline button. An outline will appear around your objects.
- Optional: Adjust the slider to increase or decrease the size of your outline.
Tip: You can also select multiple objects by holding the Shift key while clicking on the objects you want to select. You can also press Ctrl+A (Windows) or Command+A (Mac) to select everything in your design.
Finally, we'll make sure your Glowforge knows what to do with each of the shapes in your design.
- Place a piece of Proofgrade® material in your print bed or click the Materials Menu in the upper left corner and choose your material.
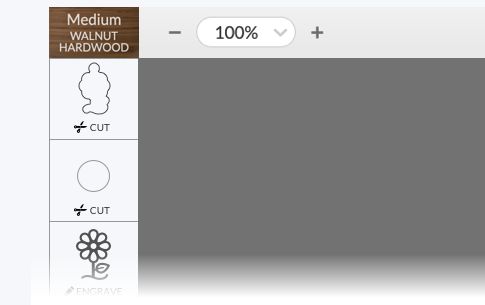
- Make sure the hole and outline are set to Cut
- Make sure your artwork is set to Engrave or Score.
- If everything looks good, it's time to print! Click the Print button in the upper right corner.
- When ready, press the glowing button on your Glowforge.
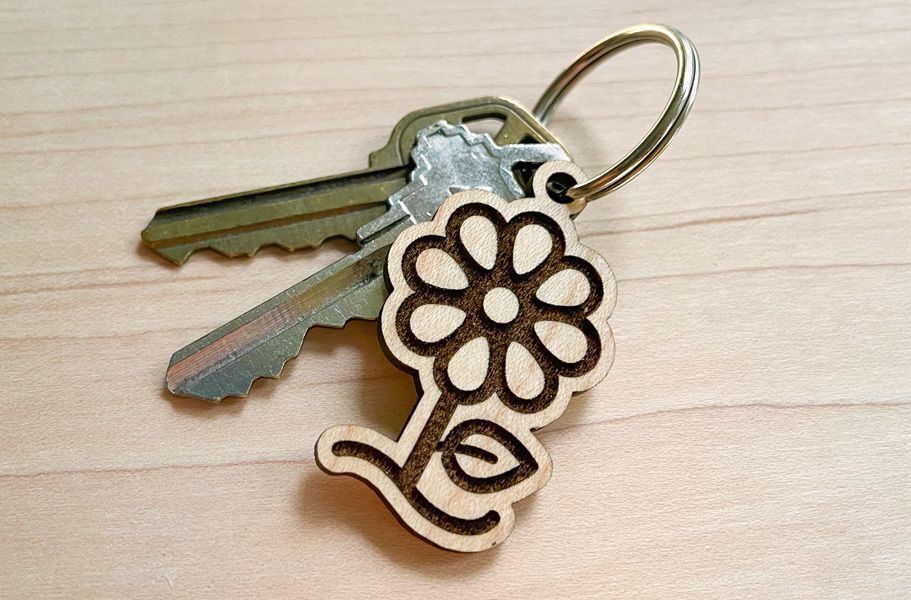
Congrats, you've made a beautiful, one-of-a-kind custom keychain! You don't have to stop there either–you can use this super-versatile technique to make name tags, zipper pulls, ornaments, and more!
See also
View the tutorial in the Glowforge app.
Learn more about Glowforge Premium.