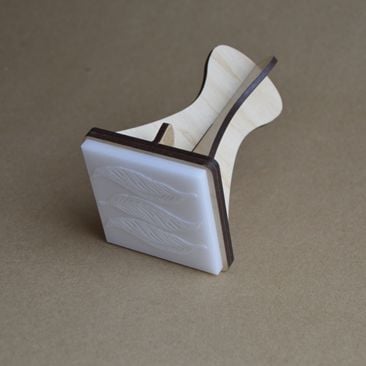
Create a Stamp using Stamp Maker
Want to make your mark? With Stamp Maker, it takes only a few minutes.
When you use Stamp Maker, exclusive to Glowforge Premium, you can easily turn your artwork into a stamp with just a few clicks. Create your own personalized address stamp for your mail, custom wrapping paper for gifts, or a custom logo for shipping boxes.
Stamp Maker takes your artwork and inverts it so all you have to do is print the stamp, add a handle, then ink, and stamp away.

Create a stamp
We recommend that you use Thick Proofgrade Acrylic to create your stamp. So pop some thick acrylic in the bed of your Glowforge and get started.
- Go to the Glowforge App (app.glowforge.com), and sign in.
- On the Dashboard, open the design you want to use.
- In the workspace, click the artwork to select it.
- On the toolbar that appears on the right, click the Stamp Maker.

- In the Stamp Maker window, you can adjust the following settings:
- Set the padding (the space from the edge of your design to the edge of the stamp).
- The Keep Original Artwork setting is off by default, and your artwork will be replaced with the stamp. If you turn this option on, the workspace will keep both the artwork and the stamp design.
- Add Edge, on by default, adds a box around your artwork, which will be cut to create a stamp. If you turn this option off, the outline of your stamp will be the edges of the material you're using.
- After you've chosen your settings, click Create Stamp.
- To get the best results on Thick Proofgrade Acrylic, click the image of your stamp (marked ENGRAVE) in the print steps on the left, and then in the Engrave options list, select Deep Engrave.
- Before you print, you can resize your stamp and place it where you want on your material.
Now print and stamp! With Stamp Maker, you can go from idea to finished tool in minutes.
Want to show the community what you’re creating? We’d love to see. Just share on social and tag with #glowforge.
See also
Learn more about Glowforge Premium.