Troubleshoot Printer Head Connection
If you are having trouble with Pro Passthrough, the printer head is not moving, or you receive an error message when you run Set Focus, it could be a problem with the printer head connection. Follow these steps to check and readjust the connection.
-
Turn off your Glowforge.
-
Position the laser arm and metal plate by gently sliding the metal plate on the laser arm all the way to the right, then push the arm to the back of the unit.

-
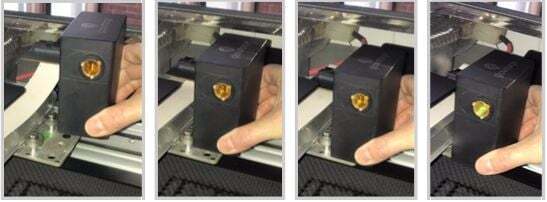
Holding only the finished black surfaces, grasp the printer head as shown. Pull gently up and back to disengage the magnets and remove the head.
-
Push down fully on the wire ribbon tab, then gently unplug the wire ribbon from the printer head.

-
Take a clear photo of the gold-pin connector on the printer head, where you just unplugged the wire ribbon. Take a second photo of the the bottom of the printer. (See examples below.)


-
Holding only the finished black surfaces of the printer head, pick up the printer head and wire ribbon.

- Make sure the tab on the wire ribbon is facing up. Slide the ribbon into the head until it clicks.
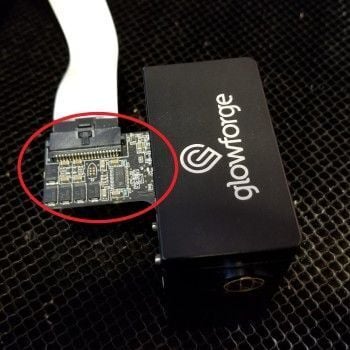
- Attach the printer head
As shown, lower the printer head over the metal plate so that it rests next to the two round posts. Then push it gently away from you – you’ll feel a click as magnets pull the printer head until it sits snugly atop the metal plate.
- Make sure that the head slides freely, and move it to the center
Using both hands, gently move the laser arm to the center of the bed.
Gently slide the head all the way to the left, then right. If it doesn’t slide easily, make sure that the ribbon cable is a simple loop with no twists, as shown.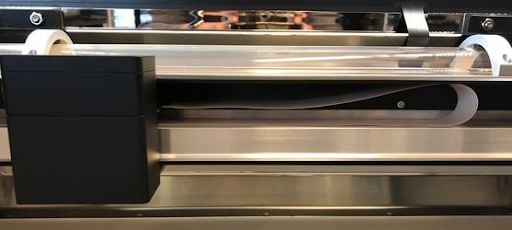
Move the head back to roughly the center of the bed, under the lid camera. -
Pull the laser arm all the way forward. Take a clear photo of the circuit board on the inside left of your Glowforge. Please make sure to include the white ribbon connection highlighted by the arrow in the example below.

- Just to the left of the large circuit board is a small green circuit board. Take a photo similar to the example below:
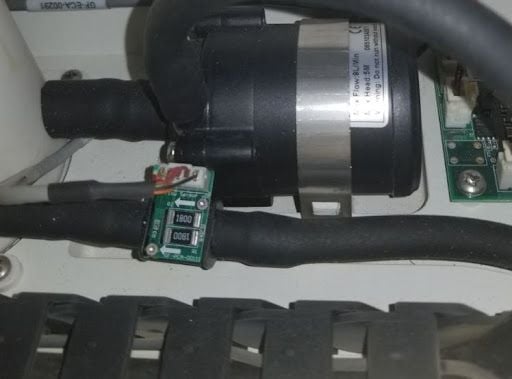
- Take a photo of the left, inside of the front door. See below.
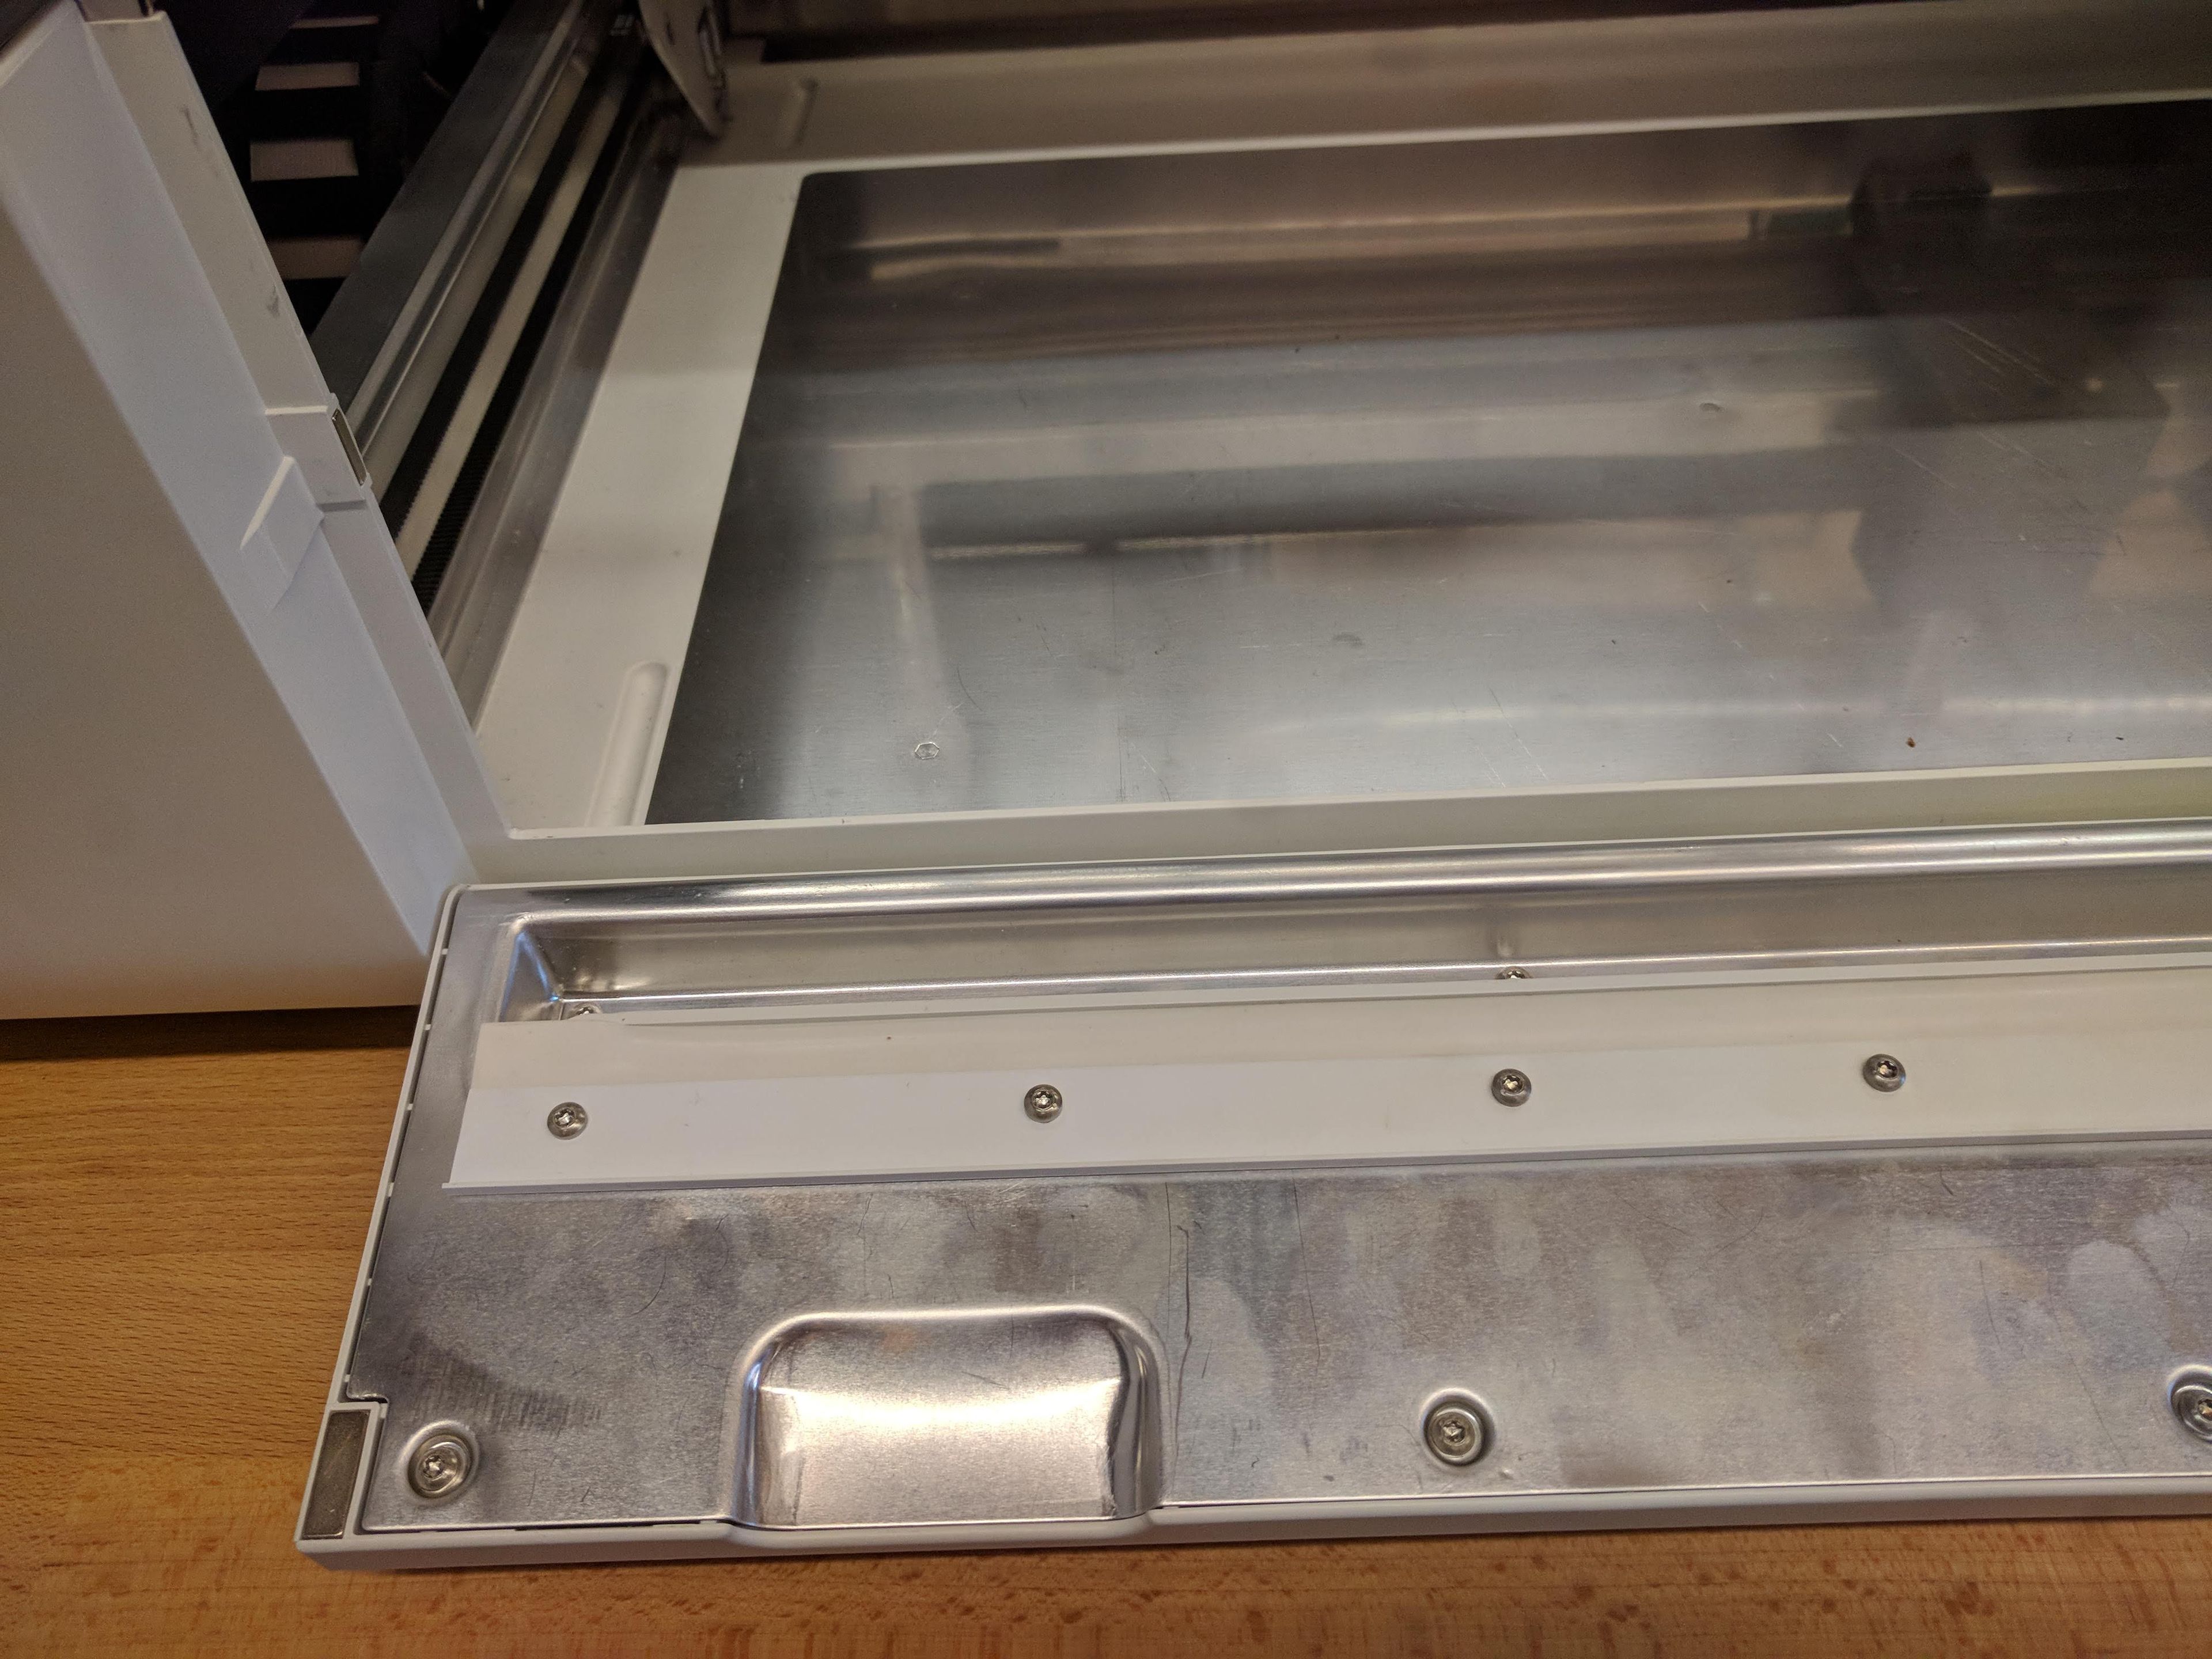
-
Take a photo of the left side rail. See below.
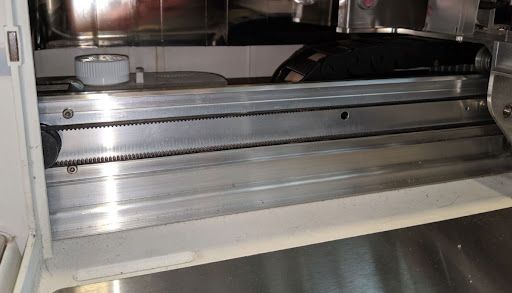
- If the cable in step 10 above, marked with a red arrow in the photo, looks loose, please reconnect it and try printing again. This cable should 'click' back into place.
- Turn your Glowforge back on, and try another print.
If your test print did not work and you are still experiencing trouble, please contact our team and provide the following:
- a description of the trouble, including any screenshots you have from the app
- the approximate date and time the problem began
- a copy of the design file you were trying to print
- the photos you took in the steps above
With that information in hand, we can reach out to help you!
Learn more: